You’ll need to verify your PC meets VR hardware requirements, then download and install SteamVR from Steam’s Tools section. Connect your VR headset and controllers, complete the Room Setup calibration, and download the SteamVR SDK from the developer portal. Install Unity with the SteamVR plugin, configure the input system through the SteamVR Input window, and test with sample scenes. Use performance monitoring tools to optimize frame rates and guarantee smooth VR experiences across different headsets for professional development results.
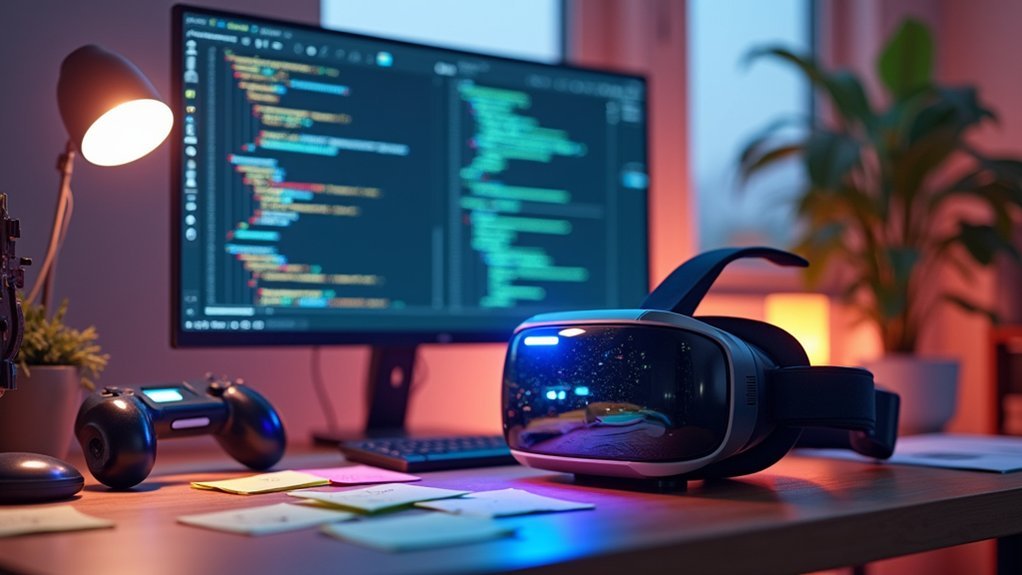
Hardware Requirements and System Preparation
Before you immerse yourself in SteamVR development, you’ll need to verify your system meets the demanding hardware requirements that VR experiences demand.
Your PC requires a powerful graphics card, capable processor, and at least 8GB of RAM to handle VR’s intensive processing needs. Different headsets like the Pimax Crystal may have varying specifications, so check compatibility with your chosen hardware.
Run SteamVR’s performance test to assess your PC’s readiness before proceeding.
Once you’ve confirmed adequate performance, verify all VR components—headset, trackers, and controllers—connect properly and appear recognized by your system.
Follow manufacturer setup instructions precisely to establish successful connections.
Only after completing these preparation steps should you proceed with getting SteamVR installed and configured for development work.
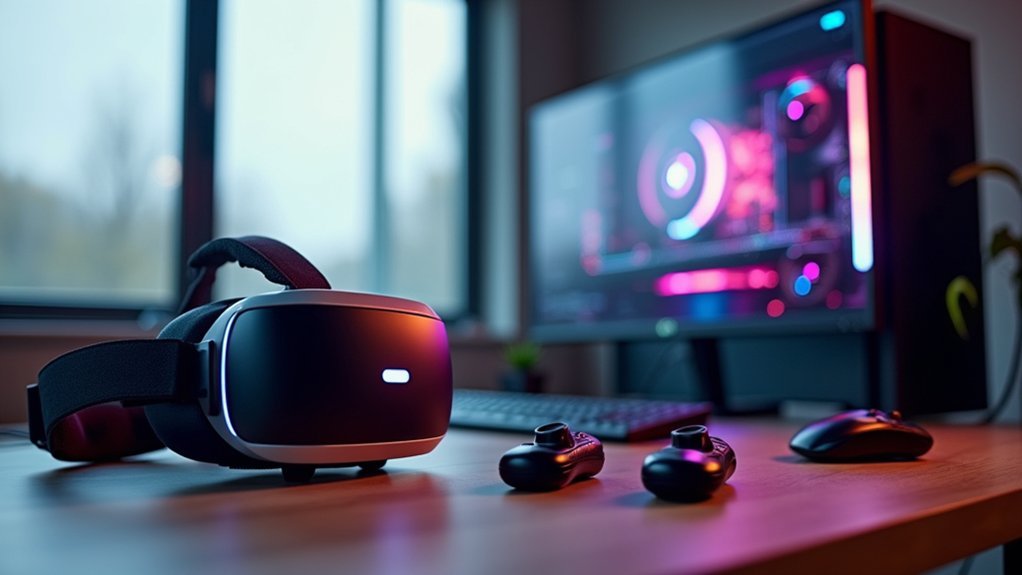
SteamVR Installation and Initial Setup
Once you’ve confirmed your system’s readiness, you’ll need to download and install Steam from the official website if you haven’t already.
After Steam’s installed, navigate to your Library tab and locate SteamVR in the Tools section. Download and install SteamVR from there.
Next, connect your VR headset, trackers, and controllers to your PC. Follow your manufacturer’s specific setup instructions to guarantee all devices are properly recognized by your system. This step’s vital for proper functionality.
Complete the SteamVR Room Setup to calibrate your play area. This process guarantees sensors accurately track your movements within your designated space.
Once setup’s finished, launch SteamVR and put on your headset. You’ll now have access to VR content from your Steam library, ready to begin your VR experience.
SDK Download and Development Environment Configuration
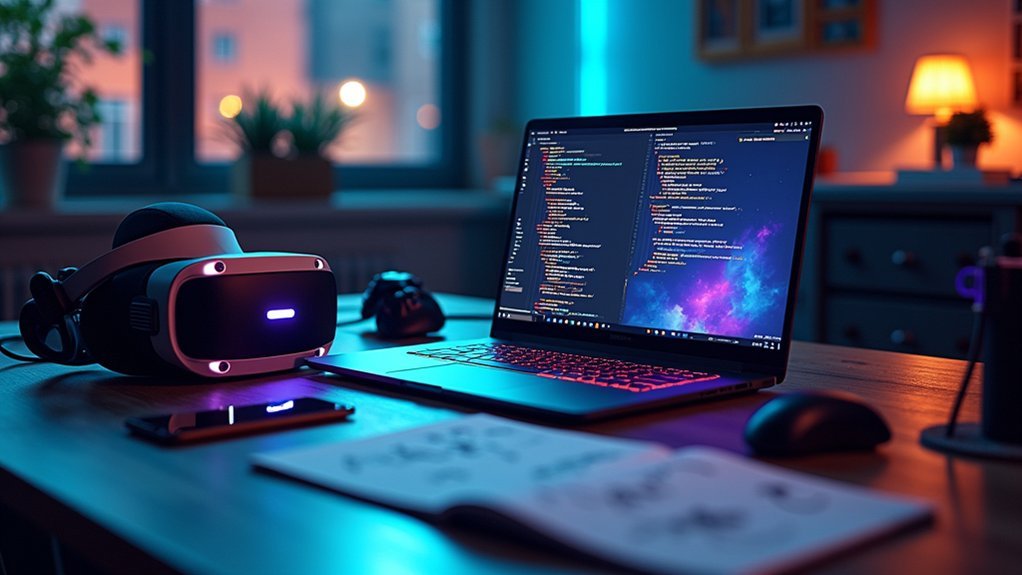
You’ll need to download the SteamVR SDK from the official SteamVR Developer portal and guarantee it’s compatible with your chosen development environment.
Set up Unity or Unreal Engine with the appropriate SteamVR plugin integration to enable VR functionality within your project.
Configure your project settings to optimize rendering performance and verify your development PC meets the hardware requirements before testing with the provided sample projects.
SteamVR SDK Installation
The first step toward developing VR applications involves downloading the SteamVR SDK from Steam’s official developer portal, where you’ll find the most current version designed for your specific development framework.
Once you’ve secured the SDK, you’ll need to install SteamVR alongside your chosen development environment, whether Unity or Unreal Engine.
Import the SteamVR Plugin directly into your project workspace, then configure your project settings by enabling VR support.
You’ll also need to adjust rendering settings for peak performance across different hardware configurations.
Before proceeding, verify your development PC meets all hardware requirements, including compatibility with your target VR headset.
This foundation guarantees your development environment can properly compile and test SteamVR applications throughout your project lifecycle.
Development Environment Setup
After completing your SDK installation, setting up your development environment requires downloading the latest SteamVR SDK from either Steam’s official website or the SteamVR GitHub repository.
You’ll need to install a development environment like Unity or Unreal Engine, ensuring you include relevant VR plugins or modules for SteamVR compatibility.
Configure your project settings by accessing player settings and selecting the correct VR SDK to enable VR support.
Your development PC must meet SteamVR’s hardware requirements, including a compatible graphics card and sufficient RAM for VR applications.
Familiarize yourself with the SteamVR Input system by importing the SteamVR Unity Plugin or Blueprint tools into your project, which simplifies VR input action management and streamlines development.
Project Configuration Requirements
Once you’ve established your basic development environment, configuring your project for SteamVR requires specific steps to validate proper SDK integration and functionality.
You’ll need to enable VR support in your project settings and configure the correct rendering pipeline for your chosen engine. In Unity, navigate to XR Plug-in Management and select OpenXR or SteamVR as your provider. For Unreal Engine, enable the SteamVR plugin through the project settings menu.
Next, configure your input systems to recognize VR controllers and tracking devices. Set up the appropriate camera rigs and validate your rendering settings match SteamVR specifications.
Test your configuration by running a basic scene to verify that headset tracking, controller input, and visual output function correctly before developing your VR application.
Unity Integration With Steamvr Plugin
You’ll begin Unity integration by downloading and importing the SteamVR Unity Plugin from the Asset Store, which provides essential VR functionality for your project.
Next, you’ll configure SteamVR’s input system through the dedicated input window, mapping controller actions to create intuitive user interactions.
Finally, you’ll set up the interaction system using SteamVR’s prefabs and sample scenes to implement core VR features like teleportation and object manipulation.
Plugin Installation Process
When setting up VR development in Unity, the SteamVR Plugin serves as your primary gateway to creating immersive virtual reality experiences.
You’ll need to download the SteamVR Unity Plugin from the Unity Asset Store and import it directly into your project. This integration streamlines your VR development workflow and provides essential tools for building interactive experiences.
Once imported, you’ll access the SteamVR Input window through Unity’s Window menu to copy default JSON files containing vital action and binding configurations.
Remember to click “Save and Generate” to create the necessary classes for editor access.
- Download SteamVR Plugin from Unity Asset Store for seamless integration
- Access SteamVR Input window to configure default action mappings
- Save changes to generate Unity editor classes automatically
- Test sample scenes before building custom VR interactions
SteamVR Input Configuration
After importing the SteamVR Unity Plugin, configuring the input system becomes your next critical step for VR development. You’ll need to access the SteamVR Input window through Unity’s Window menu to begin setup.
| Step | Action | Result |
|---|---|---|
| 1 | Open SteamVR Input window | Access configuration interface |
| 2 | Click “Okay” button | Copy default JSON files |
| 3 | Click “Save and Generate” | Create necessary classes |
| 4 | Test in sample scene | Verify controller functionality |
When you click “Okay,” you’ll copy the default input JSON files containing actions and bindings for the Interaction System. After making changes, click “Save and Generate” to create classes for easy Unity editor access. Test your SteamVR Input configuration by exploring the Interaction System sample scene at Assets/SteamVR/InteractionSystem/Samples/Interaction_Example with your headset and controllers connected.
Interaction System Setup
Once you’ve configured the SteamVR input system, Unity’s Interaction System provides the foundation for creating immersive VR experiences through pre-built components and scripts.
You’ll need to download and import the SteamVR Unity Plugin from the Asset Store to access these essential VR functionalities.
Start by exploring the Interaction_Example scene located in Assets/SteamVR/InteractionSystem/Samples/Interaction_Example. This sample demonstrates how interactive elements work in practice.
Next, access the SteamVR Input window through Unity’s Window menu to copy the default JSON files for controller mappings.
- Utilize prefab hand models and interactable objects for rapid prototyping
- Test interactions in real-time by ensuring your VR headset connects properly
- Examine sample scripts to understand interaction mechanics
- Customize prefabs to match your specific project requirements
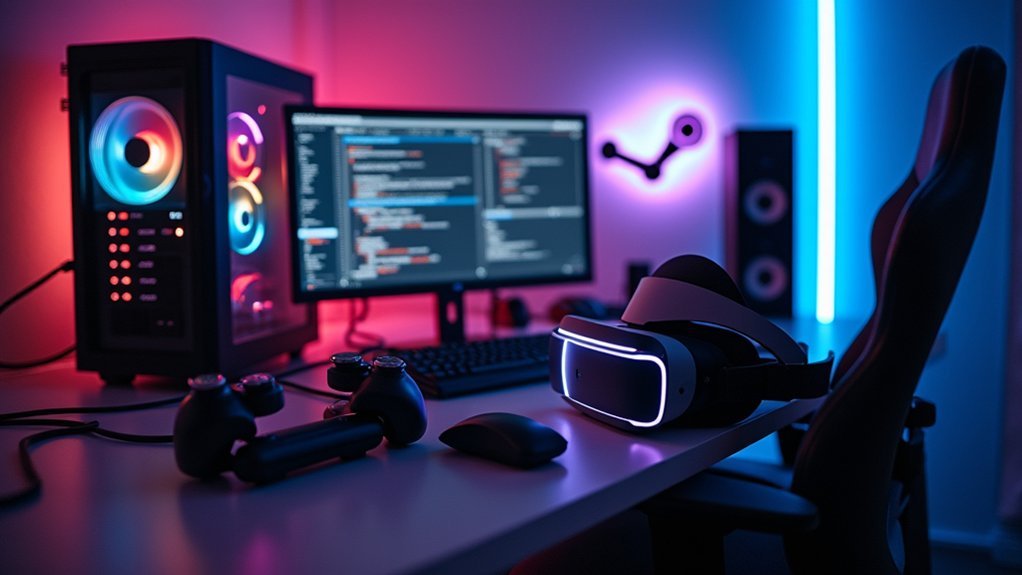
Building Your First VR Application
Building your first VR application requires establishing a solid foundation through proper development environment setup. You’ll need to install SteamVR alongside a compatible game engine like Unity or Unreal Engine. Confirm your system has a powerful graphics card and sufficient RAM for smooth VR development.
Create a new project in your chosen engine and enable the necessary VR SDK, such as the SteamVR Unity Plugin. Design your first scene by importing 3D models and creating interactive elements like teleportation or object manipulation using built-in tools.
| Development Step | Key Requirements |
|---|---|
| Environment Setup | SteamVR, Unity/Unreal, GPU |
| Project Creation | VR SDK/Plugin enabled |
| Scene Design | 3D models, interactions |
| Testing Phase | Connected VR headset |
| Optimization | Performance tuning |
Test frequently and optimize graphics settings for enhanced user experience.
Testing and Debugging VR Projects
While developing VR applications presents unique challenges that traditional desktop testing can’t reveal, effective testing and debugging strategies guarantee your project delivers a smooth, immersive experience.
You’ll need specialized tools to identify performance bottlenecks and functionality issues in your VR environment. The SteamVR Performance Graph becomes your primary ally for monitoring frame rates and latency during testing sessions.
SteamVR Performance Graph serves as your essential diagnostic tool for tracking frame rates and identifying latency problems during VR development.
When debugging visual elements, enable the Debug Camera to navigate without wearing your headset, making troubleshooting more efficient.
Essential VR testing practices include:
- Monitor performance metrics using SteamVR Performance Graph to catch frame rate drops and latency issues
- Test input functionality with SteamVR Input Debugging tool to verify all controls respond correctly
- Validate cross-device compatibility by testing on multiple VR headsets and hardware configurations
- Build frequently after code changes to catch bugs early in development
Frequently Asked Questions
How to Setup Steamvr?
You’ll need a powerful PC with compatible graphics card. Install Steam, then download SteamVR from the Tools section. Connect your VR headset and controllers, launch SteamVR, and you’re ready to explore virtual worlds.
How to Open Steamvr Dashboard?
Press the System button on your VR controller, located below the trackpad or joystick. Alternatively, you can press the Windows key on your keyboard while wearing your headset to access the Dashboard.
How Do You Create a Steamvr Environment?
You’ll open SteamVR Workshop Tools, create an empty addon, then use Hammer editor to build your map with player spawn points, floors, lighting, and 3D models before compiling.
How to Launch VR Games on Steam?
You’ll open Steam, launch SteamVR from your Library’s Tools section, then select any VR-compatible game from your library and click “Play” to start your virtual reality gaming experience.


Leave a Reply