
You’ll need Unity 2020.3 LTS with Android Build Support, an Oculus developer account at developer.oculus.com, and your Quest headset configured for development mode. Download Unity Hub, install the required version with Android components, then register your developer account using Facebook credentials. Enable Developer Mode through the Oculus mobile app and connect your headset via USB-C cable. Download the latest Oculus Platform SDK and configure your Unity project settings to target Android API level 24. Follow our complete setup guide below for detailed steps.
System Requirements and Prerequisites

Before diving into the Oculus Quest SDK installation, you’ll need to verify your system meets several critical requirements. Your computer must have a compatible GPU and minimum 8GB RAM for peak performance.
You’ll also need the latest Oculus App version installed to guarantee proper SDK functionality and hardware communication.
Your development environment requires Unity 2020.3 LTS or higher for building Quest applications. Additionally, install Android Build Support along with SDK, NDK, and OpenJDK components to facilitate the development process for Oculus platform applications.
Unity 2020.3 LTS and Android Build Support with SDK, NDK, and OpenJDK components are essential for Quest development.
Don’t forget to update your system drivers and firmware before proceeding. Outdated drivers can cause compatibility issues during SDK installation, potentially derailing your development workflow and causing unnecessary troubleshooting delays.
Download and Install Unity With Android Support
With your system properly configured, you’ll now set up Unity as your primary development environment for Oculus Quest applications.
Start by downloading Unity Hub from the official Unity website to manage your installations efficiently. When you install Unity, select the latest Long Term Support (LTS) version like 2020.3 LTS for peak Oculus Quest compatibility.
During installation, confirm you check “Android Build Support,” which includes the Android SDK, NDK, and OpenJDK—all essential components for building Oculus Quest apps.
After installation, open Unity Hub and create a new project. Verify Android Build Support is enabled by guiding to “Edit > Project Settings > Player.”
Remember to regularly check Unity Hub for updates to maintain compatibility with the latest Oculus SDK features.
Set Up Oculus Developer Account
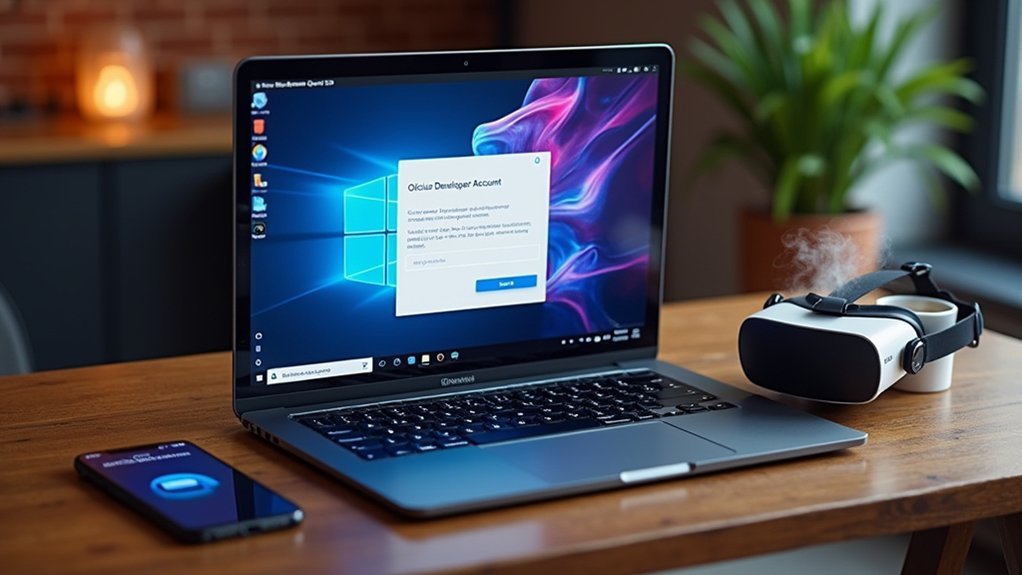
Anyone developing for Oculus Quest needs a verified developer account to access essential tools and deploy applications to the platform.
Before you can install the SDK, you must set up Oculus developer account credentials through the official developer portal.
Navigate to https://developer.oculus.com and click “Sign Up” to begin the registration process. You’ll need your Facebook account credentials since Meta requires Facebook authentication for developer access.
Complete your developer profile with accurate information, including your name and organization details if applicable.
Key steps to visualize the setup process:
- Opening the Oculus Developer Dashboard in your browser
- Entering Facebook login credentials on the authentication screen
- Filling out developer profile forms with personal information
- Reviewing and accepting the Oculus Developer Agreement terms
Once approved, you’ll access developer resources needed to install the SDK successfully.
Configure Quest Headset for Development
After setting up your developer account, you’ll need to configure your Quest headset for development work.
This involves enabling Developer Mode through the Oculus mobile app and establishing a proper USB connection between your headset and computer.
These steps activate the development capabilities you’ll need to install and test applications on your Quest device.
Enable Developer Mode
Enabling Developer Mode activates your Quest headset’s ability to run custom applications and development builds outside the official Oculus Store.
You’ll need to enable Oculus Developer Mode through two different methods to reveal your headset’s full development potential.
First, access your headset’s settings directly by maneuvering to Settings > System > Developer. Once there, activate the USB Connection Dialog option to facilitate seamless USB connections to your computer.
Alternatively, you can enable Developer Mode remotely using the Oculus mobile app by going to Devices > Developer Mode and toggling the switch.
- Navigate headset settings like exploring a digital control room
- Toggle switches that reveal hidden development capabilities
- Connect USB-C cables bridging your creative workspace
- Install custom applications expanding your virtual horizons
USB Connection Setup
Establishing a proper USB connection transforms your Quest headset into a recognized development device on your computer.
First, activate the USB Connection Dialog option on your headset to manage connections effectively during development. Use a compatible USB-C cable to connect your Quest directly to your computer for ideal data transfer and device recognition.
When prompted, select “Deny” for the “Allow access to data” option. This focuses on enabling Oculus Link for development without accessing your files.
After completing the usb connection setup, verify your headset’s recognition in Unity by guiding to Edit > Project Settings > XR Plug-in Management. Check that Oculus appears under the Android Settings tab before you install the Oculus SDK components.
Enable Developer Mode and USB Debugging

You’ll need to access your Quest headset’s settings menu to enable the essential developer features required for SDK installation.
Navigate to Settings > System > Developer and toggle Developer Mode on to activate development capabilities.
Don’t forget to also enable the USB Connection Dialog option, which allows your headset to communicate with your development environment through USB debugging.
Access Headset Settings Menu
Developer mode activation requires specific configuration changes within your Meta Quest headset’s settings interface.
You’ll need to navigate through the headset’s menu system to locate and modify the necessary Developer Mode settings. This process establishes the foundation for SDK installation and development work.
To access your headset’s settings menu and enable Developer Mode:
- Put on your Meta Quest headset and confirm it’s powered on with a clear view of the home environment
- Navigate to Settings using the menu button on your right controller to open the universal menu panel
- Select System from the settings options then scroll down to locate the Developer section within the system preferences
- Toggle the USB Connection Dialog option to activate communication between your headset and development tools
Toggle Developer Mode On
Two primary methods exist for enabling Developer Mode on your Meta Quest headset, with the mobile app approach offering the most straightforward activation process.
Open the Oculus mobile app, select “Devices,” tap your connected headset, and toggle the “Developer Mode” switch. Alternatively, access your headset settings directly by selecting “Settings,” directing to “System,” and toggling the “Developer” option.
Once you’ve activated Developer Mode on your Meta Quest, enable the “USB Connection Dialog” option in headset settings. This significant step allows USB debugging when you connect your device to a computer.
Connect your headset to your computer using a USB-C cable to establish communication for development purposes. Developer Mode grants permission to run apps from unknown sources, providing essential flexibility throughout your development workflow.
Enable USB Connection Dialog
After completing Developer Mode activation, your next essential step involves enabling the USB Connection Dialog feature within your headset’s system settings.
This critical configuration allows your Quest to communicate with development tools when connected to your computer via USB-C cable.
Navigate to Settings > System > Developer within your Meta Horizon OS interface. You’ll find the “USB Connection Dialog” option among the Developer Mode settings.
Activate this toggle to guarantee your headset prompts for USB debugging permissions whenever it’s connected to a computer.
- Your headset displaying a connection authorization prompt on the screen
- A USB-C cable bridging your Quest and development computer
- Debug permissions flowing between both devices seamlessly
- Development tools accessing your headset’s internal systems safely
Install Oculus Platform SDK Components
Before you can integrate Oculus Platform features into your project, you’ll need to download the latest Oculus Platform SDK from the official Meta website. This guarantees you have the most recent components when you install Oculus Platform SDK components.
Navigate to the Windows folder within the downloaded zip file and copy LibOVRPlatform32_1.lib and LibOVRPlatform64_1.lib files into EngineSourceThirdPartyOculusLibOVRPlatformLibOVRPlatformlib. When building for Quest, copy all folders from Androidlibs directory into the same engine directory for Android compatibility.
| Component | Source Location | Destination Path |
|---|---|---|
| Windows Libraries | Windows folder | LibOVRPlatformlib |
| Android Libraries | Androidlibs | LibOVRPlatformlib |
| Header Files | Include folder | LibOVRPlatform |
| Quest Components | Androidlibs | Engine directory |
| SDK Documentation | Docs folder | Reference location |
Replace the existing Include folder with the new one from the SDK zip file. Finally, regenerate project files and compile to confirm successful integration.
Configure Unity Project Settings for Quest
- Picture yourself checking the Oculus option under XR Plug-in Management’s Android Settings tab to access Quest-specific features.
- Visualize setting the Minimum API Level to Android 7.0 (API level 24) in Player Settings to meet Quest deployment requirements.
- Imagine enabling Virtual Reality Supported in the Other Settings section to activate VR functionalities throughout your project.
- See yourself selecting Android platform in Build Settings and clicking Switch Platform to prepare for Quest deployment.
Try these configurations systematically, as they’re essential for Quest compatibility.
Unlike Oculus Rift development, Quest requires specific Android SDK settings for proper functionality.
Build and Deploy Your First Quest Application
When your Unity project settings are properly configured, you’re ready to transform your development work into a functioning Quest application.
This Getting Started phase describes how to install your app directly onto the headset through Unity’s deployment system.
Connect your Quest headset to your computer using a USB-C cable and verify it’s detected by your development environment.
Navigate to Unity’s File menu and select Build and Run to initiate the deployment process. Unity will compile your project into an Android APK and automatically install it on your connected Quest device.
During this process, you might need to confirm the installation on your headset and grant necessary permissions.
Once deployment completes successfully, your application will launch automatically, allowing you to test your VR experience immediately.
Frequently Asked Questions
How to Install Oculus Runtime?
Download the Oculus App from the official website after verifying your computer meets minimum requirements. Follow setup instructions, let firmware auto-install, then enable Unknown Sources in settings for development applications.
How Do I Set up My Oculus Quest?
Download the Oculus mobile app and create a developer account. Follow setup instructions to pair your headset, enable Developer Mode in settings, then connect your Quest to your computer using a USB-C cable.


Leave a Reply