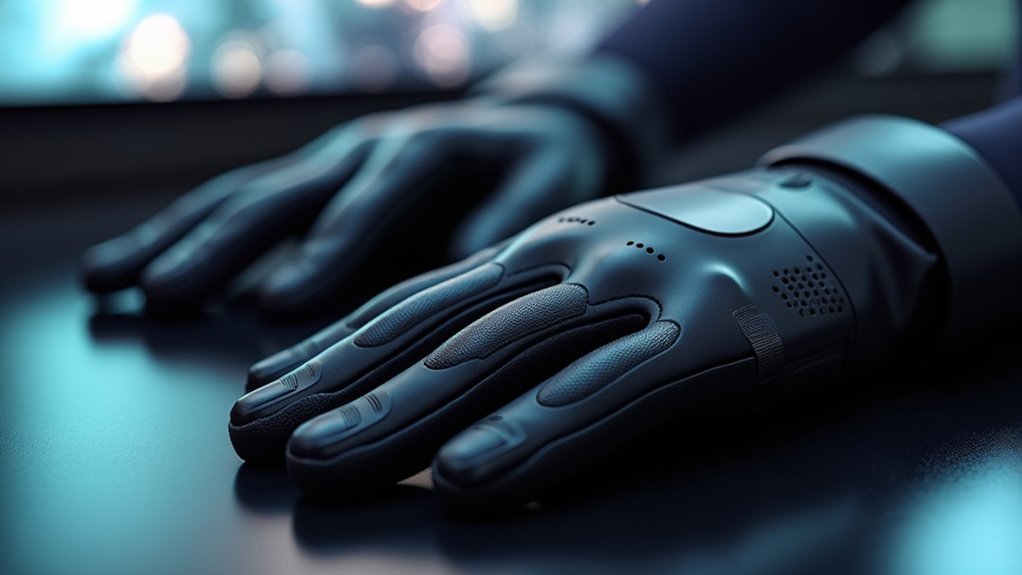
You can build professional VR haptic gloves that track all five fingers for under $25 per hand using flex sensors made from conductive plastic bags, Arduino microcontrollers, and basic electronics. You’ll create DIY flex sensors by wrapping conductive plastic around wire loops, then connect them through voltage divider circuits using 10K resistors. Add servomotors for realistic force feedback and use OpenGloves driver for SteamVR compatibility. The complete process involves specific wiring techniques and calibration methods that’ll transform your VR experience.
Understanding Flex Sensors and DIY Cost-Effective Alternatives
While commercial VR haptic gloves can drain your wallet with price tags reaching $100 or more, flex sensors offer a pathway to building your own cost-effective alternative.
These variable resistors change their resistance based on bending, making them perfect for detecting finger movements in virtual reality applications.
Bend-responsive resistors provide an ideal solution for capturing precise finger motion data in immersive virtual reality environments.
You can construct DIY flex sensors using readily available materials like conductive plastic bags, 10K resistors, and basic wiring components.
The assembly process involves creating a simple voltage divider circuit that connects to an Arduino microcontroller.
As you bend your fingers, the resistance changes, allowing precise finger tracking through measurable voltage variations.
This DIY approach dramatically reduces costs while providing hands-on electronics experience, making VR haptic technology accessible to budget-conscious creators and hobbyists.
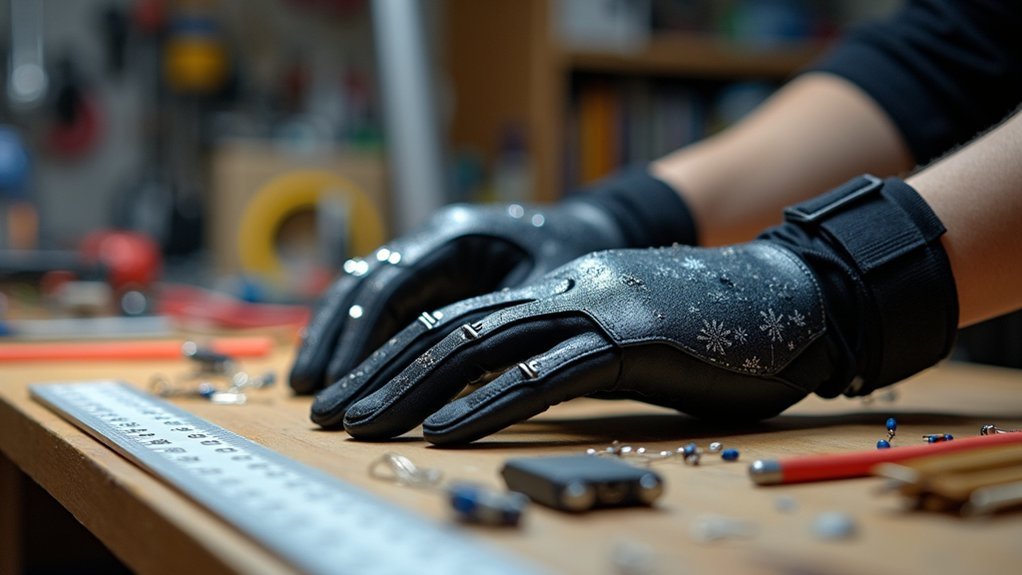
Essential Materials and Assembly Components for Haptic Glove Construction
Before you plunge into construction, gathering the right materials guarantees your haptic glove project runs smoothly from start to finish.
Your VR gloves require specific assembly components to detect finger movements and interact with virtual objects effectively.
You’ll need small PCBs as the foundation for your flex sensors, along with cable ties for securing connections. Gather two-core wire – ten pieces total for a complete five-fingered glove setup. Stock up on cellotape for insulation and 10K resistors for voltage divider circuits.
The most essential component is conductive plastic bags, which form your DIY flex sensors. These materials work together with your Arduino microcontroller, creating variable resistance that changes when you bend your fingers, enabling precise finger tracking for immersive virtual reality experiences.
Step-by-Step Sensor Creation and Wire Preparation Process
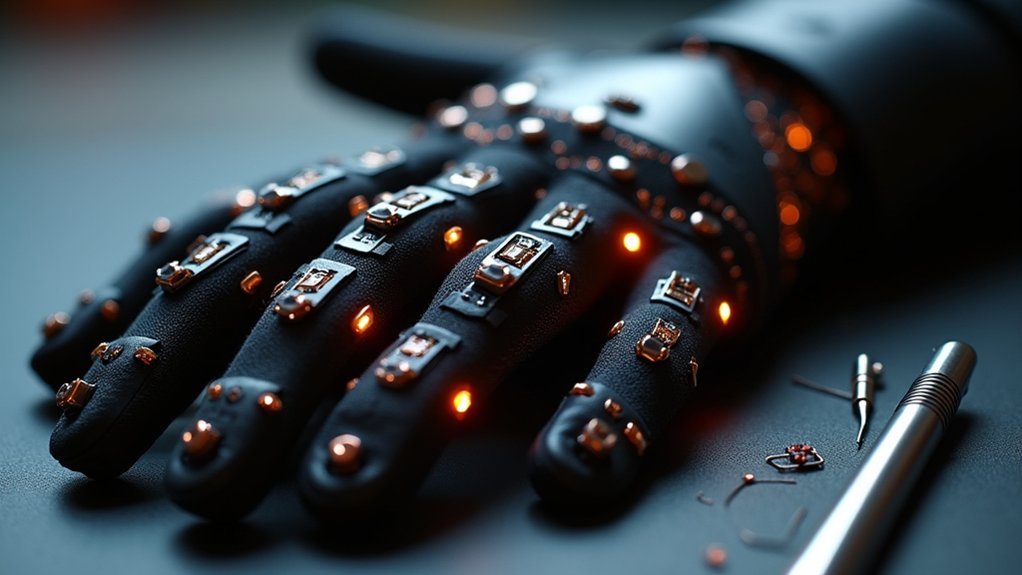
Once you’ve assembled all your materials, begin by carefully stripping approximately half an inch from one end of each two-core wire piece. Form these exposed wires into small loops for secure connections to your flex sensors.
Next, cut thin strips from conductive plastic bags, ensuring they’re flexible enough for finger movement in your VR gloves. Attach the wire loops to these strips using cellotape, maintaining solid contact between wire and conductive plastic surface.
| Step | Action | Material | Result |
|---|---|---|---|
| 1 | Strip wires | Two-core wire | Connection loops |
| 2 | Cut strips | Conductive plastic | Sensor base |
| 3 | Fold assembly | Wider plastic strip | Sensor structure |
| 4 | Secure components | Cellotape/cable ties | Durable sensor |
Finally, fold a wider conductive plastic strip around the wire loops and secure everything with cellotape and cable ties. Connect each sensor to Arduino analog inputs through voltage divider circuits.
Arduino Integration and Voltage Divider Circuit Implementation
After completing your sensor assembly, you’ll need to establish the electrical connection between your flex sensors and the Arduino microcontroller. The voltage divider circuit serves as the foundation for translating finger movement into readable data. Connect each flex sensor in series with a 10K resistor, creating voltage variations that correspond to finger flexion.
Wire each circuit to separate analog input pins on your Arduino to enable simultaneous finger tracking across all digits.
Your Arduino code must continuously read these analog values and process them for real-time interaction with VR platforms. Implement proper calibration by mapping resistance values to specific finger positions, and include filtering techniques to eliminate data noise for smooth performance.
- Feel the thrill of your fingers controlling virtual worlds instantly
- Experience seamless hand movements translated into digital reality
- Achieve precise finger tracking that responds to your slightest gesture
- Eliminate frustrating lag between physical movement and virtual response
- Create immersive experiences that blur the line between real and virtual
Force Feedback Integration and Advanced Tracking Features
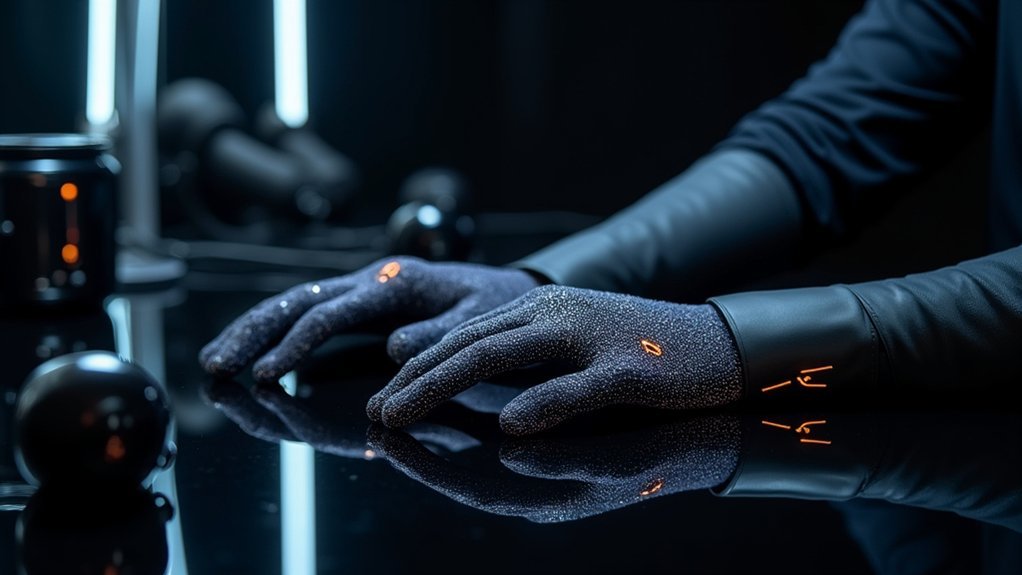
While basic flex sensors capture finger movement, integrating servomotors transforms your haptic gloves into a true force feedback system that lets you feel virtual objects.
These servo motors simulate resistance when you grasp items in VR, creating realistic tactile sensations that enhance immersion dramatically.
Your Prototype 4 gloves achieve this advanced functionality at just $23 per hand, making professional-grade haptic feedback accessible.
The OpenGloves driver seamlessly connects your creation to SteamVR, enabling compatibility with numerous VR games.
Looking ahead, Prototype 5 developments will add finger splay tracking using Hall effect sensors, reducing bulk while improving accuracy.
You’ll also gain integrated 6-DOF tracking capabilities, eliminating external sensors.
This evolution represents a significant leap from basic finger tracking to thorough hand presence in virtual environments.
Frequently Asked Questions
How Much Do Haptx Gloves Cost?
You’ll pay around $1,500 to $2,000 per pair for HaptX gloves. They’re expensive because they use advanced microfluidic actuators and soft robotics technology, making them premium enterprise-focused haptic devices.
How Much Do Manus Gloves Cost?
You’ll spend $1,500 to over $5,000 for Manus gloves, with their flagship Prime II model costing around $2,500. You’re investing in professional-grade precision but should budget for additional accessories and software licenses too.
How Much Do Fluid Reality Gloves Cost?
You’ll find Fluid Reality gloves typically cost several hundred to several thousand dollars. They’re expensive because they include advanced technology like force feedback and precise finger tracking, making them a significant investment compared to DIY alternatives.
How Do Haptx Gloves Work?
You’ll feel realistic touch through tiny pneumatic actuators that inflate and deflate on your fingertips. Motion sensors track your finger movements while microfluidic technology creates pressure, simulating texture, weight, and resistance of virtual objects.
In Summary
You’ve now constructed a fully functional VR haptic glove system that’ll deliver precise finger tracking and tactile feedback. Your custom flex sensors and Arduino integration create an immersive experience that rivals commercial alternatives at a fraction of the cost. With proper calibration, you’ll achieve responsive finger movement detection and realistic force feedback. Test your glove thoroughly in various VR environments to fine-tune sensitivity settings and optimize performance for your specific applications.


Leave a Reply