You can overcome simulator sickness by starting with short 10-15 minute VR sessions and gradually increasing duration as your tolerance builds. Begin with stationary experiences using teleportation movement rather than smooth locomotion, then progress to more complex scenarios. Confirm proper headset fit, maintain cool temperatures, and monitor symptoms using tools like the Simulator Sickness Questionnaire. Adjust comfort settings including tunneling mode and reduced field of view to minimize sensory conflicts that trigger nausea and dizziness. These foundational strategies form the basis for more thorough adaptation protocols.
Understanding the Science Behind Simulator Sickness
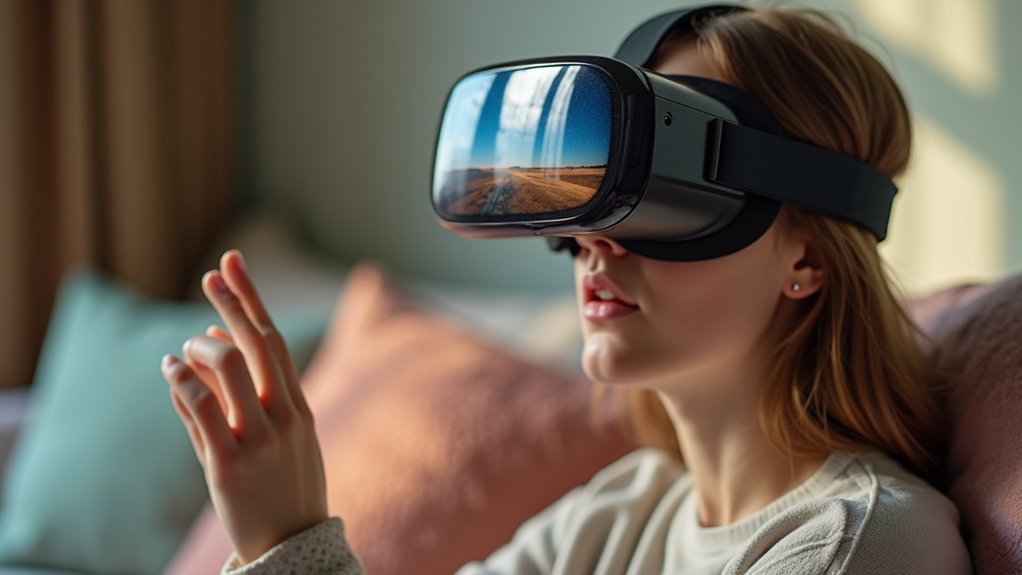
When you step into a flight simulator or virtual reality environment, your brain expects your body to move in sync with what your eyes see. However, simulator sickness occurs when this expectation isn’t met.
Your brain anticipates physical movement to match visual cues, but simulator sickness emerges when this synchronization fails.
This sensory conflict between visual inputs and physical sensations creates Simulator Adaptation Syndrome, affecting 10-20% of people generally and up to 88% of military pilots specifically.
You’ll experience simulator sickness symptoms like nausea, dizziness, and headaches when your vestibular system can’t reconcile conflicting information.
Factors influencing your susceptibility include fatigue, stress, hydration levels, medications, and previous motion sickness history.
Your adaptation to VR improves with gradual exposure, while enhanced visual fidelity and higher frame rates reduce symptom severity during extended sessions.
Key Hardware Factors That Influence Motion Sickness
When you’re experiencing VR motion sickness, your hardware setup plays an essential role in either triggering or preventing those uncomfortable symptoms.
The quality of your display and how quickly it responds to your movements can make the difference between an enjoyable session and one that leaves you queasy.
Additionally, how well your headset fits and whether it’s properly calibrated to your eyes directly impacts your comfort level throughout the experience.
Display Quality and Latency
Although VR technology has advanced greatly in recent years, display quality and latency remain the most critical hardware factors that’ll determine whether you experience motion sickness during your virtual adventures.
Higher resolution displays considerably reduce eye strain by providing clearer, sharper images that don’t force your visual system to work overtime interpreting pixelated content.
You’ll need frame rates above 60 FPS to prevent nausea and disorientation – anything lower creates jarring visual stutters that conflict with your inner ear’s motion sensing.
Motion-to-photon latency must stay minimal; when there’s delay between your head movement and the visual response, your brain detects the mismatch and triggers sickness symptoms.
Prioritizing these display quality factors transforms your VR experience from uncomfortable to immersive.
Headset Fit and IPD
Beyond display specifications, your headset’s physical fit and interpupillary distance (IPD) settings create the foundation for comfortable VR sessions that won’t leave you queasy. Proper headset fit prevents excessive pressure while maintaining stability, directly reducing simulator sickness symptoms.
You’ll need to adjust your IPD to match your eye distance—incorrect settings cause visual strain and nausea. Make sure your headset sits snugly without being too tight. This balance helps prevent discomfort that contributes to motion sickness.
Choose headsets with adjustable IPD settings for personalized visual comfort. When you maintain consistent, appropriate fit during sessions, you’ll gradually develop VR legs—increasing your tolerance to virtual environments over time.
This incremental adaptation minimizes simulator sickness likelihood while maximizing your VR experience quality.
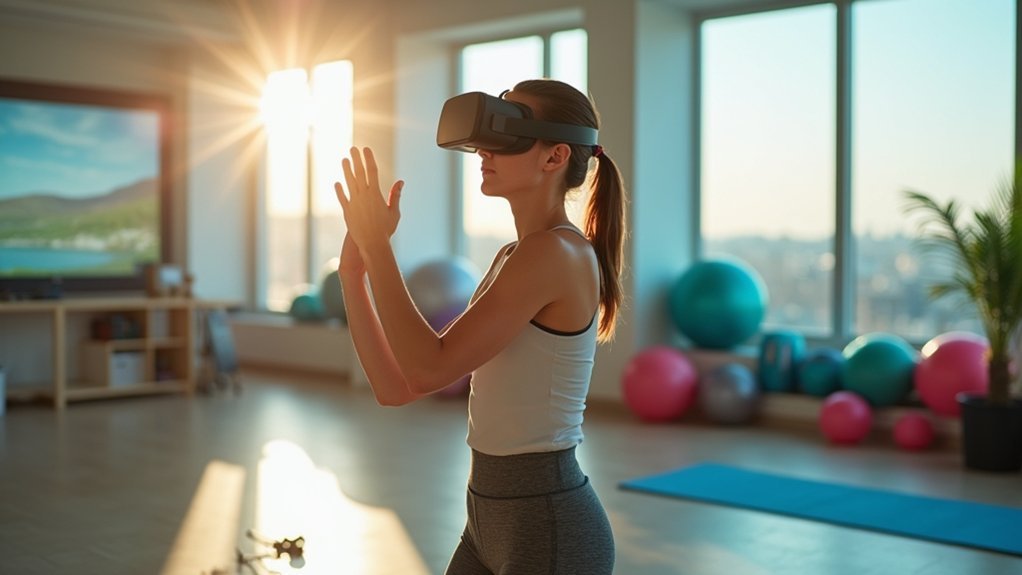
Progressive Exposure Protocols for Building VR Tolerance
Since your body needs time to adapt to virtual reality’s unique sensory demands, progressive exposure protocols offer the most effective pathway to building lasting VR tolerance.
These systematic approaches work by gradually conditioning your sensory signals to handle VR’s complex visual-vestibular conflicts without triggering VR sickness.
Start with short 10-15 minute sessions before extending duration.
Begin with simple, stationary experiences rather than complex simulator training scenarios.
Use teleportation movement instead of smooth locomotion during initial sessions.
Focus on seated experiences before attempting standing or room-scale VR.
This incremental adaptation strategy allows your nervous system to slowly adjust without overwhelming responses.
Research consistently shows that users following structured progressive exposure protocols experience considerably fewer nausea episodes and develop stronger VR tolerance over time.
Software-Based Comfort Settings and Adaptive Controls
While physical adaptation remains essential, modern VR software provides powerful comfort settings that you can adjust to dramatically reduce simulator sickness before it starts.
These software-based comfort settings include teleportation movement for navigation, which eliminates sensory conflicts that trigger nausea. You’ll find adaptive controls particularly effective when customizing movement speed, field of view, and brightness within your virtual environment.
VR tunneling mode maintains immersion quality while lowering sickness symptoms. Blinders that restrict peripheral motion prevent visual disorientation during sessions.
Smooth locomotion options using head-based or hand-based movement controls offer additional comfort improvements. By configuring these adaptive controls before entering your virtual environment, you’re actively preventing the sensory conflicts that cause simulator sickness rather than simply enduring discomfort.
Physical Preparation Techniques and Environmental Optimization
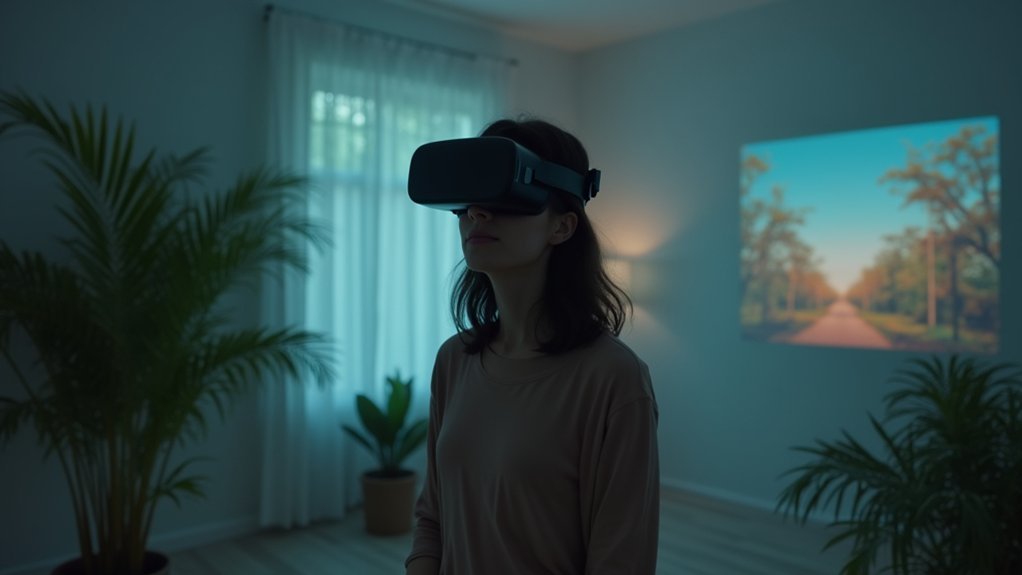
Although software settings provide essential comfort adjustments, your physical preparation and environmental setup form the foundation for preventing simulator sickness.
These physical preparation techniques create ideal conditions before you even enter the virtual world.
Proper physical setup and environmental preparation establish the groundwork for comfortable VR experiences before immersion begins.
Environmental optimization begins with proper headset fit and interpupillary distance calibration for visual clarity. You’ll want to guarantee adequate air circulation and temperature control in your simulation space.
Gradual exposure remains vital—start with simple scenarios before advancing to complex environments.
- Position yourself in a stable sitting arrangement to minimize disorientation and enhance balance
- Adjust lighting conditions to reduce visual strain and complement the virtual environment
- Maintain ideal room temperature with proper ventilation for sustained comfort
- Calibrate headset settings precisely to match your individual measurements and preferences
Monitoring Symptoms and Adjusting Session Duration
You’ll need to actively monitor your body’s responses during simulator sessions since symptoms can emerge quickly and vary in intensity.
Watch for early warning signs like nausea, dizziness, or eye strain, and don’t hesitate to adjust your session length immediately when discomfort appears.
Your ability to recognize these symptoms in real-time and modify exposure duration accordingly will determine whether you can build tolerance or need to cut sessions short.
Real-Time Symptom Assessment
How can you effectively monitor participants during simulation sessions to catch early warning signs of discomfort?
Real-time symptom assessment enables you to identify symptoms of simulator sickness before they escalate, allowing for immediate intervention. You’ll want to implement the Simulator Sickness Questionnaire (SSQ) as your primary assessment tool, giving you quantifiable data on participant discomfort levels.
This approach provides training solutions that minimize severe reactions while maximizing learning outcomes.
Key monitoring strategies include:
- Continuous observation – Watch for visual cues like pale skin, sweating, or changes in posture
- Regular check-ins – Ask participants about nausea, dizziness, or eye strain every few minutes
- Baseline measurements – Establish pre-session comfort levels using standardized questionnaires
- Flexible session durations – Adjust timing based on real-time feedback and symptom severity
Dynamic Session Length Control
Once you’ve gathered real-time symptom data, the next step involves using that information to dynamically adjust session lengths and intensity levels. Dynamic session length control allows you to monitor participants’ symptoms throughout training, reducing simulator sickness risks while maintaining effectiveness.
Start with acclimation drives using brief exposures—research shows limiting initial scenarios to under one minute markedly enhances retention while decreasing discomfort. You’ll need to continuously evaluate trainee comfort, making timely adjustments based on real-time feedback from participants.
| Session Phase | Recommended Duration |
|---|---|
| Initial Exposure | <60 seconds |
| Acclimation Drive | 2-3 minutes |
| Basic Training | 5-10 minutes |
| Intermediate | 10-15 minutes |
| Advanced | 15-20 minutes |
This approach mitigates nausea and dizziness while improving overall training outcomes through adaptive session management.
Advanced Strategies for Long-Term Adaptation Success
While shorter exposure sessions provide initial relief from simulator sickness, developing true long-term resilience requires a systematic approach that builds upon your body’s natural adaptation mechanisms.
Gradual exposure to VR environments allows your sensory systems to recalibrate and reduce symptoms of motion sickness over time. Before simulator sickness begins affecting performance, implement incremental acclimation scenarios that progressively challenge your tolerance while maintaining comfort levels.
- Start with stationary experiences before introducing movement-based scenarios
- Extend session duration by 5-10 minutes weekly as tolerance improves
- Maintain proper air circulation and cool temperatures during extended training
- Schedule consistent practice sessions rather than sporadic, intensive exposure
This structured progression transforms your body’s conflicting sensory responses into coordinated adaptation, ultimately eliminating discomfort entirely.
Frequently Asked Questions
How to Fix Simulator Sickness?
You can fix simulator sickness by gradually exposing yourself to virtual environments, customizing comfort settings, using teleportation movement, maintaining proper air circulation, and limiting initial sessions to under one minute.
How to Overcome VR Sickness?
You’ll overcome VR sickness by gradually increasing exposure time, using teleportation movement, adjusting your headset’s IPD settings properly, staying seated during sessions, and customizing comfort settings like movement speed.
Can You Adapt to VR Motion Sickness?
You can definitely adapt to VR motion sickness through gradual exposure. Start with short sessions, use teleportation instead of smooth movement, maintain good posture, and guarantee proper ventilation while building your “VR legs.”
Does Dramamine Help With VR Sickness?
Dramamine can help reduce VR sickness symptoms like nausea and dizziness for some people. You’ll want to take it about an hour before using VR for best results, though effectiveness varies.


Leave a Reply