You’ll need to secure all furniture over 30 inches tall within your VR play area to prevent potentially deadly tip-over accidents that occur when players lose spatial awareness during immersive gameplay. Use a stud finder to locate wall studs, then attach L-hooks or brackets with 2-inch wood screws directly into studs—never rely on drywall anchors for heavy furniture. Connect quality restraint straps made from nylon webbing or braided steel cable between the brackets and your furniture, focusing particularly on tall dressers, bookcases, and entertainment centers with full-extension drawers that pose the highest risks. Test your anchoring system’s stability by gently pushing against secured pieces, and inspect all connections every six months to guarantee continued protection for your virtual reality adventures.
Understanding VR Space Safety Requirements
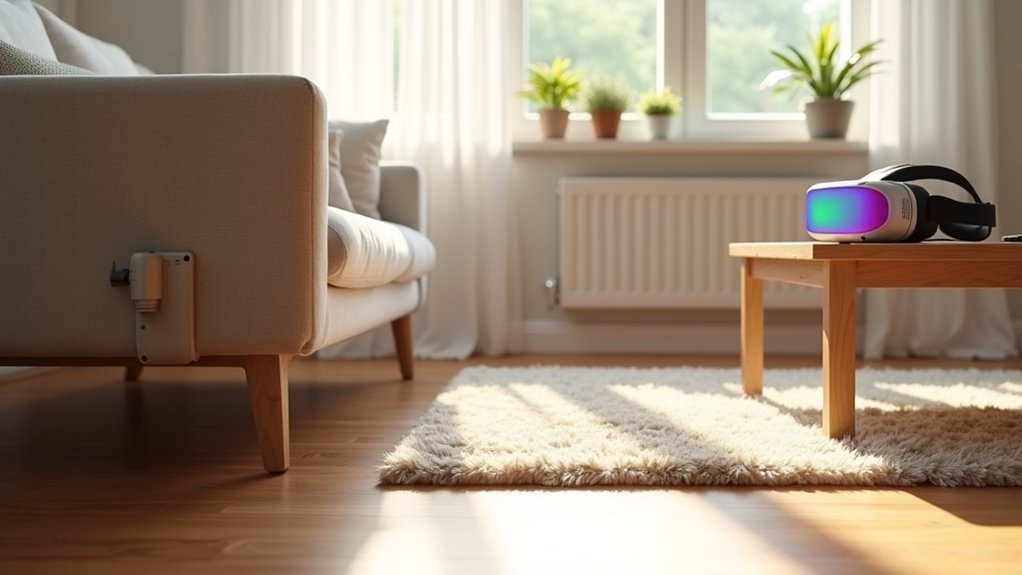
When you’re setting up a VR play space, you’ll face unique safety challenges that don’t exist with traditional gaming setups. VR requires free movement and immersive gameplay that can make you unaware of your surroundings, creating serious furniture safety risks.
Heavy bookcases, dressers, and tall furniture pose significant tip-over hazards when you’re maneuvering through virtual environments. Child safety becomes even more critical since approximately 75% of tip-over fatalities involve furniture, and 11,100 children receive treatment for tip-over injuries annually.
Your VR space demands rigorous anchoring furniture protocols to secure furniture properly. Unlike stationary gaming, VR’s dynamic movement patterns increase collision risks with unsecured items. You must evaluate every piece of furniture for stability and implement thorough anchoring systems before anyone begins playing.
Identifying Furniture That Poses Tip-Over Risks
Your VR setup requires careful assessment of specific furniture types that present the highest tip-over dangers. Tall dressers, bookcases, and entertainment centers pose significant furniture tip-over risks when you’re moving around during gameplay.
You’ll need to prioritize securing furniture pieces with full-extension drawers, as they’re particularly unstable when opened. The U.S. Consumer Product Safety Commission reports 11,100 annual child injuries from tip-overs, with 75% of fatalities involving televisions.
Your risk of tipping increases dramatically with any furniture over 30 inches tall. Focus your safety measures on pieces that could fall into your play area.
Furniture Anchors become essential for dressers, TV stands, and bookcases positioned near your VR space, protecting both equipment and players.
Essential Tools and Hardware for Anchoring
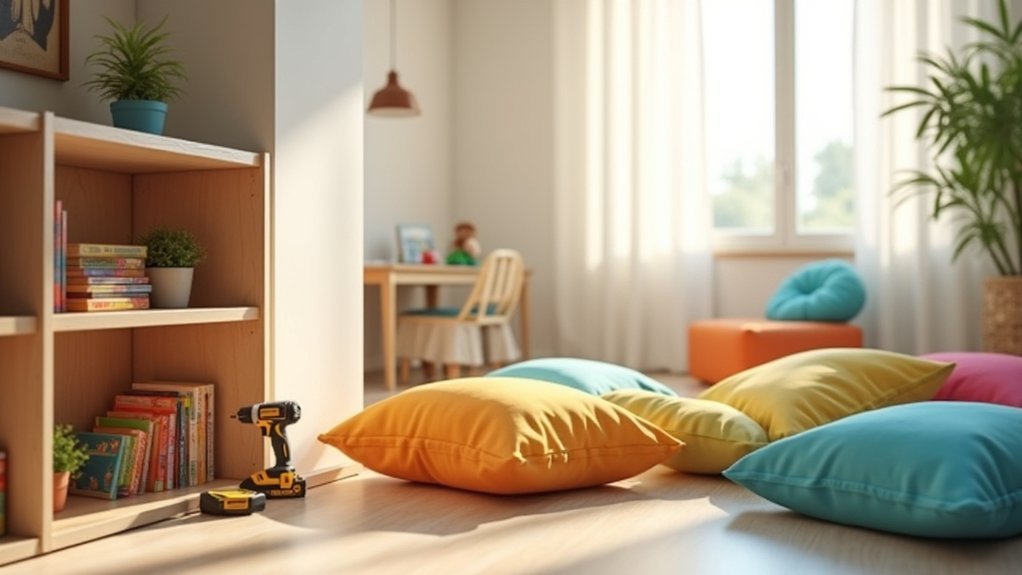
You’ll need the right tools and hardware to anchor furniture safely and effectively.
Start by gathering a stud finder, measuring tape, and screwdriver or drill for the installation process.
Choose quality hardware like L-hooks or brackets with 2-inch wood screws, plus durable restraint straps made from nylon webbing or braided steel cable.
Required Installation Tools
Several essential tools will make anchoring furniture a straightforward process that you can complete safely and effectively. You’ll need a stud finder to locate wall studs for maximum stability, plus a measuring tape for precise height marking. A drill or screwdriver helps install screws securely into the wall.
| Tool Category | Essential Items | Purpose |
|---|---|---|
| Detection | Stud finder, measuring tape | Locate studs, mark positions |
| Installation | Drill, screwdriver bits | Create pilot holes, install screws |
| Finishing | Putty knife, spackling paste | Patch holes, smooth walls |
Purchase L-brackets from hardware stores, ensuring they’re at least 2 inches for proper furniture anchoring. Use 2-inch wood screws minimum for stud attachment. Consider nylon webbing or steel cables for flexible connections between furniture and wall brackets.
Hardware Selection Guide
Having the right tools sets you up for success, but choosing the correct hardware determines whether your anchoring system will hold when it matters most.
Your hardware selection guide should prioritize L-hooks or brackets that attach directly to wall studs for maximum strength. Use at least 2-inch wood screws to create secure connections—never rely on drywall anchors for heavy furniture.
Nylon webbing or braided steel cables provide additional stability and reduce the risk of a tip-over. When you anchor furniture properly, these components work together as a system.
Zero-screw kits offer alternatives when drilling isn’t possible, though traditional methods remain superior. Always follow installation instructions precisely, and check for hidden electrical or plumbing before drilling to guarantee safe, effective anchoring.
Locating Wall Studs for Secure Installation
You’ll need to locate wall studs accurately before installing any furniture anchors, as they provide the strongest foundation for securing heavy items.
Use a reliable stud finder to detect studs behind your wall surface, keeping in mind that they’re typically spaced 16 inches apart in most homes.
Once you’ve found the studs, mark their exact locations on the wall to guarantee your anchor brackets align properly for maximum stability.
Finding Studs Accurately
Where exactly are the wooden supports hiding behind your drywall?
You’ll find studs spaced approximately 16 inches apart in most homes, making stud finders essential for accurate detection. Use a magnetic stud finder, especially effective on challenging plaster walls where density makes location difficult.
Once you’ve detected a potential stud, don’t rely solely on the finder’s reading.
Drill a small pilot hole with a drill bit to confirm you’re on target before proceeding. This verification step prevents costly mistakes during installation.
Mark the wall at confirmed stud locations to guarantee proper furniture anchoring placement.
Remember, avoid drywall anchors or toggle bolts for heavy furniture—they lack necessary holding power.
When you install the furniture anchors directly into studs, you’ll achieve maximum stability and safety.
Marking Stud Locations
After you’ve confirmed stud locations through pilot holes, grab a pencil and clearly mark each spot on the wall. Mark stud locations precisely at their center points, ensuring your brackets will align with the strongest part of the wooden frame.
Use a level to draw vertical lines at each confirmed stud position, extending from floor to the height where you’ll install your anchor points.
Double-check your measurements by confirming the typical 16-inch spacing between marks. These visible guidelines will streamline your bracket installation process and prevent costly mistakes.
When you anchor furniture to the wall using these marked stud locations, you’ll greatly reduce the risk of tip-over accidents. Accurate marking creates a roadmap for secure installation that protects your family.
Anchoring Techniques for Different Wall Types
Since different wall types require specific anchoring approaches, understanding your wall’s construction becomes essential before installing any furniture safety anchors.
Each wall material demands tailored techniques to guarantee your heavy furniture stays securely attached.
Here are the key anchoring methods for different wall types:
- Drywall: Locate studs spaced 16 inches apart using a stud finder, then drive 2-inch wood screws directly into the stud for maximum holding power.
- Plaster walls: Use magnetic stud finders and drill small pilot holes to prevent cracking during anchor installation.
- Masonry walls: Employ hammer drills with specialized masonry bits, though professional installation is recommended for safety.
- All walls: Never rely on standard drywall anchors for heavy furniture.
- Repairs: Use spackling paste or masonry filler for clean hole patching after safety testing.
Securing Entertainment Centers and TV Stands
Entertainment centers and TV stands present unique anchoring challenges due to their height, weight distribution, and the valuable electronics they support. You’ll need to secure these pieces properly since they’re among the most dangerous furniture items in your home. The Consumer Product Safety Commission reports 451 child fatalities from tip-overs between 2000-2019, making proper anchoring essential.
| Component | Anchor Type | Installation Method |
|---|---|---|
| TV Stand | Metal brackets | Attach to wall studs |
| Entertainment Center | Cable straps | Use 2-inch screws |
| Wall-mounted TV | Mounting bracket | Secure to multiple studs |
When installing anchoring devices, always locate wall studs using a stud finder. Don’t rely on drywall anchors alone—they won’t hold heavy furniture. Many manufacturers include straps, so follow their instructions carefully for best safety.
Protecting Bookcases and Tall Storage Units
While entertainment centers pose significant risks, bookcases and tall storage units create equally dangerous tip-over hazards that you must address immediately.
The CPSC reports 11,100 children receive annual treatment for furniture tip-over injuries, making safety anchoring vital.
You’ll need proper equipment to secure these pieces effectively:
- Use brackets and cables designed for heavy furniture
- Connect anchors directly to wall studs for maximum stability
- Install 2-inch wood screws instead of unreliable drywall anchors
- Position anchors at the furniture’s highest stable point
- Test connections regularly to guarantee continued effectiveness
The STURDY Act emphasizes improved safety standards, reinforcing why you can’t ignore this critical step.
Heavy bookcases become lethal projectiles during earthquakes or when children climb them, making proper wall stud anchoring non-negotiable for safe homes.
Testing Anchor Stability Before VR Sessions
Before you hand over VR headsets to excited children, you must verify that your anchored furniture can withstand the inevitable bumps and sudden movements that virtual reality play generates.
Test anchor stability by gently pushing and pulling each piece to guarantee it remains securely attached to the wall. Check that screws and straps on furniture anchors are tight, as loose connections increase tip-over risks during active sessions.
Perform visual inspections to confirm anchors are properly installed and undamaged. Store heavy shelf items low to the ground and secure them properly.
Educate children about not climbing on or leaning against furniture while using VR equipment to prevent accidents during play.
Maintaining and Inspecting Furniture Anchors
Even after testing your furniture anchors before VR sessions, you’ll need to inspect them regularly to maintain long-term safety.
Anchoring devices can degrade over time, especially in high-use areas where VR players move frequently.
To keep your play space secure and prevent accidents, follow these essential maintenance steps:
- Inspect anchors every six months for signs of wear, loosening, or damage
- Check all screws and connections to verify they remain tight and properly fastened
- Test furniture stability by gently pushing against anchored pieces to detect wobbling
- Replace damaged anchoring devices immediately when you notice deterioration or ineffectiveness
- Schedule more frequent checks if you have active children or pets using the space
Regular maintenance guarantees your VR environment stays safe for extended gaming sessions.
Frequently Asked Questions
How to Anchor Heavy Furniture?
You’ll need brackets, straps, and 2-inch wood screws. Find wall studs with a stud finder, then attach one bracket to your furniture and another to the stud for secure anchoring.
Can You Anchor Furniture Without Drilling?
Yes, you can anchor furniture without drilling using zero-screw kits with strong adhesives or heavy-duty straps. However, these work best for lighter pieces since they’re less secure than traditional drilled anchors.
What Height Furniture Needs to Be Anchored?
You should anchor furniture taller than 30 inches, including bookcases, dressers, and wardrobes. These pieces pose tipping risks, especially around children. Don’t wait—secure any tall furniture that could fall and cause injury.
What Is the Best Furniture Anchor for Babyproofing?
You’ll want anti-tip kits with steel cables or nylon straps that meet safety standards. These brackets securely attach furniture to wall studs, providing reliable strength to prevent dangerous tip-over incidents during children’s play.
In Summary
You’ve now equipped your space with properly anchored furniture that won’t topple during intense VR gaming sessions. Remember to test your anchors regularly and inspect hardware for wear every few months. Don’t skip the stability checks before each play session – they’re your safety net. With tall furniture securely fastened and your VR boundaries clearly marked, you can fully immerse yourself in virtual worlds without worrying about real-world hazards.


Leave a Reply