You can fix most room-scale VR tracking problems by ensuring your play space is at least 3m x 3m, cleaning headset sensors with a microfiber cloth, and replacing dead controller batteries immediately. Reset your boundary settings through the settings panel, switch between Stationary and Roomscale modes to force a fresh scan, and position sensors higher with downward angles for better coverage. Maintain bright, uniform lighting while avoiding shadows and natural light dependency for consistent performance. These solutions address the core issues that cause tracking failures.
Check Your Physical Play Space Requirements
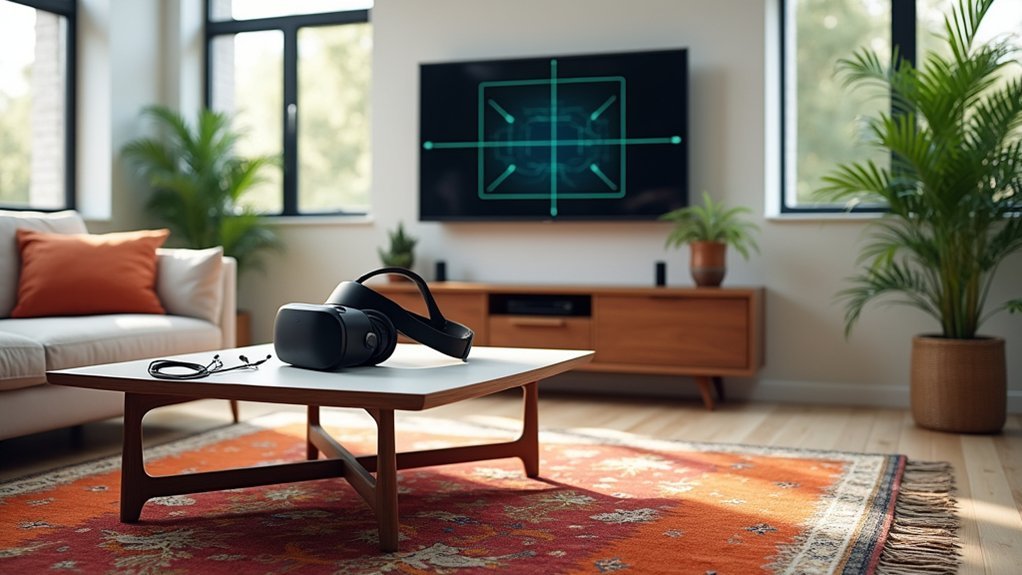
Before diving into software solutions, you’ll need to verify that your physical setup meets the basic requirements for room-scale VR tracking. Your play space should measure at least 3m x 3m for ideal performance.
Remove furniture that’s too close to your intended play area and create a boundary with a simple box shape around the perimeter. Maintain a buffer zone between your real and virtual boundaries to prevent accidental collisions during gameplay.
When setting up your boundary, keep the headset facing directly into the play area to guarantee proper alignment. Regularly inspect the tracking area for new obstructions like boxes, cables, or pets that could interfere with the headset’s boundary detection system and compromise tracking accuracy.
Reset and Recalibrate Your Boundary Settings
When your Quest 3’s boundary tracking acts up, you’ll need to reset the system’s memory of your play area.
Start by clearing your boundary history through the settings panel, then switch between Stationary and Roomscale modes to force a fresh room scan.
If problems persist, perform a hard reboot to clear the device cache and eliminate any lingering software bugs.
Clear Boundary History First
One of the most effective solutions for persistent tracking problems involves clearing your Quest 3’s boundary history entirely. This process removes confused tracking data that’s causing your VR headset to malfunction.
You’ll find this option in Quick Settings, where you can select to clear boundary history completely.
Here’s how to properly clear and reset your boundaries:
- Access Quick Settings and locate the boundary history clearing option
- Confirm the deletion of all previous boundary data stored on your headset
- Immediately re-run the room-scale boundary setup in well-lit conditions
After clearing boundary history, you’ll need to redraw your boundaries from scratch.
Trace a simple box shape while avoiding furniture and obstacles. This fresh start often resolves persistent Guardian system issues that hard reboots alone can’t fix.
Switch Between Boundary Modes
Switching between boundary modes often resolves tracking issues that persist even after clearing your boundary history. Access Quick Settings and toggle between Stationary and Roomscale modes to recalibrate your space effectively. This forces your Quest 3 to reassess the environment and create fresh tracking data.
| Boundary Mode | Best Used When | Setup Time |
|---|---|---|
| Stationary | Limited space or sitting | 30 seconds |
| Roomscale | Full room movement desired | 2-3 minutes |
When you switch between boundary modes, allow adequate time for detailed roomscale boundary recreation, especially in new areas. If you’ve moved rooms or floors, make certain your headset scans completely to avoid boundary confusion during gameplay. Maintain buffer zones between real and virtual boundaries during setup to enhance safety and minimize tracking errors.
Hard Reboot Device Cache
Persistent tracking issues require more aggressive troubleshooting beyond switching boundary modes. A hard reboot clears your Quest 3’s device cache, resolving stubborn tracking problems that standard restarts can’t fix.
To perform a hard reboot:
- Power off completely – Hold the power button until your headset shuts down
- Execute hard reboot – Simultaneously press and hold both power and volume buttons until the device powers back on
- Clear boundary history – Access Quick Settings menu and delete existing boundary data for a fresh start
After rebooting, re-run your boundary setup by selecting either Stationary or Roomscale mode. Face your headset toward your PC during setup to improve scanning accuracy.
If tracking problems persist after this process, submit a bug report to support for further investigation.
Clean Your Headset Sensors and Controllers
Dirty sensors and controllers are common culprits behind tracking failures, so you’ll need to clean them regularly for ideal performance.
Your Quest 3 headset has three dark pill-shaped sensors and two circular sensors that collect dust, fingerprints, and oils from regular use.
Let’s examine the proper cleaning methods for sensors and the maintenance steps you should follow for your controllers.
Sensor Cleaning Methods
When your Quest 3’s tracking performance starts to decline, the culprit is often dirty sensors that need a thorough cleaning. Dust and smudges on these components can greatly impact accuracy, leading to frustrating tracking issues during gameplay.
Proper sensor cleaning requires three essential steps:
- Use a microfiber cloth to gently wipe the three dark pill-shaped sensors on your headset and the two circular sensors on your controllers.
- Apply cleaning solution to the cloth first – never directly onto the sensors to prevent damage.
- Check for obstructions in your tracking area that might interfere with sensor functionality.
Clean your sensors frequently, especially when you notice responsiveness problems. This simple maintenance routine prevents most tracking complications and keeps your VR experience smooth.
Controller Maintenance Steps
Beyond keeping your headset sensors spotless, your controllers need equally thorough attention to maintain reliable room-scale tracking.
Start your controller maintenance routine by examining the tracking lights for dirt and debris buildup. Even small particles can cause your system to lose tracking unexpectedly during gameplay.
Use a clean microfiber cloth to gently wipe around the tracking rings and surfaces.
Pay special attention to areas where your hands naturally grip, as oils and sweat can accumulate over time.
Check your battery levels regularly, as low power greatly impacts tracking responsiveness.
Replace dead batteries immediately to prevent tracking failures mid-session.
Make controller maintenance part of your pre-use checklist.
A quick inspection before each VR session prevents frustrating interruptions and guarantees smooth, accurate tracking throughout your experience.
Optimize Room Lighting Conditions
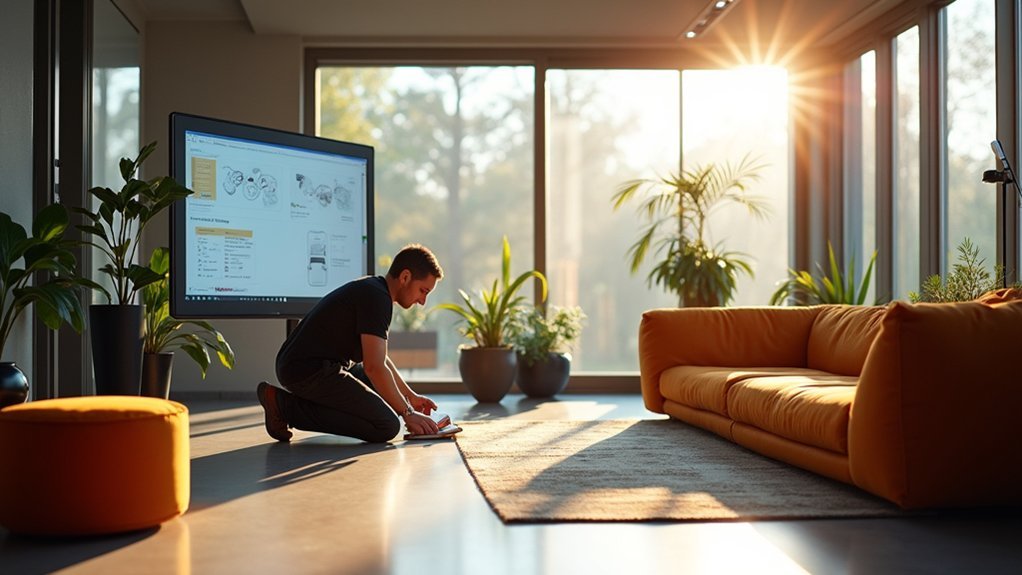
Proper lighting serves as the foundation for reliable Quest 3 tracking, since the headset’s depth sensors depend on adequate illumination to map your play area accurately.
Bright environments help maintain clear visibility of your tracking area, reducing the chances of losing tracking during gameplay. You’ll want to avoid dim lighting or relying solely on natural light, as fluctuating conditions can confuse the tracking system.
To maximize your room’s lighting setup:
- Install bright, uniform lighting sources around your play area to minimize shadows.
- Clean your VR sensors regularly and verify they’re free from obstructions.
- Test your tracking performance under different lighting conditions to find the ideal setup.
Consistent, well-distributed lighting will greatly enhance your room-scale VR experience.
Verify Controller Battery Life and Connectivity
Controller battery levels directly impact your Quest 3’s tracking performance, making battery management a key factor in maintaining stable room-scale VR sessions.
Always check your controller battery life before starting any VR experience, as nearly dead batteries create connectivity issues and tracking problems that’ll disrupt your gameplay.
When controllers become unresponsive, press and hold the pairing button and Windows button simultaneously for five seconds to reset them.
Make sure you’ve installed fresh batteries before attempting this reset to prevent repeated connectivity issues during pairing.
After resetting, pair your controllers again with your PC.
Look for steady lights indicating successful connection.
If problems persist, open Mixed Reality Portal and navigate to controller setup for additional troubleshooting options.
Adjust Sensor Placement and Configuration
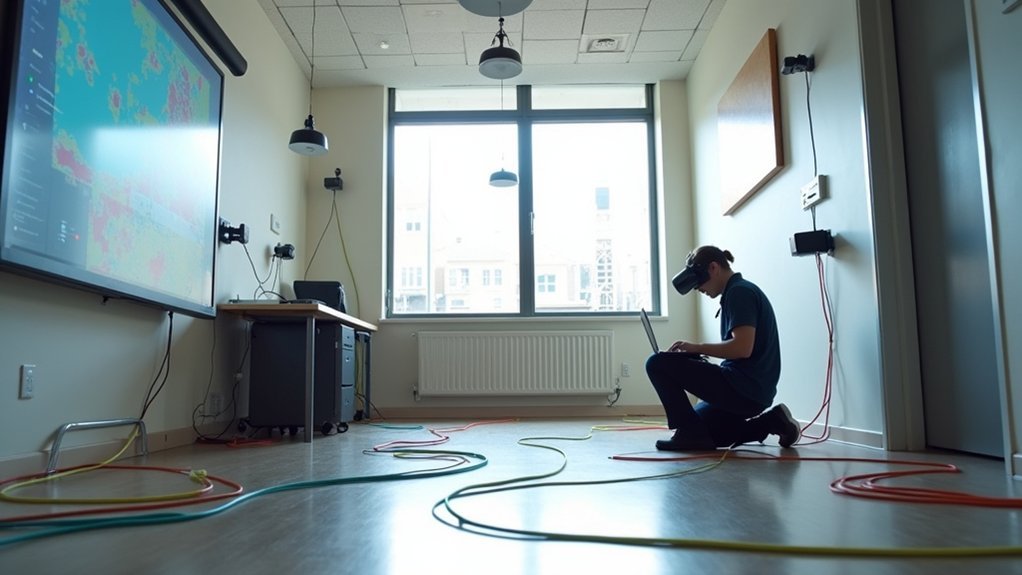
While controller connectivity forms the foundation of good tracking, sensor placement and configuration determine whether you’ll experience smooth room-scale movement or frustrating dead zones.
Your sensor placement directly impacts tracking performance, so getting this right is vital.
Proper sensor positioning is the difference between seamless virtual reality immersion and constant tracking interruptions that break your experience.
For Touch users, start with two forward-facing sensors positioned higher and angled downward. This configuration provides better coverage than single sensors, especially in areas up to 10 feet.
Consider these essential setup tips:
- Connect two sensors to USB 3.0 ports and any third sensor to USB 2.0 to prevent overwhelming your USB host controller.
- Use high-quality extension cables and wall mounts for flexible positioning.
- Check Windows Device Manager to verify sensors are spread across different host controllers.
This approach maximizes tracking stability and eliminates common dead zones.
Troubleshoot USB Bandwidth and Host Controller Issues
USB bandwidth limitations can cripple your VR tracking even with perfectly positioned sensors. To optimize your setup, connect two sensors to USB 3.0 ports and one to USB 2.0. This prevents overloading a single USB version, which causes performance problems.
Check your USB host controllers through Windows Device Manager to confirm your configuration. Spreading sensors across different USB host controllers improves tracking performance and reduces conflicts between devices.
Never use USB hubs for sensor connections—they introduce latency that creates tracking inaccuracies.
If you need sensors positioned far from your PC, invest in high-quality USB extension cables, especially for USB 2.0 connections. These maintain stable connections and consistent performance, ensuring your room-scale tracking works smoothly without frustrating interruptions or dead zones.
Frequently Asked Questions
Why Does My Tracking Drift After Playing for Extended Periods?
Your tracking drifts because sensors accumulate small errors over time, lighting conditions change, or reflective surfaces interfere with camera detection. Heat from extended play can also affect hardware calibration accuracy.
Can Interference From Wifi Routers Affect VR Tracking Accuracy?
Yes, WiFi routers can interfere with your VR tracking accuracy. They operate on similar 2.4GHz frequencies as some tracking systems. You’ll notice jitter or drift when routers are too close to your headset or base stations.
How Do Reflective Surfaces Like Mirrors Impact Room-Scale Tracking Performance?
Reflective surfaces like mirrors confuse your VR tracking system by creating false infrared light reflections. You’ll experience tracking glitches, drift, and controller positioning errors. Cover mirrors with cloth or reposition your play area away from reflective surfaces.
What Should I Do When Tracking Works Fine but Height Feels Wrong?
Check your headset’s floor calibration settings and recalibrate if needed. You’ll want to guarantee you’re standing at proper height during setup. Some systems let you manually adjust floor level in tracking or guardian settings.
Why Does My VR System Lose Tracking When I Face Certain Directions?
You’re likely blocking sensors with your body or facing away from tracking cameras. Check if base stations are positioned diagonally across your play area and verify nothing’s obstructing their line of sight.
In Summary
You’ve now covered the essential steps to resolve room-scale tracking issues quickly. Start with your physical space and boundary settings, then move through sensor cleaning, lighting optimization, and controller checks. Don’t forget to verify your sensor placement and USB connections if problems persist. Most tracking issues stem from these common culprits, so you’ll likely find your solution by working through this systematic approach. Your VR experience should be smooth again.
Leave a Reply