You’ll achieve perfect room-scale VR tracking by positioning two sensors diagonally in opposite corners at 6-7 feet high, angled inward at 45 degrees toward your play area’s center. Connect one sensor to USB 3.0 and the other to USB 2.0 on separate host controllers to prevent bandwidth bottlenecks. Eliminate reflective surfaces and bright sunlight that disrupt infrared tracking, while maintaining a minimum 2M x 1.5M play space with one-foot safety buffers from walls. Understanding these advanced optimization techniques will transform your VR experience entirely.
Understanding Tracking Technologies and System Requirements
Before you can position your sensors effectively, you’ll need to understand the fundamental differences between tracking technologies and their specific requirements.
Your VR headset will use either 3DoF tracking, which only monitors rotational movements, or 6DoF tracking that captures both rotation and translation for complete spatial awareness.
Understanding your headset’s tracking capabilities—3DoF for rotation only or 6DoF for complete spatial movement—determines your entire setup approach.
External sensor systems like Oculus Rift and HTC Vive require careful sensor placement around your play area, while inside-out tracking headsets such as Oculus Quest rely on built-in cameras.
You’ll need at least 2M x 1.5M of space for comfortable room-scale experiences.
Consider each system’s limitations when planning your setup.
HTC Vive’s laser-based tracking performs more reliably in larger spaces compared to Oculus Rift’s constellation tracking, which can struggle with extended coverage areas.
Two-Sensor Setup Configuration for Optimal Coverage
You’ll achieve the best tracking coverage by positioning your two sensors diagonally across from each other in opposite corners of your play space.
Angle both sensors inward toward the center of your room at approximately 6-7 feet high, ensuring they overlap their coverage zones for maximum accuracy.
Connect each sensor to separate USB controllers to prevent bandwidth bottlenecks that can compromise tracking performance.
Diagonal Corner Placement Strategy
When setting up two sensors for ideal VR tracking, positioning them in diagonal corners of your room creates the most effective coverage pattern.
This diagonal arrangement maximizes overlapping sensor fields, greatly enhancing tracking accuracy throughout your designated play area. You’ll want to mount each sensor high on walls or shelves, angling them downward at approximately 45 degrees to broaden their field of view.
Keep your sensors within 10 feet of each other to maintain peak performance and avoid tracking issues. Aim both sensors toward your room’s center, ensuring the tracking volume covers your most active areas.
This strategic diagonal corner placement can extend your effective room scale tracking range up to 10 feet, delivering a truly immersive experience with smooth, reliable movement detection across your entire play space.
Forward-Facing Angle Optimization
Since diagonal placement establishes your sensors’ positions, you’ll need to fine-tune their angles to create ideal forward-facing coverage. Your Oculus sensors should angle inward at approximately 45 degrees, pointing down toward your central play area. This forward facing configuration maximizes tracking volume while minimizing blind spots that cause hand tracking issues.
Position both sensors to converge on your primary activity zone, creating overlapping coverage fields. The downward angle prevents occlusion problems when you’re reaching or moving dynamically.
Maintain forward-facing orientation to guarantee your sensors capture hand movements accurately during gameplay.
- Angle sensors inward at 45 degrees for maximum coverage overlap
- Point sensors downward to reduce occlusion during arm movements
- Focus both sensors on your central play area
- Test tracking quality by moving throughout the space
- Make micro-adjustments until you achieve ideal tracking performance
USB Controller Distribution
Proper USB controller distribution prevents bandwidth bottlenecks that can cripple your tracking performance.
When configuring multiple sensors, you’ll want to connect one sensor to a USB 3.0 port and the other to a USB 2.0 port. This prevents both devices from competing for bandwidth on the same controller, which causes stuttering and tracking drops.
Never place both sensors on identical USB versions since they’ll share bandwidth limits and create performance issues.
Instead, spread them across different controllers to maximize efficiency. Use Windows Device Manager to verify your sensors are distributed across separate host controllers rather than sharing the same one.
This USB controller distribution strategy guarantees your multiple sensors operate smoothly while maintaining peak tracking performance throughout your room-scale setup.
Corner Placement Strategy for Maximum Room Coverage
You’ll achieve maximum room coverage by positioning your sensors in diagonal corners of your play space, creating overlapping fields that eliminate blind spots.
Mount them high on walls or stands and angle them downward at approximately 45 degrees toward the center of your tracking area.
This diagonal corner strategy guarantees you’re capturing movement from multiple angles, dramatically improving tracking accuracy throughout your entire VR experience.
Diagonal Corner Positioning Benefits
Why settle for limited tracking coverage when diagonal corner positioning can transform your entire room into a seamless virtual reality playground?
When you place sensors in diagonal corners, you’ll create overlapping tracking zones that dramatically enhance accuracy and responsiveness throughout your space. This strategic positioning gives each sensor a wider field of view, eliminating blind spots that plague other configurations.
You’ll achieve peak tracking by angling sensors inward toward your play area’s center, creating an effective combined tracking volume.
Mount them high and angle downward at 45 degrees for maximum coverage. This setup supports room-scale experiences up to 8×8 feet with three sensors.
- Overlapping tracking zones enhance movement detection accuracy
- Wider sensor field of view eliminates tracking blind spots
- Inward angling creates superior combined tracking volume
- Supports larger play areas up to 64 square feet
- High mounting with downward angles maximizes coverage
Angling Sensors Downward Effectively
When sensors are angled downward at 45 degrees from elevated corner positions, they create an ideal tracking envelope that captures your movements from above while maintaining thorough floor-to-ceiling coverage.
This downward angle maximizes your tracking volume by ensuring the tracking camera captures hand gestures at various heights without losing sight of your controllers when you reach overhead or crouch down.
For Roomscale VR experiences, positioning each tracking camera with this specific downward tilt prevents common occlusion issues that occur with horizontal mounting.
You’ll achieve better tracking accuracy when sensors point toward the center of your play space from above, creating overlapping coverage zones that maintain consistent tracking even during rapid movements or when you turn away from individual sensors.
Height and Angle Optimization for Sensor Mounting
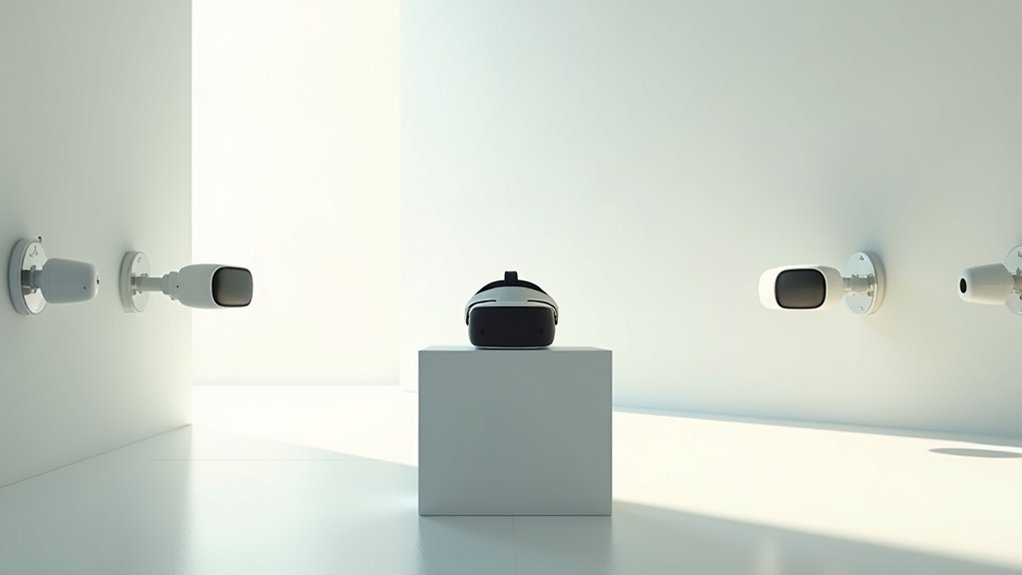
Since tracking accuracy depends heavily on proper sensor positioning, mounting your sensors at the perfect height of 7 to 8 feet provides the best foundation for room-scale VR experiences.
At this elevation, you’ll achieve ideal coverage while maintaining clear sight lines to your play area. The angle is equally critical – tilting your sensors downward at approximately 45 degrees maximizes their field of view and reduces blind spots.
Optimal sensor elevation ensures unobstructed tracking while the 45-degree downward angle eliminates dead zones for seamless VR performance.
This height and angle combination guarantees your sensors can effectively track controllers and headset movements throughout your entire play space.
You’ll notice fewer tracking interruptions and more responsive gameplay when you position sensors correctly.
- Mount sensors between 7-8 feet high for maximum coverage
- Angle sensors downward at 45 degrees to eliminate blind spots
- Guarantee overlapping coverage in your central play area
- Position sensors facing toward your primary activity zone
- Avoid excessive spacing that reduces tracking quality
USB Bandwidth Management and Host Controller Distribution
You’ll need to identify your PC’s USB host controllers before connecting your sensors to guarantee peak tracking performance.
Start by opening Windows Device Manager and viewing devices “by connection” to see which USB ports connect to which host controllers.
This knowledge lets you strategically distribute your sensors across different controllers, preventing bandwidth bottlenecks that can degrade tracking quality.
Host Controller Identification
Although USB ports may look identical on your computer, they’re connected to different host controllers that manage bandwidth allocation differently.
For ideal Oculus Constellation tracking, you’ll need to identify which controllers your sensors are using to prevent USB bandwidth management issues.
Windows Device Manager makes host controller identification straightforward. Navigate to Device Manager, select “View by connection,” and examine your USB controllers. This view reveals exactly which sensors connect to which host controllers, allowing you to strategically distribute your tracking devices.
- Open Device Manager and select “View” → “Devices by connection”
- Locate “USB Root Hub” or “USB Host Controller” entries
- Expand each controller to see connected devices
- Note which sensors appear under each controller branch
- Redistribute sensors across different controllers if needed
Optimal Port Distribution
Once you’ve mapped your host controllers, strategic port distribution becomes your next priority for maintaining optimal tracking performance.
You’ll want to connect two sensors to USB 3.0 ports and one to a USB 2.0 port to prevent overloading any single host controller. This ideal port distribution prevents bandwidth bottlenecks that can degrade your room-scale experience.
Spread your sensors across different host controllers whenever possible – even if ports appear separate, they might share the same controller internally.
Avoid USB hubs entirely, as they create bandwidth limitations that compromise tracking performance. When you need extension cables for distant sensor placement, invest in high-quality options, especially for USB 2.0 connections.
This careful distribution guarantees each sensor receives adequate bandwidth for precise tracking.
Cable Length Considerations and Extension Solutions
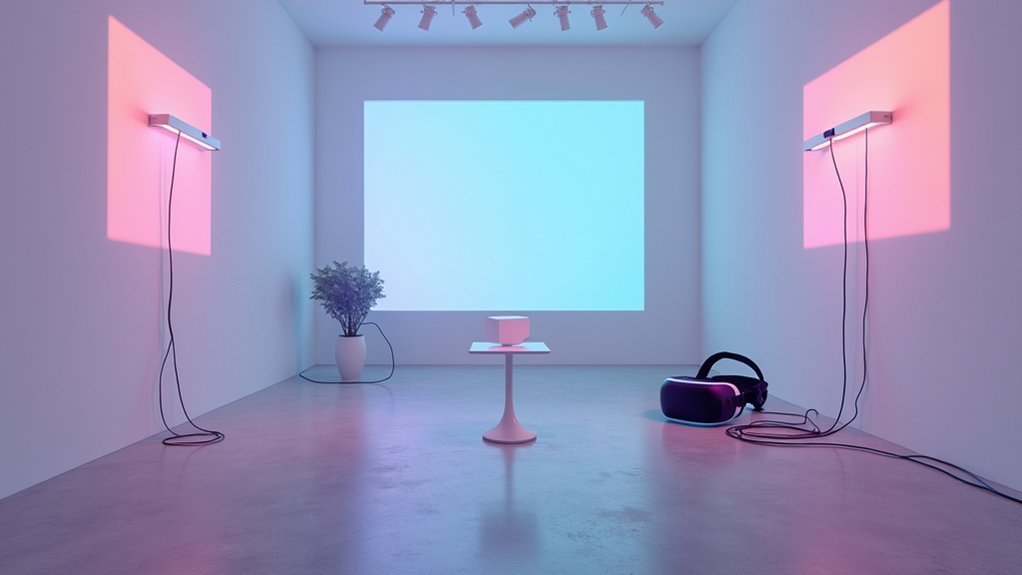
When planning your sensor placement, cable length becomes a critical constraint that can make or break your room-scale VR setup.
You’ll quickly discover that standard sensor cables rarely reach ideal mounting positions, forcing compromises that hurt tracking performance.
For distant sensor placements, you’ll want USB 2.0 extension cables rather than USB 3.0 versions.
They’re more reliable over long distances and maintain consistent signal integrity. Active USB extension cables are your best bet for maintaining strong signals across extended runs.
- Choose USB 2.0 over USB 3.0 for long-distance extensions
- Invest in active extension cables to boost signal strength
- Buy high-quality cables to prevent tracking degradation
- Avoid USB hubs which overwhelm host controllers
- Test cable connections before finalizing sensor positions
Environmental Factors Affecting Tracking Performance
Your tracking sensors might be perfectly positioned, but environmental factors can still sabotage your VR experience in ways you didn’t expect.
Bright sunlight wreaks havoc on Oculus Rift and PlayStation VR’s infrared LEDs, while HTC Vive’s laser system handles lighting changes better. Reflective surfaces like mirrors, TVs, and shiny furniture disrupt sensor line-of-sight, causing tracking failures. Cover or remove these culprits first when diagnosing problems.
Sunlight and reflective surfaces are VR tracking’s worst enemies—eliminate mirrors and shiny objects before troubleshooting sensor issues.
Room temperature affects both comfort and tracking reliability—use air conditioning or fans to maintain stability.
Watch for high-reaching movements that could hit light fixtures or ceilings. Create sufficient buffer zones from walls and obstacles.
These environmental factors considerably impact tracking performance, so addressing lighting conditions, reflective surfaces, temperature control, and physical obstructions guarantees consistent room-scale VR experiences.
Overlapping Coverage Zones and Dead Spot Elimination
Proper sensor placement creates overlapping coverage zones that eliminate the dead spots plaguing many VR setups.
You’ll achieve peak tracking by angling sensors inward toward your room’s center, maximizing where their fields of view intersect. This overlap guarantees continuous tracking as you move through your play space.
Keep sensors within 10 feet of each other to maintain reliable coverage. For larger areas, you’ll want to add a third sensor to expand your tracking volume and eliminate remaining blind spots.
Mount sensors high and angle them downward at 45 degrees for broader coverage.
- Position sensors to create overlapping fields of view
- Angle sensors inward toward the room’s center
- Maintain maximum 10-foot spacing between sensors
- Add third sensor for larger tracking volume
- Mount high with 45-degree downward angle
Three-Sensor Setup Benefits and Advanced Configurations
Adding a third sensor transforms your VR tracking from good to exceptional, expanding your effective play area from a cramped 5×5 feet to a spacious 8×8 feet.
You’ll notice dramatically improved tracking accuracy as three sensors create overlapping coverage zones that virtually eliminate dead spots during movement.
Mount your sensors high and angle them downward at 45 degrees for peak performance.
Connect two sensors via USB 3.0 and the third through USB 2.0 to prevent overloading your host controller. This configuration prevents tracking loss when your body blocks one sensor’s view, as the remaining two maintain continuous monitoring.
Strategic USB connectivity ensures uninterrupted tracking even when sensors lose direct line-of-sight to your controllers during active gameplay.
Position all three sensors on the same side of your room for best results.
This setup delivers seamless room-scale VR experiences with minimal occlusion issues.
Troubleshooting Common Tracking Issues and Performance Problems
Even with perfect sensor placement, tracking problems can still emerge from environmental interference, hardware conflicts, or configuration errors.
Your Oculus Rift requires careful attention to environmental factors that disrupt sensor performance. Reflective surfaces like mirrors, glass tables, or glossy floors bounce infrared signals, confusing your tracking system. Bright sunlight streaming through windows overwhelms sensors with excess infrared light.
When tracking issues persist despite proper positioning, check that sensors maintain overlapping coverage zones. Space them appropriately—too far apart creates dead zones, while excessive proximity causes signal interference. Angle sensors inward toward your central play area to prevent occlusion problems.
- Cover or remove reflective surfaces near your play area
- Block direct sunlight with curtains or blinds during gameplay
- Verify sensors have overlapping coverage zones for seamless tracking
- Add a third sensor for enhanced coverage in larger spaces
- Adjust sensor angles to face inward toward movement areas
Room Size Limitations and Space Requirements
Understanding your available space determines which VR tracking setup will work best in your environment. Room size limitations greatly impact your VR setup’s effectiveness and safety.
Your available space directly determines VR tracking performance, safety, and overall immersion quality in your setup.
You’ll need at least 1m² for basic interactions, though 2.5m x 2m provides the preferred experience for most users. Your tracking system dictates maximum boundaries—HTC Vive supports up to 5m diagonally, while Oculus Rift’s camera-based tracking offers smaller coverage areas.
For best tracking performance, limit two-sensor setups to 5×5 feet and three-sensor configurations to 8×8 feet maximum. Always maintain a one-foot buffer between virtual boundaries and physical walls to prevent collisions.
Larger spaces enhance both safety and immersion, making dedicated rooms ideal for extensive VR experiences when possible.
Hardware Mounting Solutions and Equipment Recommendations
Once you’ve determined your space requirements, mounting your sensors properly becomes vital for achieving reliable tracking performance.
You’ll need to position sensors 6-8 feet above ground, angled downward at 45 degrees for ideal tracking coverage. Consider detaching Oculus Rift sensors from their original stands and mounting them on adjustable tripods for better flexibility in larger play areas.
For sensor positioning at greater distances, you’ll require high-quality USB extension cables to maintain reliable connections. Active USB extension cables are particularly important when placing sensors far from your PC, as they provide superior power management and signal integrity compared to passive alternatives.
- Mount sensors 6-8 feet high with 45-degree downward angles
- Use adjustable tripods instead of original stands for flexibility
- Choose active USB extension cables for distant sensor placement
- Space sensors to create overlapping coverage zones
- Maintain proper cable management to avoid tripping hazards
Frequently Asked Questions
Where to Place Oculus Sensors?
You’ll want to place Oculus sensors in opposite corners of your play area, mount them 6-7 feet high, angle downward 45 degrees, space them 6+ feet apart for overlapping coverage.
How to Room-Scale VR?
You’ll need at least 6.6ft x 5ft space and proper sensor placement. Position sensors high at 45-degree angles with overlapping coverage. Two sensors work for 5x5ft areas, three sensors handle 8x8ft spaces effectively.
Can You Use Oculus Rift With One Sensor?
You can use Oculus Rift with one sensor, but you’ll get limited tracking up to 6 feet. It’s best for seated experiences since you’ll lose room-scale capabilities and accuracy.
What Is Room-Scale Mode?
Room-scale mode lets you move freely within a designated physical space while wearing your VR headset. It tracks your full body movements in all directions, creating immersive experiences where you can walk around naturally.
In Summary
You’ve now mastered the fundamentals of sensor positioning for room-scale VR tracking. Whether you’re using a two or three-sensor setup, you’ll achieve peak performance by focusing on corner placement, proper height mounting, and careful USB bandwidth management. Remember to test your configuration thoroughly and adjust angles as needed. With the right positioning strategy, you’ll eliminate dead zones and enjoy seamless tracking across your entire play space without interruptions or accuracy issues.
Leave a Reply