
You’ll need at least 6.5 by 6.5 feet of clear space with 7-foot ceiling clearance for safe VR movement. Before each session, conduct a thorough walkthrough to remove furniture, cables, and obstacles that could cause collisions. Use your headset’s spatial mapping tools and guardian boundary system to create buffer zones of 1.5 meters from walls. Mark physical boundaries with tape and regularly update your virtual maps when you rearrange your room. These foundational steps enable advanced collision-prevention strategies.
Understanding Physical Space Requirements for Room-Scale VR
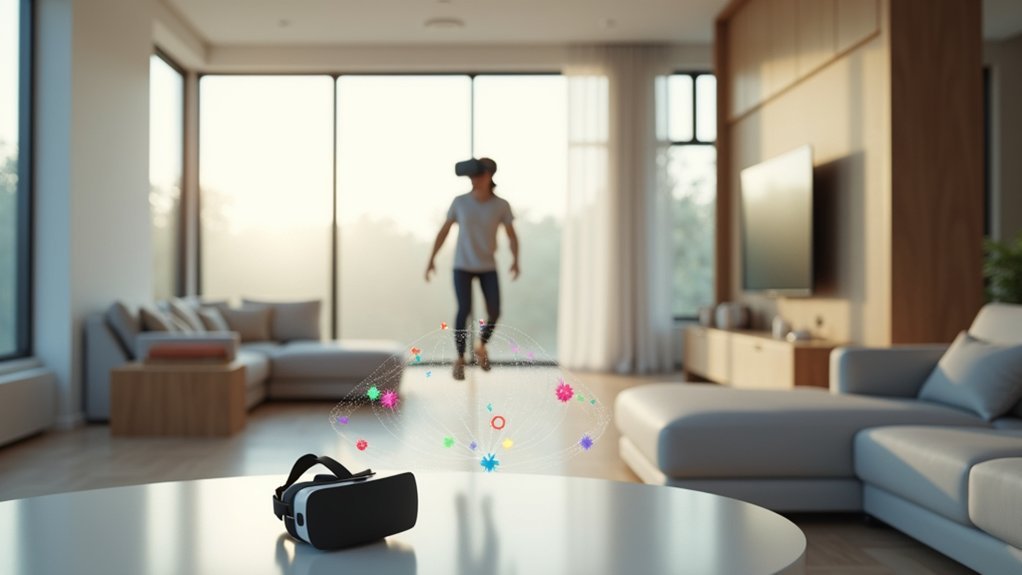
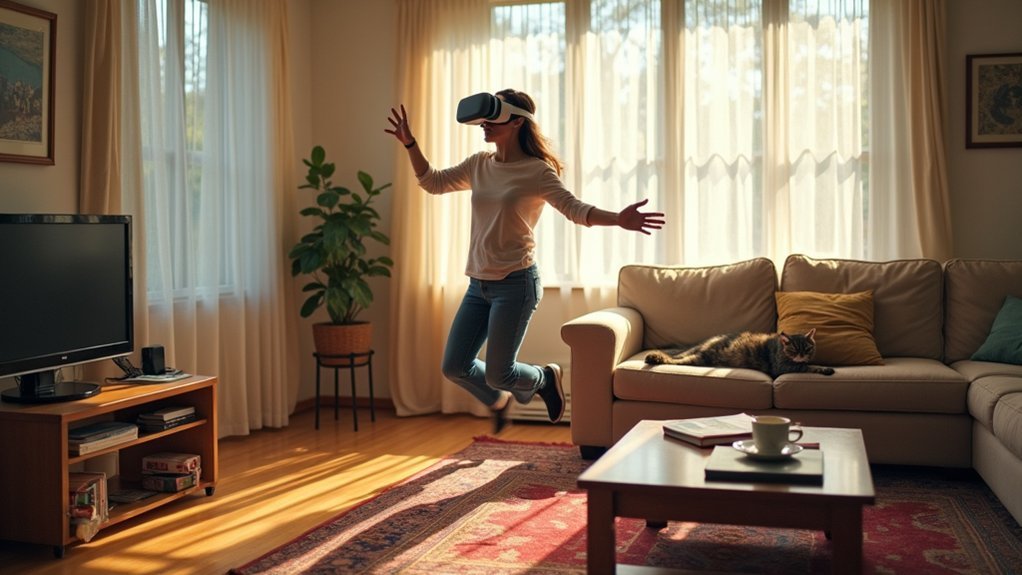
When setting up room-scale VR, you’ll need to designate a minimum play area of 6.5 feet by 6.5 feet to move freely without bumping into physical objects. Your ceiling should provide at least 7 feet of clearance to accommodate arm movements and prevent collisions with overhead fixtures.
Clear all obstacles like furniture and cords from your designated space to minimize tripping hazards. Mark your play area boundaries using floor tape or rely on your VR system’s collision detection features to maintain spatial awareness during sessions.
Regularly assess your physical space to guarantee it remains hazard-free, especially when multiple users share the environment.
These precautions create a safer VR experience and prevent accidents that could damage equipment or cause injury during immersive gameplay.
Pre-VR Session Environmental Assessment Techniques
Beyond establishing the basic room requirements, you’ll want to perform a systematic environmental assessment before each VR session. Start by conducting a thorough walkthrough of your physical training area, clearing any obstacles that could cause collisions.
Use your VR system’s spatial mapping tools to detect and visualize the environment layout, ensuring you’ve got adequate movement space.
Check for potential hazards like furniture, cables, or uneven surfaces that might interfere with your safety. Establish a clear perimeter around your VR environment and mark these boundaries visibly.
Create a pre-session checklist that includes verifying environmental stability and confirming all equipment positioning. This systematic approach helps you identify risks before entering the virtual world, preventing accidents and ensuring you can focus entirely on your VR experience.
Camera Passthrough Technology for Real-Time Awareness

How can you maintain awareness of your physical surroundings without constantly removing your VR headset? Camera passthrough technology provides the solution by displaying real-time footage of your environment directly within your VR experience.
This feature lets you see nearby objects, furniture, and obstacles while remaining immersed in virtual worlds. You’ll navigate your physical space more safely since the technology minimizes collision risks by overlaying your actual surroundings onto the virtual display.
When you need to reorient yourself or grab something nearby, you won’t need to lift your headset. Camera passthrough technology particularly benefits newcomers by reducing anxiety and creating seamless shifts between virtual and real environments.
This enhanced spatial awareness keeps you comfortable and confident during extended VR sessions.
Guardian Boundary System Setup and Calibration
While camera passthrough offers real-time visibility, the Guardian Boundary System provides your primary defense against physical collisions by creating virtual walls around your play area.
You’ll need adequate physical space before starting setup. Follow the on-screen prompts to trace boundaries using your VR controller, guaranteeing accurate mapping of your safe zone.
During calibration, adjust boundaries to account for furniture and obstacles. The Guardian Boundary System offers two options: choose “Stationary” for a fixed position or “Room Scale” for movement within your defined space.
Choose Stationary mode for seated experiences or Room Scale for full movement within your mapped boundaries.
Each serves different play styles and room configurations. Regular recalibration keeps your system accurate.
Check boundaries whenever you move furniture, change rooms, or experience disorientation during sessions. This maintenance guarantees ideal collision prevention.
Identifying Common Household Obstacles and Hazards
Before you step into your virtual world, you’ll need to survey your physical environment for collision risks that could turn an immersive experience into a painful accident. Common household obstacles pose the greatest threat to your VR safety, and identifying them beforehand prevents injuries.
| High-Risk Obstacles | Medium-Risk Obstacles |
|---|---|
| Coffee tables, chairs | Decorative items, plants |
| Loose cables, cords | Pet toys, shoes |
| Low-hanging fixtures | Area rugs, carpets |
Scan systematically for furniture at knee and waist height, secure all cables running through your play area, and remove breakable decorative items. Don’t forget about pets wandering into your space or low-hanging light fixtures that could cause head injuries. Creating this obstacle-free zone guarantees your virtual adventures remain safe and enjoyable.
Optimal Room Layout Configuration for Safe Movement
Once you’ve cleared potential hazards from your space, you’ll need to establish an ideal room configuration that prioritizes safe movement throughout your VR sessions.
Your best room layout configuration for safe movement requires a minimum 6.5 by 6.5-foot clear area for unrestricted movement. Mark boundaries using physical tape or virtual boundary systems to define your safe play zone, keeping you within designated areas during immersive experiences.
Implement spatial partitioning techniques to create distinct zones within your VR environment, reducing collision risks while maintaining awareness of your surroundings.
Position yourself centrally within the cleared space, ensuring equal distance from all walls and remaining obstacles.
Regularly reassess your room layout as you add new equipment, adjusting the configuration to maintain best safety standards for your VR sessions.
Lighting Conditions That Affect Tracking Accuracy
Your VR tracking system’s accuracy heavily depends on the type and quality of lighting in your play space.
You’ll want to use soft, diffuse light sources rather than harsh directional lighting that creates strong shadows across your room.
These shadows can confuse your tracking sensors and lead to dangerous misalignment that puts you at risk for collisions.
Optimal Light Source Types
When setting up your VR space, the type of lighting you choose directly impacts tracking accuracy and collision prevention.
Ideal light sources include natural sunlight and LED lights, which provide the consistent illumination your tracking system needs to function properly. These sources deliver steady light output that helps sensors accurately detect your headset and controller movements.
You’ll want to avoid fluorescent lighting entirely. Its flickering and inconsistent output interferes with sensor detection, creating tracking inaccuracies that can lead to collisions.
While you need adequate lighting, don’t use strong, direct sources that create glare and harsh shadows—these obstruct tracking cameras and degrade your VR experience.
Focus on achieving uniform lighting across your entire play area without significant bright spots or dark zones.
Shadow Impact Prevention
Shadows create one of the most disruptive challenges for VR tracking systems, as they generate inconsistent lighting patterns that confuse your headset’s sensors.
High contrast lighting conditions cause tracking algorithms to misinterpret spatial data, leading to positional drift or complete tracking loss. Effective shadow impact prevention requires strategic lighting management.
Here’s how you’ll enhance your tracking environment:
- Use diffuse light sources – Install multiple ambient lights to eliminate harsh shadows across your play area
- Maintain even illumination – Position lights to create uniform brightness without stark contrasts
- Choose ideal color temperature – Select lighting between 3000K-4000K for improved sensor sensitivity
- Monitor conditions regularly – Adjust lighting before each session, as minor changes considerably affect tracking performance
Proper shadow impact prevention guarantees consistent, reliable VR experiences without frustrating tracking interruptions.
Floor Surface Considerations for VR Safety
Although you mightn’t immediately think about what’s beneath your feet, the floor surface forms the foundation of VR safety and can make the difference between an immersive experience and a painful accident.
These floor surface considerations directly impact your stability and movement confidence during gameplay.
Start by ensuring your floor is completely flat and even. Uneven surfaces create tripping hazards that can send you tumbling mid-session.
Choose carpeting over slick surfaces like tile or hardwood—it provides superior traction and prevents dangerous slips.
Clear all obstacles including furniture, cables, and clutter from your play area.
Use mats or designated zones to define safe boundaries and guide your movements.
Regularly inspect your floor surface, ensuring mats stay secure and debris-free for ideal safety and comfort.
Wall and Ceiling Clearance Measurements
You’ll need to establish minimum height requirements of at least 6.5 feet to prevent head and controller collisions with ceiling fixtures.
Your arm reach boundaries should extend 3 feet from all walls since VR controllers greatly increase your effective reach during gameplay.
You must implement reliable obstacle detection methods like tape markers or boundary systems to maintain constant awareness of your safe play zone.
Minimum Height Requirements
Where should you position your VR play area to prevent painful collisions with walls and ceilings?
You’ll need to follow minimum height requirements and establish proper clearances to create a safe gaming environment.
Your ceiling clearance should meet these essential standards:
- 2.5 meters (8 feet) minimum height – This accommodates users’ full arm movements and prevents overhead collisions.
- Account for your tallest users – Consider height variations plus any headset accessories or attachments.
- 0.5 meters (1.5 feet) wall clearance – Maintain this distance from your play area boundary to walls.
- 2-meter diameter safe zone – Ascertain this minimum space around users for unrestricted movement.
Regularly reassess your space based on user feedback and VR experiences.
Adjust measurements as needed to maintain adequate clearances for safe engagement.
Arm Reach Boundaries
Beyond establishing basic room dimensions, you must map out precise arm reach boundaries to prevent painful mid-game collisions. Start by ensuring at least 6 feet of radius around your position to accommodate controller movements without hitting walls or furniture.
Your ceiling clearance needs a minimum 7 feet to prevent overhead strikes during full arm extensions.
Conduct thorough spatial scans to identify every obstacle within your reach zone. Mark your play area boundaries using physical tape or visual markers – this keeps you aware of your movement limits during intense VR sessions.
Your arm reach boundaries will vary based on your height and activity type, so regularly reassess your setup. Adjust distances as needed for different games and equipment to maintain ideal safety throughout your VR experiences.
Obstacle Detection Methods
While physical boundaries provide your basic safety framework, implementing systematic obstacle detection methods guarantees you’ll identify every potential collision hazard in your VR space.
These advanced scanning techniques create extensive safety maps of your environment:
- Spatial scanning technology – Use laser rangefinders or depth cameras to accurately detect and map walls, ceilings, and furniture locations.
- Buffer zone implementation – Maintain minimum 1.5-meter clearances from all surfaces to prevent accidental contact during gameplay.
- Real-time feedback systems – Deploy visual or haptic alerts that warn you when approaching obstacles during immersive experiences.
- Regular space updates – Continuously refresh your virtual environment measurements to account for moved furniture or new equipment.
Effective obstacle detection methods transform your VR setup from potentially dangerous to completely secure, ensuring uninterrupted immersive experiences.
Cable Management Strategies to Prevent Tripping
Tangled VR cables pose one of the most common safety hazards in virtual reality environments, transforming an immersive experience into a potential accident waiting to happen. Effective cable management prevents tripping incidents and creates safer training spaces.
| Strategy | Implementation |
|---|---|
| Wall Mounting | Use clips or ties along walls and furniture edges |
| Floor Protection | Install cable covers to conceal floor-running cables |
| Play Area Design | Designate clear zones with organized cable paths |
| Regular Maintenance | Inspect for wear and replace damaged cables promptly |
Consider wireless VR headsets when possible—they eliminate cables entirely, greatly reducing tripping risks while enhancing your mobility. You’ll move freely without constantly monitoring cable positions, allowing complete focus on your virtual environment while maintaining ideal safety standards.
Emergency Exit Protocols During VR Sessions
You’ll need immediate access to your headset’s emergency exit button when disorientation strikes during VR sessions.
Practice emergency protocols regularly so you can respond quickly without fumbling for controls while experiencing motion sickness or spatial confusion.
Establish clear disorientation response procedures that include removing the headset, sitting down safely, and allowing time to reorient before continuing your session.
Quick Exit Button Access
Before you immerse yourself in any VR experience, locate and familiarize yourself with your headset’s quick exit button—this simple preparation step can prevent panic and injury when disorientation strikes.
Proper quick exit button access requires deliberate practice and preparation. You’ll need muscle memory when emergencies arise, making regular training essential for safe VR sessions.
- Practice regularly during training sessions to build automatic responses
- Position your headset to keep emergency functions unobstructed and easily accessible
- Brief all users on quick exit procedures, especially newcomers to VR
- Update protocols periodically as software and hardware configurations change
Your safety depends on swift reactions during disorienting moments. Don’t wait until you’re overwhelmed to learn these procedures—master quick exit button access before your next session.
Emergency Protocol Training
While knowing your headset’s quick exit button is essential, thorough emergency protocol training extends far beyond button location to encompass systematic preparation for various crisis scenarios.
You should regularly practice emergency procedures during training sessions to guarantee immediate and effective responses when unexpected situations arise. Before each VR session, conduct pre-session briefings that demonstrate safe exit methods and establish clear communication protocols with participants.
Emergency protocol training must include hands-on practice of disorientation responses and glitch recovery procedures.
You’ll want to encourage participants to signal any discomfort immediately, enabling prompt intervention. This systematic approach to emergency protocol training creates multiple safety layers that protect users from potential collisions and other VR-related hazards during immersive experiences.
Disorientation Response Procedures
Building on extensive emergency training, disorientation response procedures form the immediate action plan when users experience confusion or spatial disconnection during VR sessions.
When disorientation strikes, you’ll need immediate access to predetermined responses that prioritize your safety and comfort.
Your response toolkit should include:
- Immediate pause activation – Know your headset’s emergency exit button location and practice reaching it instinctively
- Physical grounding techniques – Remain stationary, breathe deeply, and focus on your real-world foot placement
- Communication signals – Use predetermined hand gestures or verbal cues to alert nearby supervisors
- Gradual re-orientation – Remove the headset slowly, allowing your vision to adjust before attempting movement
Regular practice of these procedures builds muscle memory, ensuring you’ll respond effectively when disorientation occurs unexpectedly during immersive experiences.
Multi-User Space Scanning for Shared Experiences
When multiple users share the same VR environment, space scanning becomes exponentially more complex as systems must track each participant’s movements while preventing dangerous collisions.
Multi-user space scanning requires high-resolution depth sensors to accurately map each user’s position in real-time. You’ll need spatial partitioning techniques like quad-trees or octrees to efficiently manage collision detection among participants without overwhelming your system’s processing power.
Camera passthrough technology becomes essential, allowing you to maintain spatial awareness of your surroundings and other users.
The system should establish designated boundaries and interaction zones, creating controlled environments that enhance both safety and engagement.
Regular Space Maintenance and Re-scanning Procedures
Establishing effective multi-user protocols sets the foundation, but maintaining your VR space requires consistent upkeep to preserve those safety standards.
Maintaining VR safety standards demands consistent upkeep—effective protocols mean nothing without systematic space maintenance routines.
Space maintenance involves more than occasional checks—it demands systematic approaches to keep your environment collision-free.
Your regular maintenance routine should include:
- Physical area clearing – Remove obstacles and hazards before each session
- Pre-session re-scanning – Update virtual maps to reflect environmental changes
- Weekly thorough scans – Conduct detailed space assessments or after significant modifications
- Maintenance logging – Track all scanning activities and environmental conditions
Advanced scanning technology provides precise measurements for accurate virtual boundaries, enhancing collision detection efficiency.
You’ll find that consistent re-scanning procedures catch potential hazards before they become safety issues, ensuring your VR training environment remains secure and functional.
Advanced Spatial Mapping Tools and Applications
While traditional boundary systems provide basic protection, advanced spatial mapping tools revolutionize how you’ll detect and prevent VR collisions through precise environmental analysis.
These sophisticated systems harness LIDAR technology and depth sensors to generate detailed 3D maps of your physical space, identifying obstacles in real-time as you navigate virtual environments.
You’ll find these tools particularly valuable in complex training scenarios like engineering simulations or maintenance programs, where precise spatial awareness becomes critical.
The integration enables dynamic environmental adjustments based on real-world changes, ensuring your safety remains constant during immersive experiences.
Frequently Asked Questions
What Is the 20/20 Rule for VR?
The 20/20 rule requires you’ll maintain twenty inches minimum distance from your VR headset to play area boundaries. This prevents you from colliding with physical objects while you’re immersed in virtual environments.
How Do I Stop Hitting Walls in VR?
Set up your headset’s boundary system properly and scan your room before playing. Keep at least 6.5 feet of clear space around you. Use teleportation movement instead of physically walking whenever possible.
Do Motion Sickness Pills Work for VR?
Motion sickness pills can reduce VR nausea for some users by blocking brain signals that trigger symptoms. You’ll need to take them 30-60 minutes before playing, though effectiveness varies between individuals considerably.
How Do You Prevent VR Acne?
Clean your headset’s face cushion regularly with antibacterial wipes, guarantee proper fit to reduce friction, take frequent breaks for ventilation, and maintain consistent skincare routines to prevent VR acne breakouts.
In Summary
You’ve learned the essential techniques to scan and secure your VR space effectively. You’ll prevent collisions by properly evaluating your environment, setting up guardian boundaries, and maintaining real-time awareness through passthrough technology. Don’t forget to regularly re-scan your area and establish emergency protocols. Whether you’re playing solo or with friends, you’re now equipped to create a safe VR environment that protects both you and your surroundings.


Leave a Reply