Start by selecting a simple rectangular room with at least 3 square meters of space for safe movement. Position your VR sensors 6.5 feet apart and mount them 6.5-7.5 feet high while avoiding reflective surfaces that interfere with tracking. Create 1.5-2 foot clearance zones around furniture and walls, marking them with colored tape for visibility. Adjust boundary warning settings to match your room’s lighting conditions and test different visibility levels. Fine-tune your play area boundaries through slow movement testing to guarantee you’ll discover the perfect immersive setup.
Choose the Optimal Room Layout and Dimensions
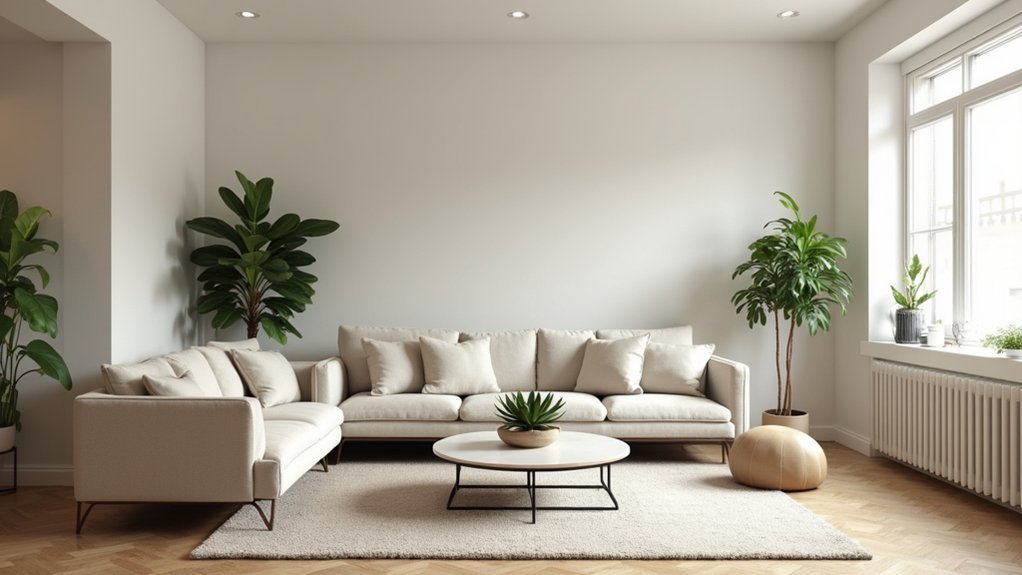
Everything starts with selecting the right room layout and dimensions for your boundary setup.
You’ll want to prioritize simple shapes like rectangles or squares, as they’re much easier to define and manage for spatial calculations. Make sure you have at least 3 square meters of space – this gives you adequate room for comfortable movement and interaction within your boundary.
Position your setup against the shortest walls to enhance acoustics and maximize your usable space. This ideal room layout creates better sound distribution throughout the area.
When placing speakers, use symmetrical layouts to enhance audio balance and create an even listening experience.
Don’t forget to regularly measure and assess your room dimensions. This helps you identify any axial room modes that could affect your boundary to help maintain consistent acoustic performance.
Position Your VR Hardware for Maximum Tracking Coverage
Once you’ve established your ideal room layout, you’ll need to strategically position your VR sensors to achieve extensive tracking coverage throughout your play space. Proper sensor placement will help enhance your boundary detection system.
Position your sensors at least 6.5 feet apart and mount them 6.5 to 7.5 feet high for maximum coverage. You’ll want to avoid reflective surfaces that can interfere with tracking accuracy.
| Component | Minimum Distance | Best Height | Lighting Requirements | Recalibration Frequency |
|---|---|---|---|---|
| Sensors | 6.5 feet apart | 6.5-7.5 feet | Well-lit area | When relocated |
| Play Space | 3 square meters | N/A | Consistent lighting | After hardware moves |
| Headset | Away from mirrors | User height | Avoid shadows | Location changes |
| Boundaries | Clear obstacles | Floor level | Even illumination | Setup modifications |
| Tracking Zone | Full coverage | Sensor level | No glare | Position adjustments |
Regular recalibration enhances reliable performance when setting boundaries.
Create Safe Clearance Zones Around Physical Obstacles

After positioning your sensors correctly, you’ll need to establish adequate clearance zones around any physical obstacles in your VR space.
Create boundaries of 1.5 to 2 feet around furniture, walls, and other objects to prevent collisions during gameplay. Position all furniture and fixtures at least 3 feet from your play area’s perimeter for ideal safety and visibility.
Use colored tape or floor markers to visually outline these clearance zones, reinforcing spatial awareness when you move around obstacles.
Keep pathways within these zones completely free of clutter to reduce tripping hazards and guarantee smooth navigation.
Regularly reassess your clearance zones whenever you rearrange furniture or introduce new objects.
This ongoing maintenance guarantees your VR environment remains safe and functional as your setup evolves.
Calibrate Boundary Visibility and Warning Settings
While your physical clearance zones provide the foundation for VR safety, you’ll need to fine-tune your headset’s boundary visibility and warning settings to match your specific environment.
Proper calibration guarantees you’ll stay aware of your boundaries without constant interruptions to your immersive experience.
Optimize your boundary settings with these essential steps:
- Adjust visibility levels – Configure your boundary visibility in Mixed Reality Portal so the outline appears clearly against your room’s colors and lighting conditions, making it easy to spot when needed.
- Customize warning preferences – Set your warning settings to deliver alerts through visual cues, audio notifications, or both, depending on what works best for your play style.
- Test and recalibrate regularly – Verify your settings work effectively in different lighting conditions and recalibrate whenever you change locations.
Test and Adjust Your Play Area for Different VR Experiences
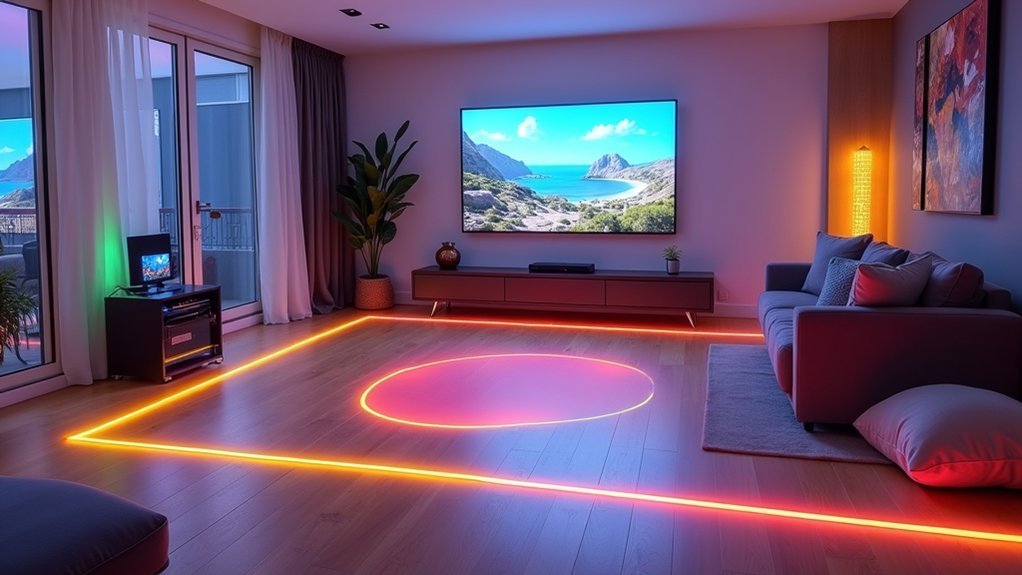
Different VR experiences demand varying amounts of physical space and movement patterns, so you’ll need to test and adjust your play area accordingly.
Start by moving slowly to your boundary edges, checking for physical obstacles that could cause collisions. Each VR game has unique requirements—action games need more space than seated experiences.
When changing locations, reconfigure your boundary using Mixed Reality Portal to accommodate new layouts and lighting conditions. Verify your space remains at least 3 square meters for safe movement.
Communicate your boundary limits with team members or household members to prevent interruptions during gameplay.
Regular testing and adjustment will help you avoid accidents while maximizing your VR experience quality and safety.
Frequently Asked Questions
How Do I Prevent Pets From Entering My VR Play Area?
You can install baby gates at room entrances, close doors, or train pets to respect designated boundaries. Consider using pet deterrent mats or motion-activated devices that discourage animals from entering your play space.
What Lighting Conditions Work Best for VR Boundary Tracking Systems?
You’ll get ideal boundary tracking with moderate, consistent lighting that’s evenly distributed throughout your space. Avoid bright sunlight, darkness, or flickering lights since they’ll interfere with your headset’s cameras.
Can I Use My VR Setup on Carpeted Floors Effectively?
You can absolutely use VR on carpeted floors effectively. Carpet provides excellent cushioning for safety and won’t interfere with headset tracking. Just make certain you’ve got enough clear space around you for movement.
How Often Should I Clean My VR Tracking Sensors and Cameras?
You should clean your VR tracking sensors and cameras weekly during regular use. Use a dry microfiber cloth to gently wipe lenses. If you’re gaming daily, clean them twice weekly for peak tracking performance.
What Should I Do if My Ceiling Height Is Below Recommended Standards?
You’ll need to adjust your play style for safety. Avoid overhead movements, choose seated or stationary games, and set conservative guardian boundaries. Consider moving to a different room with higher ceilings when possible.
In Summary
You’ve now established the foundation for safe, immersive VR gaming. Your enhanced room layout maximizes play space while your properly positioned hardware guarantees accurate tracking. You’ve created protective clearance zones and fine-tuned your boundary settings for peak visibility. Don’t forget to regularly test your setup with different VR experiences and adjust as needed. With these boundaries properly configured, you’ll enjoy seamless virtual adventures without worrying about real-world collisions.
Leave a Reply