You can fix controller drift by resetting your controller and removing batteries for 30 seconds, then cleaning joysticks with isopropyl alcohol and compressed air to remove debris. Calibrate thumbstick settings and adjust deadzones between 0-10% to filter unwanted inputs, update firmware through your console’s accessories app, and optimize room lighting to prevent tracking interference. For persistent issues, you’ll need to clean or replace potentiometer components, perform complete analog stick replacement, or contact manufacturer support for warranty repairs to explore extensive solutions.
Reset and Power Cycle Your Controller
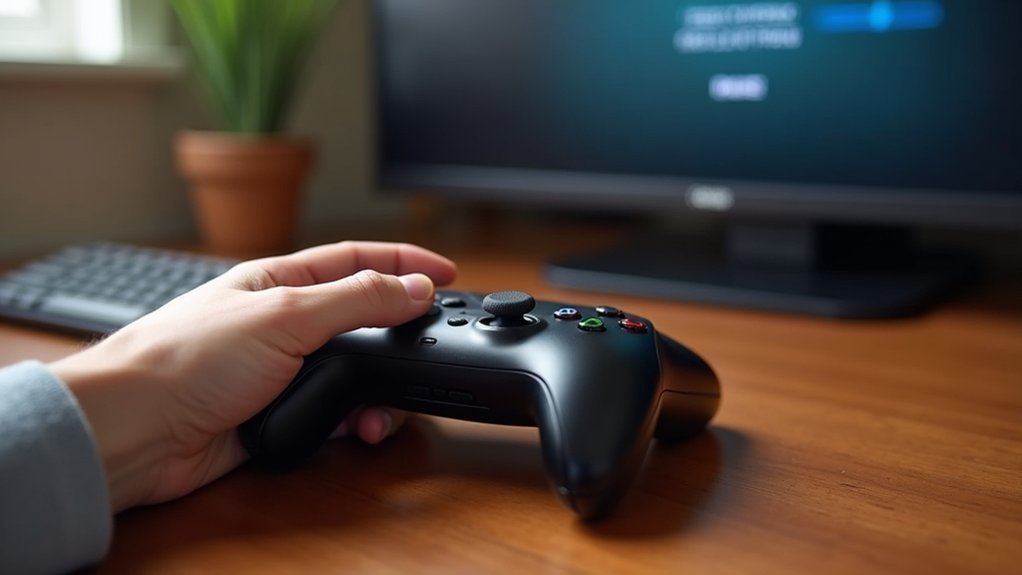
Before diving into complex repairs, you should try the simplest solution first: resetting and power cycling your controller.
Start by turning off your controller completely, then remove the batteries for 30 seconds before reinserting them and powering back on. This basic reset often resolves drift issues immediately.
A simple battery removal and reinsertion for 30 seconds can instantly fix controller drift problems.
For Meta Quest Pro controllers, turn them off and on, then place them on the charging dock for 30 seconds to recalibrate.
You can also press the reset button on your controller’s back using a pin to eliminate potential drift by resetting internal settings.
Power cycle by disconnecting from the power source, waiting briefly, then reconnecting to clear temporary glitches.
Always check for firmware updates afterward, as outdated software contributes to stick drift problems.
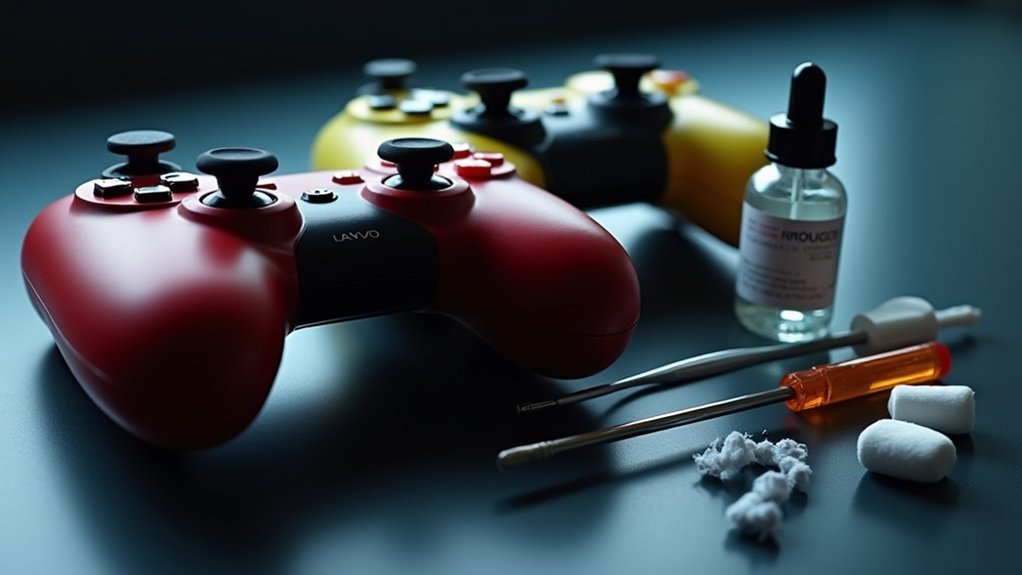
Clean Joysticks With Isopropyl Alcohol and Compressed Air
Once you’ve tried basic resets without success, cleaning your joysticks with isopropyl alcohol and compressed air often eliminates drift caused by accumulated debris.
Use a Q-tip lightly soaked in isopropyl alcohol to remove dirt and grime from the thumbstick surface. The alcohol maintains thumbstick pad integrity and reduces wear over time, preventing future drift issues.
Follow up with compressed air to dislodge debris trapped within the joystick mechanism, ensuring smooth movement and responsiveness.
While cleaning, move the joystick in multiple directions to access all areas and thoroughly clean the potentiometer underneath.
Always allow your controller to dry completely before reusing it to prevent moisture-related damage to internal components.
Calibrate Thumbstick Settings and Deadzones
You can fine-tune your controller’s performance by adjusting input threshold settings that determine when the system registers stick movement.
Reset your thumbstick range through your console’s calibration menu to establish accurate baseline measurements for ideal responsiveness.
Configure deadzone options to create a buffer zone around the center position, effectively eliminating unwanted drift inputs while maintaining precise control.
Adjust Input Threshold Settings
While hardware fixes address the physical causes of controller drift, software adjustments can effectively mask the symptoms and restore playable performance.
When you adjust input threshold settings, you’re creating a deadzone that filters out unintended movements from worn thumbsticks.
- Set deadzone values between 0-10% – Higher percentages filter out more drift but may reduce responsiveness
- Access built-in calibration tools – Xbox and PlayStation consoles offer system-level settings through menus or companion apps
- Customize sensitivity per game – Many PC games and console titles provide individual threshold adjustments
- Recalibrate regularly – Periodic adjustments maintain ideal performance as controller drift worsens over time
This approach lets you fine-tune your controller’s responsiveness based on personal preference while effectively managing controller drift without opening your hardware.
Reset Thumbstick Range
Three primary methods exist for resetting your controller’s thumbstick range to combat drift issues.
First, access your console’s built-in calibration tools through the settings menu. Xbox and PlayStation consoles offer guided processes that’ll help you reset thumbstick range and minimize stick drift effectively. Navigate to controller settings and select the calibration option to restore ideal performance.
Second, adjust deadzone settings by customizing the minimum input threshold. You can set ranges where slight thumbstick movements won’t register unwanted actions, directly addressing drift symptoms.
Third, utilize in-game deadzone adjustment options. Many games feature their own sensitivity controls, allowing you to tailor responsiveness to your preferences.
Remember to recalibrate regularly after firmware updates to maintain peak controller performance and accuracy.
Configure Deadzone Options
When drift persists despite calibration efforts, configuring deadzone options becomes your most effective line of defense.
These settings create a buffer zone where small, unintended thumbstick movements get ignored, effectively neutralizing drift symptoms.
Most games and console settings allow you to calibrate thumbsticks by adjusting deadzone parameters:
- Increase deadzone size for both left and right thumbsticks to reduce sensitivity to unwanted drift movements
- Test different settings during actual gameplay to find the best balance between responsiveness and drift reduction
- Use console calibration tools to reset thumbstick ranges and guarantee accurate input recognition
- Access specialized apps like Xbox Accessories for detailed deadzone settings with visual calibration aids
Finding the right deadzone settings requires experimentation, but you’ll notice immediate improvement once configured properly.
Update Controller Firmware and Software
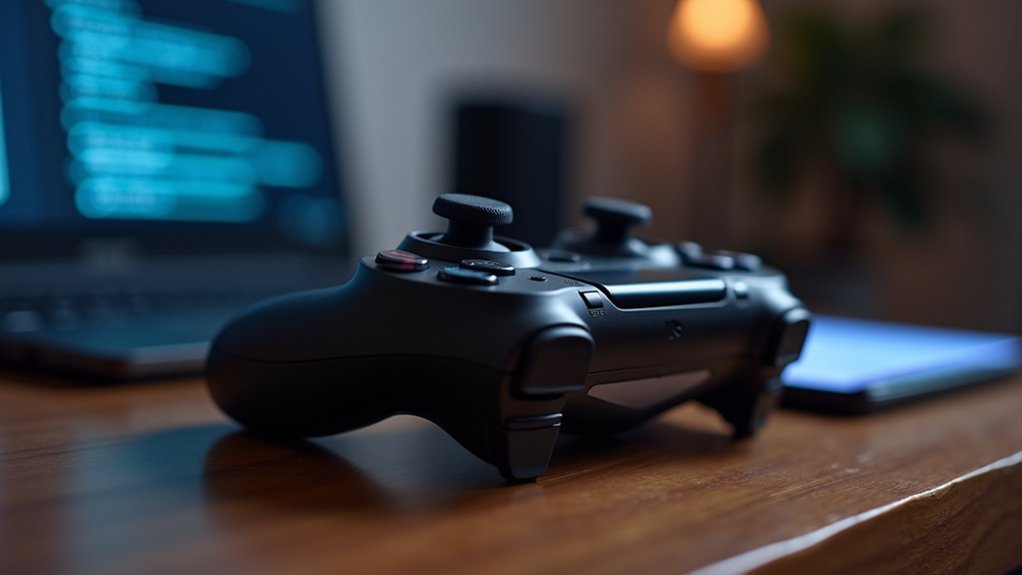
Although many gamers overlook this simple step, updating your controller’s firmware can resolve drift issues without opening up the hardware.
Keeping your firmware current is essential since outdated software often causes stick drift and unresponsive inputs.
To update controller firmware, connect your controller to your console or computer, then navigate to system settings where firmware updates are located.
Xbox controllers use the Xbox Accessories app for easy updates, while PlayStation controllers receive updates through console system software updates.
Regular firmware updates guarantee compatibility with new games and features while fixing bugs that contribute to drift.
After updating, you’ll need to pair your controller again since firmware changes may require re-establishing the connection to your device.
Adjust Environmental Factors and Lighting Conditions
Your gaming environment plays an essential role in controller performance, and making simple adjustments can greatly reduce drift issues.
You’ll want to optimize your room’s lighting conditions since overly bright or inconsistent lighting can interfere with tracking cameras and cause inaccurate input detection.
Additionally, you should identify and minimize sources of signal interference in your gaming area to maintain a stable connection between your controller and console.
Optimize Room Lighting
Poor lighting can throw off your controller’s tracking sensors and contribute to drift-like symptoms. Proper lighting levels directly impact controller performance, so enhancing your gaming environment’s illumination is crucial for preventing tracking issues.
- Maintain balanced lighting – Keep lighting levels moderate throughout your room, avoiding overly bright lights that interfere with tracking cameras.
- Distribute light evenly – Guarantee uniform illumination to prevent shadows that disrupt sensor functionality and cause false drift readings.
- Choose soft, diffused sources – Use gentle lighting rather than harsh, direct lights that create glare or reflection issues with your controller’s sensors.
- Regularly adjust positioning – Fine-tune light placement and brightness settings to find the ideal balance for consistent tracking performance.
Minimize Signal Interference
When electronic devices compete for the same wireless frequencies, your controller’s signal can become compromised and create drift-like symptoms that mimic hardware malfunctions.
To minimize signal interference, keep microwaves, cordless phones, and Wi-Fi routers away from your controller and headset. These appliances operate on similar frequencies and can disrupt your gaming experience.
Open your mobile app and set tracking frequency to “Automatic” – this optimization reduces interference by finding the clearest signal path.
Clean around your controller’s sensors and charging dock regularly, removing dust and debris that obstruct signals.
When your controller starts experiencing connectivity issues, check that batteries are fully charged and properly installed. Weak batteries increase interference susceptibility and create connection problems that present as controller drift.
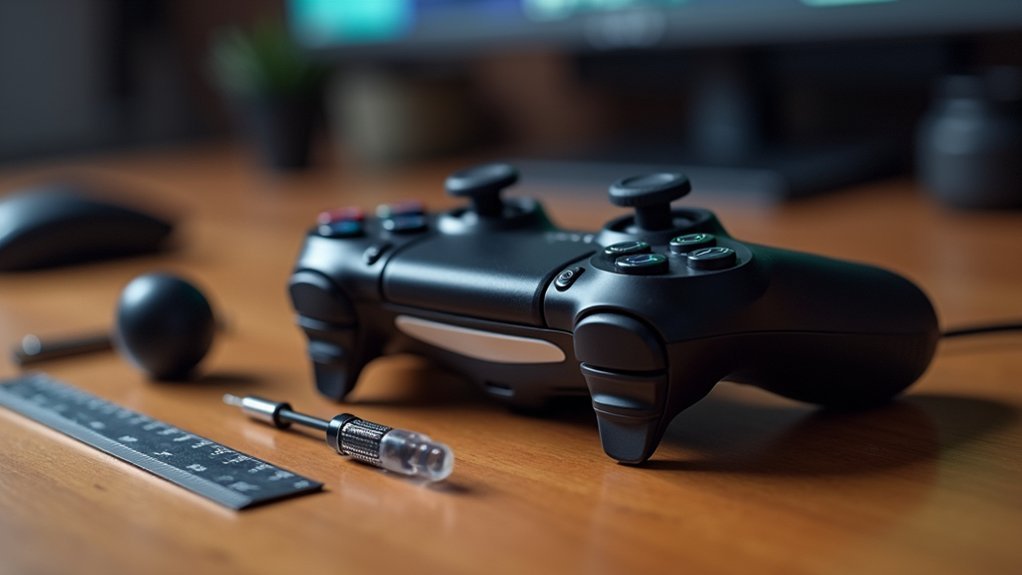
Replace Worn Thumbstick Pads and Springs
Two critical components often cause controller drift when they begin to deteriorate: the thumbstick pads and internal springs. When these parts wear out, they’ll create unwanted movement and imprecise control.
Here’s how to address these issues:
- Clean the thumbstick pads – Use isopropyl alcohol and a cotton swab to remove dirt and debris that may cause unwanted movement.
- Replace loose or damaged pads – Install new pads or use a shim to restore a secure fit when originals become worn.
- Replace worn thumbstick springs – Disassemble your controller using a T-8 safety Torx and prying tool to access internal springs.
- Clean the area – Remove any accumulated debris around spring housing before installing new components.
Regular maintenance of these thumbstick components will greatly prolong your controller’s life and prevent future drift problems.
Clean or Replace the Potentiometer Components
While thumbstick maintenance addresses external wear, the root cause of controller drift often lies deeper within the analog stick assembly. The potentiometer detects your analog stick’s position, and dirt accumulation causes drift issues.
Cleaning potentiometer components requires controller disassembly and careful attention to detail. Use isopropyl alcohol on cotton swabs to gently clean the black disk areas where the potentiometer operates. This method resolves most drift problems without requiring replacement parts.
If cleaning doesn’t eliminate drift, you’ll need to replace potentiometer components entirely. This advanced repair requires soldering skills to remove old parts and install compatible replacements. Verify all internal connections remain secure during installation.
Regular cleaning potentiometer maintenance prevents future drift issues and extends your controller’s lifespan considerably.
Perform Complete Analog Stick Replacement
Sometimes potentiometer cleaning won’t resolve persistent drift issues, requiring complete analog stick replacement as your final solution. This Fix Controller method demands precision and proper tools to successfully replace faulty analog sticks.
When cleaning fails to fix controller drift, complete analog stick replacement becomes your last resort requiring precise technique and specialized tools.
You’ll need these essential tools for replacement:
- Prying tool and T-8 or T-9 safety Torx screwdriver for disassembly
- Soldering and desoldering tools for circuit board work
- New analog stick assembly compatible with your controller model
- Organized workspace to track screws and small components
Carefully disassemble your controller while tracking each component’s location.
Desolder the old analog stick from the circuit board, then align and solder the new assembly.
Reassemble everything ensuring proper fit, then test thoroughly to confirm the drift issue’s resolved before resuming regular use.
Factory Reset and Re-pair Your Controller
When hardware replacement doesn’t resolve your drift problems, software-related solutions offer another path forward. A factory reset can eliminate corrupted data causing persistent issues. Access your device’s settings menu and select the reset option, which will erase all saved data.
After completing the factory reset, you’ll need to re-pair your controller with your console or headset. Follow the specific pairing instructions for your device, typically involving holding designated buttons.
| Step | Action |
|---|---|
| 1 | Confirm both devices are fully charged |
| 2 | Keep controller and console in close proximity |
| 3 | Hold designated pairing buttons simultaneously |
| 4 | Confirm successful connection in settings |
| 5 | Check for firmware updates immediately |
If connectivity issues persist, unpair through settings and repeat the process for a fresh connection.
Contact Manufacturer Support for Warranty Repair
If your controller’s still under warranty, you shouldn’t attempt DIY fixes that might void your coverage.
Contact the manufacturer’s support team to check your warranty status and submit a repair ticket for your drifting controller.
Most companies offer free professional repairs or replacements for drift issues when the controller’s covered under their standard warranty terms.
Check Warranty Status
Before attempting any DIY fixes, you’ll want to determine whether your controller remains under warranty protection. Most gaming controllers include standard warranty coverage ranging from 90 days to two years, depending on the manufacturer.
Finding your purchase receipt or registration details helps you check warranty status quickly.
- Locate your original purchase receipt or registration information to verify coverage dates
- Contact the manufacturer’s customer support for specific warranty claim procedures and requirements
- Use online warranty registration tools, like Microsoft’s Xbox controller checker, to verify eligibility using your serial number
- Verify warranty terms for limited edition controllers, as these may have different coverage conditions
If you’re still covered, you’ll avoid having to buy a new controller and get professional repairs at no cost.
Submit Repair Ticket
How do you actually submit a repair ticket once you’ve confirmed your controller remains under warranty?
Visit your manufacturer’s official support website – Microsoft for Xbox controllers or PlayStation for PS5 controllers. Navigate to the warranty or repair section and locate the repair submission process.
You’ll need your controller’s serial number and purchase date ready, as manufacturers require this information to process warranty claims.
Some companies offer online forms you can fill out directly, while others require calling customer support to initiate repairs.
After you submit repair ticket details, monitor your email closely. Manufacturers send status updates and additional instructions through email correspondence.
Keep all confirmation numbers and reference codes they provide for tracking your controller repair progress.
Professional Repair Options
Why struggle with expensive third-party repairs when your controller manufacturer might fix the drift issue at no cost?
Before seeking professional repair services elsewhere, check if your controller’s still under warranty. Major manufacturers like Microsoft and Sony offer extensive warranty support that covers drift problems.
- Gather your purchase receipt – You’ll need proof of purchase to validate your warranty claim and processing timeline.
- Contact manufacturer support directly – Use official channels to submit detailed repair tickets describing your specific drift symptoms.
- Document troubleshooting attempts – List any fixes you’ve already tried to expedite the professional repair assessment process.
- Verify limited edition coverage – Special controllers may have different warranty terms affecting your repair eligibility options.
This approach saves money while ensuring quality repairs.
Frequently Asked Questions
What Is the Best Way to Fix Controller Drift?
You should start by cleaning your thumbstick with isopropyl alcohol and cotton swabs. If that doesn’t work, try resetting your controller, updating firmware, adjusting deadzone settings, or replacing worn components.
How to Fix Pro Controller Drift Without Taking It Apart?
You’ll want to clean around the thumbsticks with alcohol-dipped Q-tips, blow out dust with compressed air, update firmware, adjust deadzone settings in games, and recalibrate through controller settings.
Does Rubbing Alcohol Fix Stick Drift?
Rubbing alcohol can fix minor stick drift by cleaning dirt and residue from your controller’s thumbsticks and potentiometers. Use 70% isopropyl alcohol with cotton swabs for best results without disassembly.
Can You Use Wd40 to Fix Controller Drift?
You shouldn’t use WD-40 to fix controller drift. It attracts dust and debris, worsening the problem and potentially damaging internal components. Instead, you’ll get better results using isopropyl alcohol and compressed air.
In Summary
You’ve now got nine proven methods to tackle controller drift, from simple power cycles to complete analog stick replacements. Start with the easiest solutions like cleaning and calibration before moving to hardware repairs. Don’t forget that warranty coverage might save you time and money. With these techniques, you’ll restore your controller’s precision and get back to gaming without frustrating input issues disrupting your gameplay experience.


Leave a Reply