Start by loosening your head strap completely, then position it halfway between your ear tops and crown for even weight distribution. Measure and adjust your interpupillary distance using the headset’s slider, typically between 54-74mm. Position your screen 20-30 inches away at or slightly below eye level, tilting it back 10-20 degrees. Align speakers over your eardrums and place the microphone boom 2-3 fingers from your mouth. The following sections will guide you through advanced calibration techniques.
Identifying the Correct Lens Positioning for Your Eyes
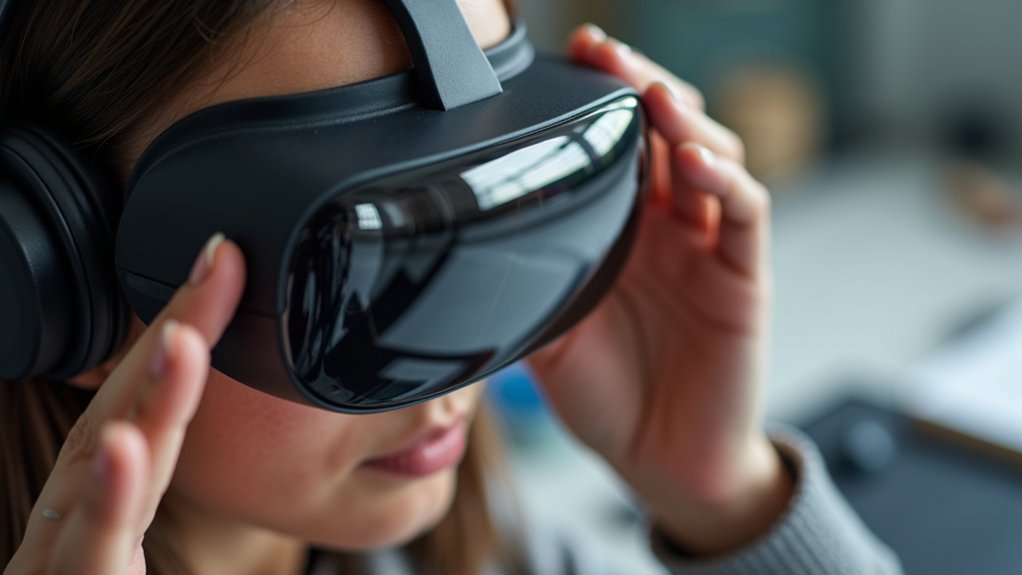
When adjusting your headset, you’ll first need to position the lenses directly in front of your eyes to achieve ideal clarity.
Start by aligning the optical center of each lens with your pupils to minimize distortion and maximize visual performance. The positioning should feel natural without requiring excessive head tilts or awkward angles.
Proper lens alignment with your pupils creates natural, comfortable positioning that eliminates strain and maximizes clear visual performance.
Next, adjust the tilt so the lenses sit perpendicular to your line of sight, reducing unwanted reflections and glare.
Test the fit by looking straight ahead and confirming clear vision across your field of view. For headsets with progressive lenses, maintain eye-level alignment to guarantee smooth shifts between viewing zones.
Regular alignment checks prevent slippage and maintain consistent comfort during extended use.
Adjusting the Head Strap for Optimal Weight Distribution
Loosen the head strap completely before placing the headset on your head to establish a proper baseline for adjustment.
Position the adjusted head strap so it sits halfway between your ear tops and crown, ensuring it’s fit snugly against your head without being too tight or too loose. This positioning creates ideal weight distribution, preventing pressure points that cause discomfort during extended use.
Check that weight is evenly balanced between the ear cups for a comfortable experience. The strap shouldn’t squeeze your head or slide around during movement.
Test the fit by gently moving your head—the headset should stay secure without shifting.
Reassess the adjustment regularly, especially when sharing the headset with others or after prolonged sessions, to maintain your ideal fit and comfort levels.
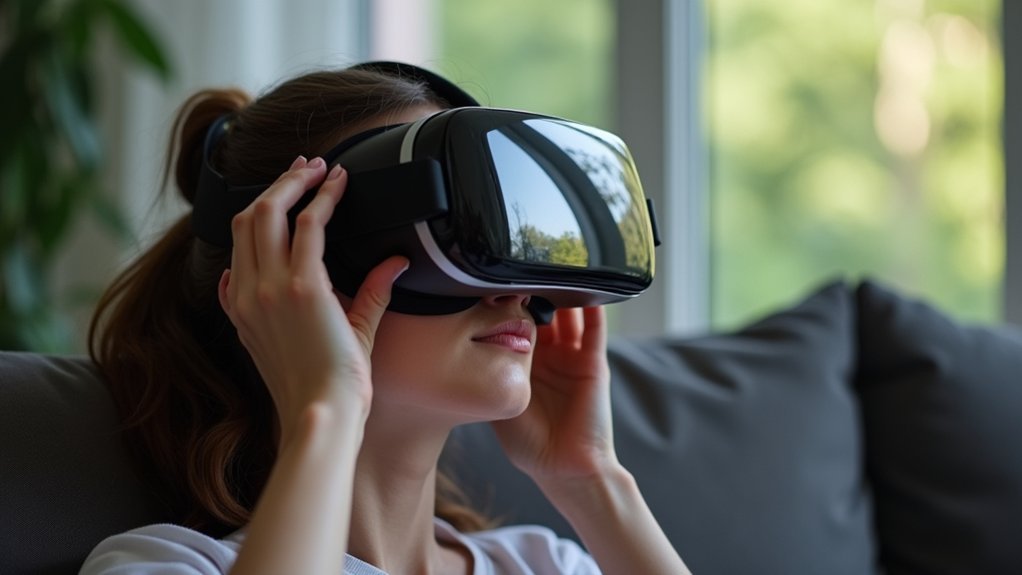
Setting the Proper Interpupillary Distance (IPD)

Proper interpupillary distance (IPD) alignment guarantees your eyes match perfectly with the headset’s lenses, creating a clear, comfortable viewing experience.
Your IPD measurement typically ranges from 54-74mm, and you’ll need to adjust it using your headset’s slider or dial mechanism. First, measure your interpupillary distance with a ruler or have someone assist you for accuracy.
Check your headset’s specifications to verify compatibility with your measurement. Locate the IPD adjustment controls and move them until the lenses align with your pupils.
Proper visual alignment considerably reduces eye strain and enhances comfort during extended gaming sessions. Take time to fine-tune this setting, as incorrect adjustment can cause blurriness and discomfort that’ll negatively impact your virtual reality experience.
Calibrating Screen Distance From Your Face
Three key factors determine ideal screen distance calibration: your arm’s length, eye level positioning, and viewing angle.
Position your headset’s screen distance approximately 20 to 30 inches from your face to minimize eye strain during extended use. Make sure the screen’s top sits at or slightly below eye level, promoting neutral neck posture and reducing shoulder tension.
Position your screen 20-30 inches away and at eye level to reduce strain and maintain proper posture.
Tilt the screen back 10-20 degrees to improve visibility and eliminate glare from overhead lighting.
Monitor discomfort signs like eye fatigue or neck pain, adjusting accordingly for best ergonomic setup.
Consider using a monitor riser or adjustable stand to achieve proper positioning effortlessly. These tools provide customization options that enhance your comfortable viewing experience while maintaining healthy posture throughout prolonged headset sessions.
Managing Headset Tightness to Prevent Motion Sickness
Once you’ve positioned your screen correctly, getting the headset’s physical fit right becomes equally important for comfort and preventing motion sickness.
Your headset adjustment should achieve zero play without creating excessive tightness that restricts movement or causes discomfort. A loose headset creates unwanted knocking sensations that confuse your brain’s motion cues, leading to disorientation and nausea.
Check your headset preload regularly to maintain ideal stability. The fit should be snug enough to eliminate movement but not so tight that it causes pressure points.
This comfortable fit enhances your audio experience while reducing motion sickness risk during extended use. Remember, finding the right balance between security and comfort is key to preventing the disruptive sensations that trigger nausea.
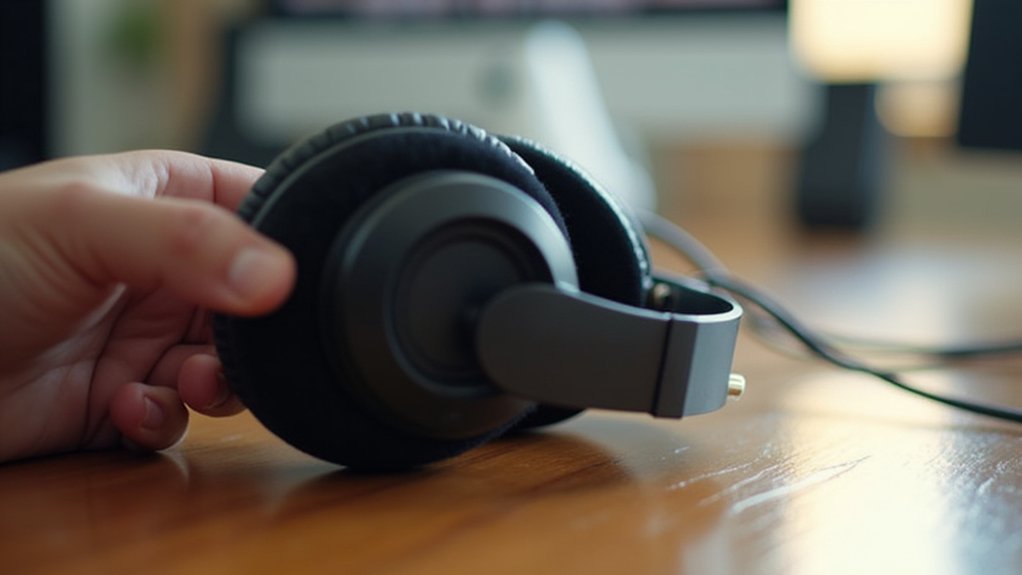
Positioning Audio Components for Immersive Sound
Where should you place each audio component to achieve the most immersive sound experience? Start by checking your speakers for “R” and “L” indicators to guarantee proper alignment.
Adjust the headband so it fits snugly over your head, positioning speakers directly over your eardrums for peak audio delivery.
Focus on achieving mid-ear coverage, which delivers balanced sound without distortion. Consider your headset’s clamping force carefully—while a tighter fit improves noise isolation, excessive pressure causes discomfort during extended use.
Find the sweet spot where comfort meets performance.
Position your microphone boom approximately 2-3 fingers away from your mouth. This distance guarantees clear audio capture during calls while maintaining communication quality.
Proper component positioning transforms your listening experience from ordinary to truly immersive.
Fine-Tuning Display Clarity and Focus Settings
You’ll want to optimize your headset’s screen resolution to match your device’s capabilities and guarantee crisp visual output.
Adjusting brightness and contrast levels creates the perfect balance between eye comfort and visual clarity during extended sessions.
Focus calibration methods help you fine-tune the display’s sharpness, making text and images appear razor-sharp for your specific vision needs.
Screen Resolution Optimization
Although your headset may fit perfectly, poor screen resolution settings can undermine your entire visual experience.
You’ll need to adjust the screen resolution to match your display’s native resolution for ideal clarity. This guarantees text and images appear sharp and well-defined.
Use your operating system’s display settings to fine-tune scaling options, improving visibility without compromising overall quality.
Here’s what you should prioritize:
- Regularly update graphics drivers for compatibility with latest resolution settings
- Utilize sharpness adjustments within your monitor’s OSD menu to reduce blurriness
- Experiment with different refresh rates for ideal performance balance
These adjustments enhance visual comfort and deliver high precision for demanding tasks.
Fine-tuning these elements transforms your headset experience from adequate to exceptional.
Brightness and Contrast
Once you’ve refined your screen resolution, proper brightness and contrast adjustments become essential for achieving crystal-clear display quality.
You’ll need to balance these settings to achieve ideal clarity without sacrificing detail. Higher brightness improves visibility in well-lit environments but can wash out colors, while increased contrast enhances depth and shadow detail but may obscure dark regions.
Adjust your settings based on your viewing environment and content type. Use lower settings for dark movies and higher ones for gaming or presentations.
Regular calibrating using built-in tools or external devices helps maintain accurate levels. Remember, excessive brightness creates glare and diminishes bright area detail, so finding the right balance guarantees you’ll enjoy the best visual experience possible.
Focus Calibration Methods
After optimizing brightness and contrast, focus calibration becomes your next critical step for achieving razor-sharp visual clarity.
Start by using your headset’s lens adjustment mechanism to eliminate any blurriness. You’ll want to adjust the interpupillary distance (IPD) to match your eye spacing, dramatically improving your overall visual experience.
Take advantage of built-in calibration tools if your headset offers them—these automatically optimize focus settings for your specific vision requirements.
Remember to recalibrate when switching between different usage modes to maintain crystal-clear visuals.
Key focus calibration steps include:
- Adjust IPD settings to match your eye distance
- Use lens adjustment mechanisms for sharp image quality
- Recalibrate when changing usage modes
If you’re experiencing persistent focus issues or distortion, consult your manufacturer’s guidelines for model-specific calibration methods.
Testing Your Setup for Comfort During Extended Sessions
Why settle for a headset that feels comfortable for only a few minutes when you’ll likely wear it for hours? Testing your setup guarantees peak sound quality and comfort during prolonged use.
Start by wearing your adjusted headset for 10-15 minutes while actively using it. Pay attention to pressure points around your ears and head where discomfort might develop. Check that the clamping force isn’t too tight, as excessive pressure causes fatigue over time.
Position your microphone boom 2-3 fingers from your mouth to maintain clear audio quality without strain. During testing, make small adjustments to improve the fit.
Remember to schedule regular breaks during extended sessions. This thorough testing approach prevents discomfort and guarantees your headset remains comfortable throughout long gaming or work sessions.
Frequently Asked Questions
How to Properly Tighten a Headset?
First, you’ll loosen the steerer clamp bolts, then adjust the preload bolt clockwise in half-turns. Check for play by rocking the bike, realign the stem, and retighten using proper torque specifications.
How Do I Adjust My Headset?
First, check for headset play by applying your front brake and rocking the bike. If loose, tighten the preload bolt clockwise in half-turns. If tight, loosen counterclockwise until smooth.
How Much Play Should There Be in a Headset?
There shouldn’t be any play in your headset. Zero play guarantees ideal steering control and prevents damage to components. Even slight movement indicates your headset’s too loose and needs immediate adjustment.
Do You Tighten Headset or Stem First?
You’ll tighten the headset first, then the stem. Always loosen stem clamp bolts before adjusting headset preload, eliminate play with the headset bolt, realign everything, then retighten stem clamps.


Leave a Reply