You’ll master omnidirectional VR filming by positioning your camera centrally at eye level, maintaining consistent 5600K lighting across all lenses, and using ambisonic microphones for spatial audio. Secure your camera firmly with quality stabilizers, avoid obstructions in the 360-degree field of view, and utilize soft lighting to prevent harsh shadows during stitching. Choose high-quality cameras like Insta360 ONE X2, plan smooth movements along natural sight lines, and budget for professional editing software. These foundational techniques will elevate your immersive storytelling capabilities greatly.
Understanding Spatial Dynamics in 360-Degree Camera Placement
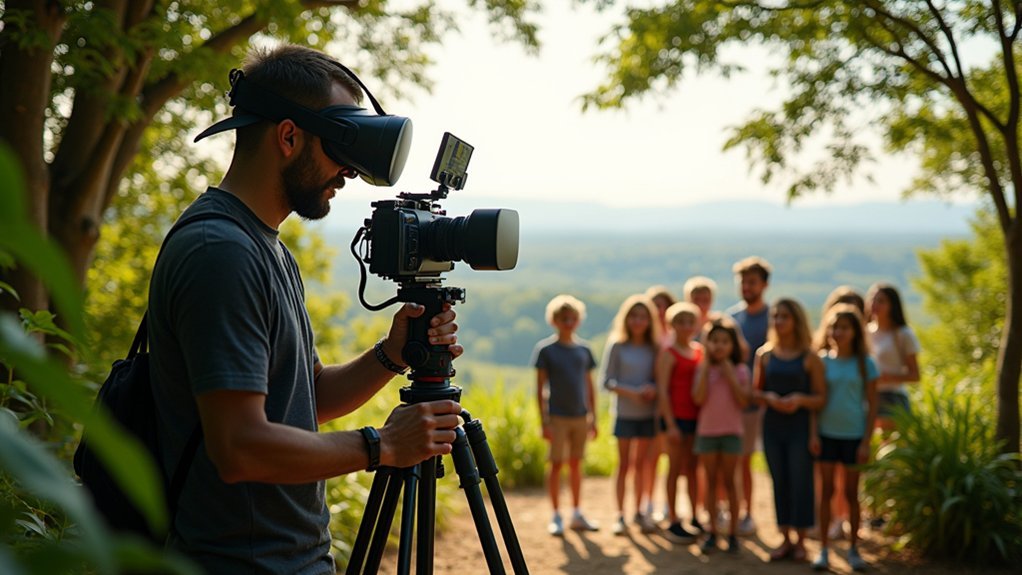
When you’re setting up a 360-degree camera, you’re not just capturing footage—you’re creating a portal that transports viewers into your scene.
Strategic camera placement requires understanding spatial dynamics to maximize viewer engagement. Position your camera centrally where significant action occurs, ensuring viewers feel connected to the narrative unfolding around them.
Central camera positioning creates powerful viewer connections by placing audiences at the heart of unfolding narratives and immersive storytelling experiences.
Place your 360-degree camera at eye level to create natural, immersive experiences that mirror viewers’ real-world perspective. This positioning enhances their sense of presence within your virtual environment.
Avoid obstructions in your field of view since everything gets captured in the omnidirectional frame.
Experiment with different angles and distances from subjects to optimize depth perception.
Secure your camera firmly—even minor movements can cause viewer discomfort and compromise the quality of your immersive experiences.
Optimizing Lighting Conditions for Seamless Stitching
You’ll need to maintain consistent lighting across all camera lenses to guarantee your footage stitches together seamlessly without visible seams or exposure variations.
Position your lights to create even distribution throughout the scene, eliminating harsh shadows that can create jarring shifts between camera angles.
Keep your color temperature uniform across all light sources, as mixed lighting will cause color shifts that become glaringly obvious in post-production stitching.
Even Light Distribution
Although achieving seamless 360-degree footage requires careful attention to multiple technical elements, lighting stands as perhaps the most critical factor that can make or break your VR production.
Even light distribution prevents visible stitching lines and distortions that’ll compromise your final footage quality. You’ll need to create uniform illumination across your entire scene to maintain visual consistency throughout the 360-degree environment.
Implement soft lighting techniques by diffusing natural light with sheer curtains or positioning softboxes strategically around your subject.
Multiple light sources work better than single harsh lights, as they fill shadows and eliminate dark spots. Remember that uneven lighting creates those telltale seams where camera feeds merge.
Focus on balanced illumination from all angles, ensuring no area appears considerably brighter or darker than surrounding regions.
Avoiding Harsh Shadows
Harsh shadows create some of the most challenging obstacles in 360-degree VR filming, as they generate stark contrasts that interrupt smooth stitching between camera feeds and break viewer immersion.
Natural lighting provides your best foundation for professional results, but you’ll need strategic approaches to control harsh shadows effectively.
Master these shadow-elimination techniques:
- Embrace golden hour magic – Shoot during sunrise or sunset when sunlight becomes your gentle ally.
- Deploy LED fill lights – Add soft illumination to banish unwanted darkness without creating new problems.
- Seek shade strategically – Position your camera where indirect light creates naturally balanced illumination.
- Monitor exposure settings religiously – Prevent blown highlights and crushed blacks that devastate stitching quality.
Your lighting choices directly impact your final product’s polish and professionalism.
Color Temperature Consistency
Why do some VR productions feel seamlessly immersive while others jar viewers with jarring color shifts that scream “amateur footage”? The answer lies in maintaining consistent color temperature across all lighting sources.
You’ll need to guarantee seamless stitching by keeping all lights balanced around 5600K for daylight shots using color meters.
When working in mixed lighting conditions, use color gels to match ambient light temperatures, preventing discrepancies during post-production. Always conduct test shots beforehand to identify potential issues early.
While color grading software can correct minor inconsistencies later, you’ll save time and achieve better results by getting it right in-camera.
Proper color temperature consistency transforms choppy, obvious edits into smooth, professional VR experiences that keep viewers fully immersed.
Managing Viewer Attention in Omnidirectional Environments
You’ll find that directing viewer attention in 360-degree spaces requires deliberate techniques that work with human perception rather than against it.
Strategic placement of movement within your scene creates natural focal points that guide eyes toward critical story elements without forcing uncomfortable head turns.
Audio cues become your most powerful tool for attention management, as directional sound pulls viewers’ gaze toward important actions even when they’re looking elsewhere in the omnidirectional environment.
Audio Cues Direct Gaze
When viewers can look in any direction within a VR environment, you’ll need strategic audio placement to guide their attention toward essential story elements.
Spatial audio becomes your most powerful tool for creating focus within unlimited visual possibilities. Research demonstrates that audio cues greatly enhance immersion, making your VR experience more compelling and emotionally engaging.
Effective audio direction techniques include:
- Dynamic sound positioning – Place sounds at specific 3D locations to draw viewers’ gaze naturally toward critical narrative moments.
- Intensity-based guidance – Adjust audio volume and clarity based on head orientation to reinforce storytelling.
- Directional dialogue placement – Position character voices to create spatial relationships and emotional connections.
- Atmospheric layering – Use subtle background sounds that encourage exploration while maintaining narrative focus through strategic audio landmarks.
Strategic Movement Placement
While audio cues establish directional focus, strategic movement placement serves as your visual compass for guiding viewer attention throughout omnidirectional environments.
You’ll want to position movement thoughtfully to create natural focal points without overwhelming viewers with excessive visual stimuli.
Incorporate natural elements like swaying trees or flowing water, and use characters walking through scenes to draw attention toward narrative-critical areas.
Subtle movements work best—they’ll guide viewer gaze while maintaining an immersive experience that feels organic rather than forced.
Vary your movement’s intensity and speed throughout the experience to sustain engagement and encourage active exploration.
When viewers encounter dynamic changes, they’ll naturally look around to discover new environmental aspects, preventing them from becoming passive observers in your carefully crafted VR world.
Essential Pre-Production Planning for VR Shoots
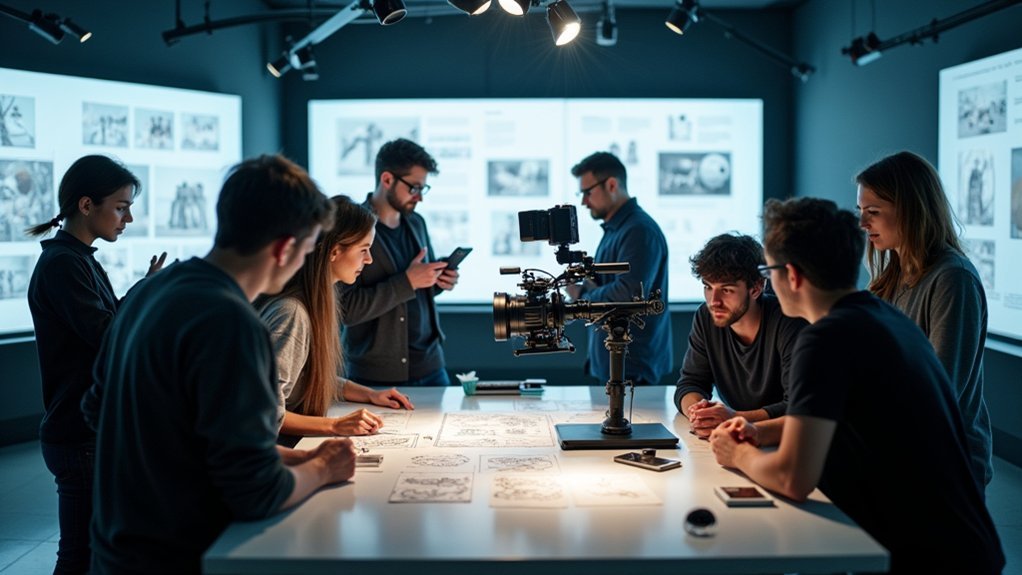
Since VR filming captures every angle simultaneously, your pre-production planning becomes far more complex than traditional video shoots.
You must think beyond traditional framing and consider the entire 360-degree environment that’ll shape your immersive experience.
Your pre-production planning checklist should include:
- Define your story’s emotional core – Map out viewer journey points that’ll create lasting memories
- Scout locations obsessively – Find spaces that enhance rather than distract from your narrative
- Plan lighting meticulously – Verify 360-degree cameras capture ideal exposure in all directions
- Design spatial audio strategy – Create sound design that pulls viewers deeper into your world
Camera Movement Techniques That Enhance Immersion
You’ll need to master three fundamental camera movement techniques to create truly immersive VR experiences.
Start with static shot positioning to establish your scene’s foundation, then focus on achieving smooth movement shifts that won’t disorient your viewers.
Finally, incorporate natural motion techniques that mimic how people actually move through spaces in real life.
Static Shot Positioning
Three fundamental principles govern effective static shot positioning in omnidirectional VR filming.
You’ll create compelling content by mastering camera placement that maximizes viewer engagement while maintaining comfort.
Static shots form the foundation of exceptional VR experiences when positioned thoughtfully. Eye-level placement guarantees natural perspective, while strategic positioning relative to subjects maintains narrative focus.
You’ll discover that avoiding abrupt camera movements prevents motion sickness, allowing viewers to explore the complete 360-degree environment comfortably.
Consider these positioning strategies to elevate your immersive experience:
- Center yourself within the action – Place the camera where viewers naturally want to be
- Maintain consistent eye-level height – Create authentic human perspective throughout scenes
- Position near focal points – Draw attention without overwhelming the viewer
- Allow exploration space – Give viewers room to look around and discover details
Master these techniques to transform ordinary footage into extraordinary VR content.
Smooth Movement Transitions
While static positioning establishes your foundational framework, purposeful camera movement elevates VR storytelling to new heights.
You’ll need stabilization equipment like gimbals to achieve smooth shifts that won’t disorient your viewers. Maintain steady pacing throughout your camera movements—sudden motions break immersion and cause motion sickness in VR environments.
Plan your movements along natural sight lines so viewers feel authentically part of the scene. Incorporate slow pans and tilts rather than rapid changes that disconnect audiences from the virtual space.
The dolly technique works exceptionally well in 360-degree filming, where you smoothly move toward or away from subjects to create compelling depth and engagement.
These deliberate, fluid camera movements transform ordinary footage into truly immersive experiences that captivate viewers.
Natural Motion Techniques
Since immersion relies heavily on how naturally your camera behaves, mastering eye-level positioning becomes your first priority for authentic VR experiences.
Natural motion techniques form the backbone of compelling VR content that keeps viewers engaged without discomfort.
Your camera movements must mirror human perception to create truly immersive experiences:
- Execute slow, deliberate pans that allow viewers to absorb their surroundings naturally
- Maintain steady positioning to prevent jarring shifts that shatter the illusion
- Apply gentle tilts sparingly to add realism without overwhelming your audience
- Experiment with elevation changes to offer fresh perspectives that enhance storytelling
Audio Capture Strategies for Spatial Sound Design
When you’re capturing audio for omnidirectional VR content, your microphone choice becomes just as critical as your camera selection. Ambisonic microphones excel at recording sound from all directions, creating realistic environments that elevate your immersive experience. You’ll want to implement binaural audio techniques using two strategically placed microphones that mimic human ear positioning for three-dimensional soundscapes.
| Recording Consideration | Best Practice |
|---|---|
| Environment Acoustics | Choose spaces with natural reverb while avoiding excessive echo |
| Audio-Visual Sync | Maintain precise timing between sound sources and visual elements |
| Post-Production | Use specialized software for spatial sound positioning and effects |
Pay careful attention to your recording environment’s acoustics, as natural reverb adds depth without overwhelming viewers. Sync your audio capture with visual elements during filming to guarantee accurate sound placement. Finally, leverage post-production software to fine-tune your spatial sound design.
Post-Production Stitching and Color Correction Best Practices
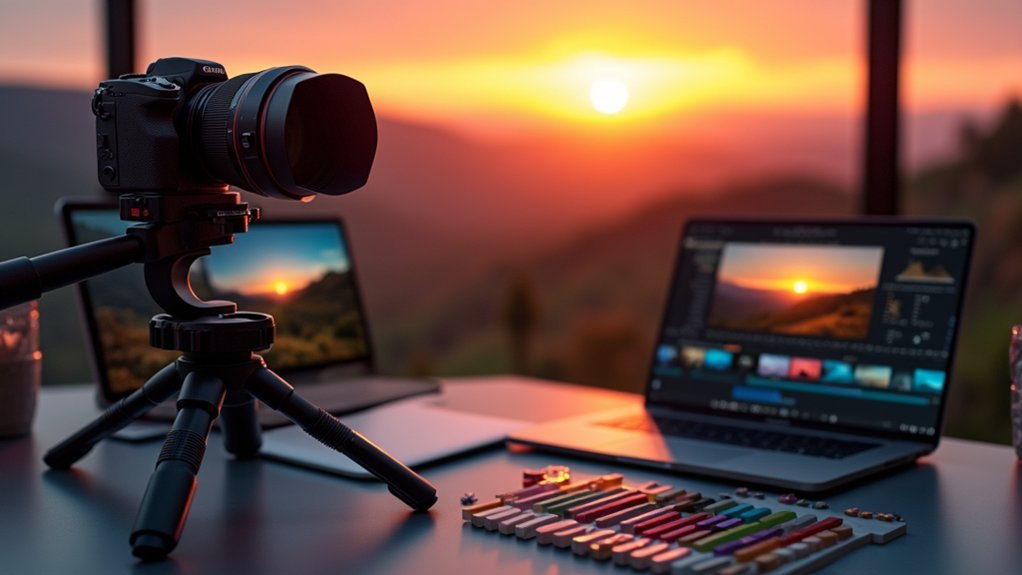
After capturing your omnidirectional footage, the post-production stitching process transforms multiple camera feeds into a cohesive 360-degree experience.
Modern stitching software like Adobe Premiere Pro or Kolor Autopano handles the technical challenges of aligning footage from multiple cameras.
Advanced stitching algorithms automatically synchronize and blend multi-camera footage, eliminating manual alignment tasks that once required hours of tedious post-production work.
Here’s your essential workflow for professional VR video production:
- Minimize parallax effects by adjusting camera position settings and correcting lens distortion
- Apply global color correction using adjustment layers to maintain consistent lighting throughout scenes
- Fine-tune specific areas with masks to enhance visual coherence and create seamless shifts
- Export with optimized settings tailored for various VR platforms to preserve quality and prevent playback glitches
Effective color correction guarantees your immersive content maintains natural tones and consistent exposure across all stitched elements, delivering professional results.
Creating Natural Viewer Navigation Cues
While technical excellence in stitching creates the foundation for immersive VR content, guiding your viewers naturally through the 360-degree space requires deliberate design choices that work with human psychology rather than against it.
You’ll want to incorporate visual markers like contrasting colors and unique objects that catch the eye, creating natural navigation pathways through your environment. Strategic lighting variations highlight key areas and shifts, helping viewers intuitively understand where to look next.
Don’t overlook audio cues—directional sound effects subtly guide attention and encourage exploration of specific zones. Place foreground elements strategically to create focal points that draw viewers deeper into the scene.
Most importantly, guarantee movements and interactions feel organic, avoiding abrupt shifts that disorient viewers and disrupt their immersive experience.
Avoiding Common Technical Pitfalls in VR Production
Even perfectly guided viewer experiences can be undermined by technical mistakes that pull audiences out of the virtual world.
You’ll need to address several critical areas to maintain immersion.
Your camera setup requires unwavering stability. Even slight movements create motion sickness, so invest in quality gimbals or stabilizers for smooth footage.
Consider these essential technical safeguards:
- Scout locations ruthlessly – your 360-degree camera captures everything, including embarrassing background elements that’ll shatter immersion.
- Master lighting conditions – poor illumination destroys video quality and viewer engagement.
- Perfect your stitching software skills – visible seams between angles create jarring discontinuities.
- Test rigorously on VR headsets – what looks acceptable on monitors often reveals problems in virtual reality.
Don’t skip the testing phase.
Preview your content through actual VR headsets before finalizing edits to catch clarity issues early.
Equipment Selection for Professional Omnidirectional Filming
Professional VR content demands camera equipment that can capture the full 360-degree sphere without compromising quality or viewer experience.
You’ll want to invest in a high-quality VR camera like the Insta360 ONE X2 or GoPro Max, which deliver true omnidirectional coverage for immersive environments. Verify your 360-degree camera supports at least 4K resolution per lens to maintain crystal-clear detail.
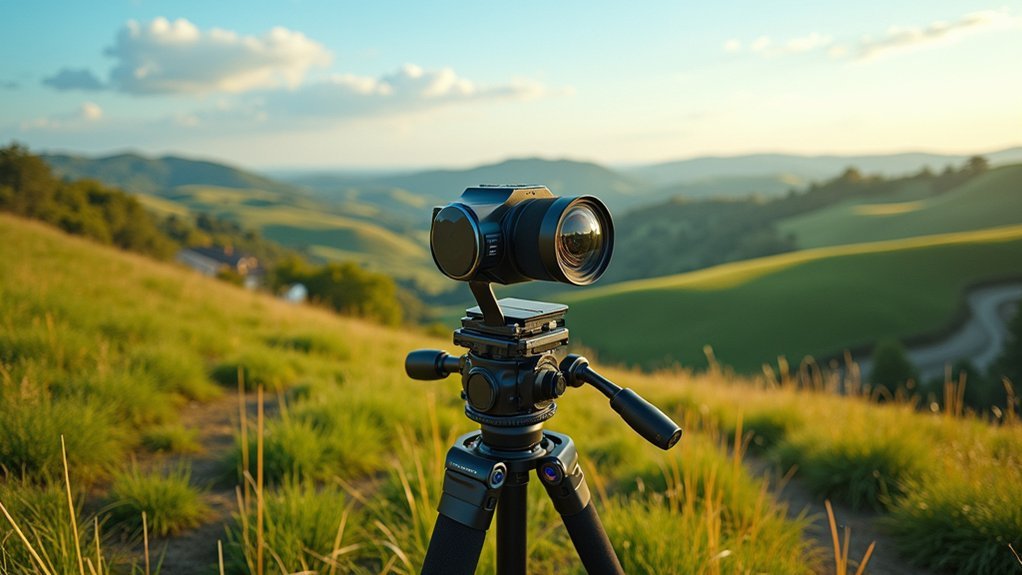
Don’t overlook essential accessories—lightweight tripods with adjustable ball heads prevent obstructed shots, while stabilizers eliminate unwanted camera shake.
External microphones greatly improve audio quality during dynamic filming scenarios. Consider stereoscopic cameras for enhanced depth perception, creating more lifelike experiences for viewers.
Budget wisely for editing software that can handle the complex stitching and processing requirements of omnidirectional footage, guaranteeing your final product meets professional standards.
Frequently Asked Questions
How to Improve VR Video Quality?
You’ll improve VR video quality by using high-resolution 360-degree cameras, shooting in well-lit environments, maintaining steady positions with tripods, editing with specialized software, and adjusting camera settings for consistent exposure.
How to Make Virtual Reality More Realistic?
You’ll make virtual reality more realistic by incorporating spatial audio that responds to your movements, adding interactive elements you can touch, using high-resolution cameras, and implementing advanced rendering techniques.
How to Improve VR Immersion?
You’ll improve VR immersion by using high-quality spatial audio, maintaining proper lighting, choosing distraction-free locations with natural elements, incorporating subtle camera movements, and adding interactive elements that let users control their perspective.
How to Shoot Immersive Content?
You’ll create immersive content by positioning cameras at eye level, using lightweight tripods, maximizing natural lighting, capturing extra footage, and carefully planning people’s placement to maintain clean 360-degree shots.


Leave a Reply