
You can eliminate VR motion blur by properly adjusting your headset’s pupillary distance and lens positioning for ideal alignment with your eyes. Clean your lenses regularly with microfiber cloths, practice slow deliberate head movements instead of quick jerks, and calibrate your display settings to 90Hz+ refresh rates. Take 20-30 minute breaks to prevent eye strain, use artificial tears for lubrication, and guarantee your graphics maintain consistent 90+ FPS. These foundational techniques will release even more advanced optimization strategies.
Achieve Perfect Pupillary Distance Alignment for Crystal Clear Vision

When you’re experiencing motion blur in VR, the culprit often lies in improper pupillary distance alignment rather than your headset’s performance.
Your Quest 3’s pupillary distance adjustment ranges from 58 to 70 mm, giving you precise control over lens positioning. Don’t rely on guesswork—measure your PD manually or use apps like “GlassesOn” for accurate readings.
Measure your pupillary distance precisely using manual methods or dedicated apps—don’t guess when configuring your Quest 3’s 58-70mm adjustment range.
Misaligned optical centers create blurred vision and eye strain that amplifies motion blur effects.
You’ll need to experiment with lens distance adjustments since positioning affects your entire visual experience. Make small incremental changes while testing VR content to find your sweet spot.
Regular alignment checks prevent issues from returning.
When your lenses match your eyes perfectly, you’ll eliminate the underlying cause of motion blur and enjoy crisp, comfortable VR sessions.
Master Proper Headset Positioning and Lens Distance Adjustment
Beyond pupillary distance settings, your entire headset positioning determines whether you’ll experience crystal-clear visuals or persistent motion blur.
Start by centering the headset snugly on your head, ensuring it doesn’t shift during movement. This stable foundation prevents lens misalignment that creates distracting blur.
Next, adjust the lens distance from your eyes systematically. Move the headset closer or farther until text appears sharp and edges look crisp.
Don’t overlook vertical alignment—slide the headset up or down until the sweet spot aligns with your eye level.
Proper headset positioning eliminates most motion blur issues before they start. Take time to find your ideal position, then maintain that exact placement every session for consistently clear VR visuals.
Maintain Spotless Lens Cleanliness to Prevent Visual Distortion
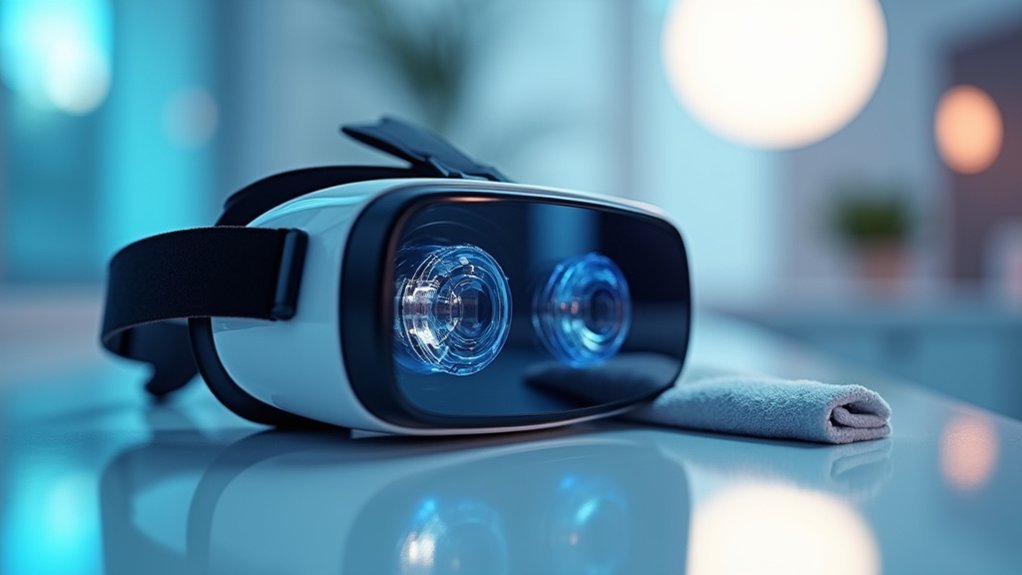
Dirty or smudged VR lenses can create visual distortion that’s often mistaken for motion blur, making your gaming experience frustrating and unclear.
You’ll need to use proper cleaning techniques with a microfiber cloth designed specifically for lenses, as household cleaners and paper towels can damage the delicate coating.
Preventing smudges before they occur and inspecting your lenses before each session will keep your visual clarity sharp and eliminate unnecessary blur.
Proper Cleaning Techniques
A single smudge on your VR lenses can transform an immersive experience into a blurry nightmare. Proper cleaning techniques are essential for maintaining crystal-clear visuals and eliminating motion blur.
| Step | Tool | Technique | Warning |
|---|---|---|---|
| 1 | Microfiber cloth | Gentle circular motions | Avoid paper towels |
| 2 | Lens solution | Apply to cloth first | Never spray directly |
| 3 | Inspection | Check before each use | Look for smudges |
| 4 | Storage | Keep cloth clean | Replace when dirty |
Use only microfiber cloths designed for lenses – they’ll remove dust and smudges without scratching. Apply minimal pressure while cleaning in circular motions to cover all areas evenly. For deeper cleaning, use optical-safe solutions applied to your cloth, not directly on lenses. Regular inspection prevents minor contaminants from degrading your VR experience.
Smudge Prevention Methods
While cleaning removes existing smudges, preventing them in the first place keeps your VR lenses pristine between sessions.
These smudge prevention methods will help you maintain crystal-clear VR lenses and reduce motion blur caused by visual distortion.
Start by ensuring your hands are completely clean and dry before handling your headset. Oil and dirt transfer easily from fingers to lenses, creating the very smudges you’re trying to avoid.
When you’re finished gaming, don’t simply set your headset aside.
Essential prevention strategies include:
- Store your headset in a protective case to shield VR lenses from dust accumulation
- Use lens covers or caps when not gaming to block fingerprints and particles
- Keep your play area clean to minimize airborne debris settling on lenses
These simple habits dramatically reduce cleaning frequency while maintaining peak visual clarity.
Practice Controlled Head Movements and Smooth Tracking Techniques
Master your head movements by practicing slow, deliberate turns that minimize abrupt perspective shifts in VR environments. You’ll considerably reduce motion blur by implementing smooth tracking techniques that focus on maintaining steady gazes on central objects while moving your head.
| Movement Type | Technique | Motion Blur Impact |
|---|---|---|
| Head Turns | Slow, deliberate rotation | Minimal |
| Quick Jerks | Rapid, sudden movements | Severe |
| Natural Flow | Body coordination with head | Reduced |
| Steady Gaze | Focus on central objects | Low |
| Erratic Motion | Unpredictable head shifts | High |
Coordinate your body movements with head turns to create natural motion patterns that help your brain adapt to VR experiences. This synchronized approach reduces disorientation and contributes to clearer visual tracking, ultimately eliminating troublesome motion blur during your virtual adventures.
Optimize Eye Health Through Regular Breaks and Lubrication
Your eyes play an essential role in experiencing clear VR visuals, but extended sessions can cause dryness that worsens motion blur.
You’ll need to implement regular 20-30 minute breaks since prolonged VR use reduces your blink rate by 60%, leading to uncomfortable dry eyes.
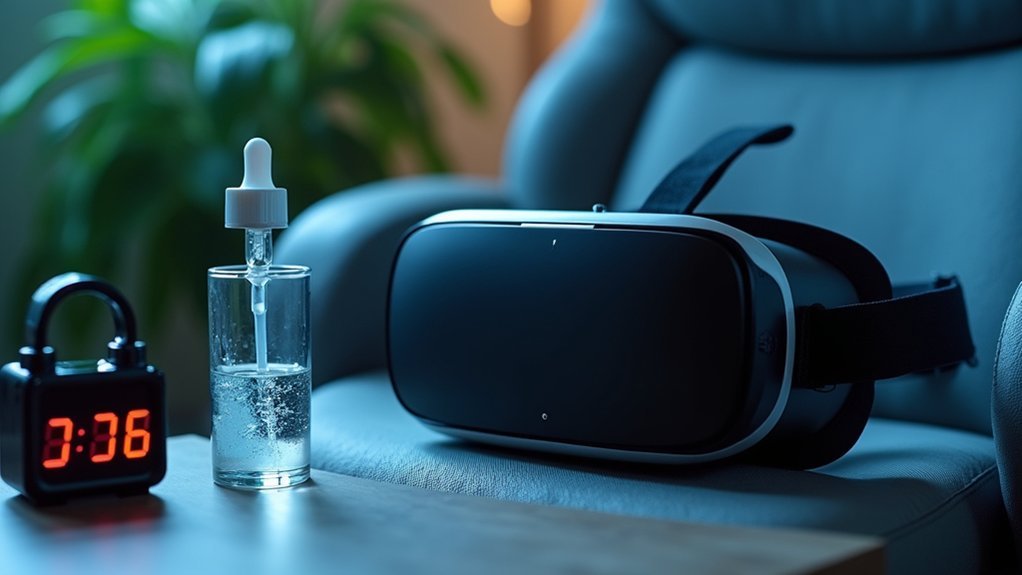
Strategic use of artificial tears before and during sessions keeps your eyes properly lubricated, ensuring ideal visual clarity throughout your VR experience.
Combat VR Dry Eyes
Extended VR sessions can slash your natural blink rate by up to 60%, transforming an immersive gaming experience into an uncomfortable battle against dry, irritated eyes.
This reduced blinking disrupts your eye’s natural lubrication system, leading to discomfort that can ruin your VR experience.
Combat dry eyes with these proven strategies:
- Take regular 20-30 minute breaks to reset your natural blinking pattern and give your eyes essential rest.
- Apply artificial tears before and during sessions to maintain proper eye lubrication and prevent irritation.
- Practice conscious blinking and eye exercises while gaming to stimulate natural tear production.
Don’t forget to keep your VR lenses spotlessly clean, as smudges worsen visual strain.
If you wear glasses, use them in VR to guarantee proper focus and reduce unnecessary eye stress.
Strategic Break Schedule Implementation
When you implement a strategic break schedule during VR sessions, you’ll transform eye strain from an inevitable consequence into a manageable aspect of your virtual experience. Taking regular 20-30 minute intervals prevents the 60% reduction in blinking that occurs during extended screen time. Your strategic break schedule should incorporate artificial tears to combat dry eyes that cause blurred vision and discomfort.
| Break Duration | Activity | Eye Benefit | Recovery Time |
|---|---|---|---|
| 5 minutes | Eye muscle exercises | Improved convergence | Immediate |
| 10 minutes | Artificial tears application | Reduced dryness | 2-3 minutes |
| 15 minutes | Distance vision focus | Enhanced adaptability | 5-7 minutes |
| 20 minutes | Complete eye rest | Minimized cyber sickness | 10-15 minutes |
This systematic approach allows your eyes to recover while minimizing cyber sickness risks from prolonged virtual environment exposure.
Artificial Tear Application Methods
Artificial tears become your most effective weapon against VR-induced eye dryness when you apply them using proper techniques and timing.
Since your blinking rate drops by 60% during screen use, proactive lubrication prevents the uncomfortable dryness that contributes to motion blur and visual fatigue.
Apply artificial tears before starting your VR session and maintain consistent hydration throughout gameplay. Choose preservative-free formulations specifically designed for computer use to avoid additional irritation while wearing your headset.
- Pre-session preparation: Apply drops 5-10 minutes before putting on your VR headset to establish baseline moisture
- Mid-session maintenance: Keep artificial tears within reach and apply during your 20-30 minute break intervals
- Post-session recovery: Use lubricating drops immediately after removing your headset to restore natural moisture balance
Understand and Manage Vergence-Accommodation Conflict Effects
Although your eyes naturally work together to focus on objects in the real world, VR headsets create a biological mismatch that can turn your virtual experience into a blurry, uncomfortable mess.
This vergence-accommodation conflict occurs when your eyes converge to focus on virtual objects while maintaining a fixed focal distance to the screen, causing double vision and motion blur.
Your brain receives conflicting depth signals, leading to cyber sickness and visual strain. You can combat this by adjusting your headset’s lens distance and ensuring proper optical center alignment.
Practice real-world eye exercises that strengthen convergence and divergence muscles. Most importantly, take breaks every 20-30 minutes to let your eyes relax and recalibrate, preventing the accumulated strain that worsens motion blur.
Implement Proper Prescription Lens Solutions for VR
You’ll need distance prescription glasses while using VR if you normally wear them for activities like driving or watching TV.
Testing VR lens inserts designed for your specific headset can dramatically improve clarity and reduce motion blur compared to wearing regular glasses inside the headset.
Getting regular eye exams guarantees your prescription stays current, as outdated corrections can worsen visual distortions and contribute to motion sickness in virtual environments.
Distance Prescription Glasses Necessity
When VR headsets display images through lenses designed to focus at infinity, users with vision impairments often experience significant motion blur that stems from incorrectly focused visuals rather than tracking issues.
The distance prescription glasses necessity becomes apparent when you realize VR lenses don’t accommodate your natural vision needs.
You can determine if glasses are required by using a downloadable eye chart specifically designed for VR testing. This simple assessment reveals whether your current vision affects clarity during immersive experiences.
Consider these essential steps:
- Obtain prescription lens inserts designed specifically for your VR headset model
- Schedule regular eye check-ups to update prescriptions and eliminate motion blur
- Verify proper alignment between prescription lenses and your headset’s optical center for peak clarity
VR Lens Insert Testing
Since prescription lens inserts directly address the root cause of VR motion blur, testing different options becomes essential for finding your best visual solution.
You’ll need to experiment with various VR prescription lens inserts to identify what works best for your specific visual needs. Start by ensuring your lens inserts match your exact pupillary distance (PD) to minimize optical distortions that create blurriness and strain.
Regular testing helps you fine-tune the prescription strength for peak clarity during VR sessions.
Keep your lens inserts spotlessly clean, as smudges will worsen motion blur and compromise visual quality.
Consider consulting an eye care professional to determine the most effective VR prescription for your inserts, eliminating visual issues that contribute to motion blur in virtual environments.
Regular Eye Exam Importance
Getting accurate prescription measurements requires scheduling regular eye exams with qualified professionals who understand VR’s unique visual demands. These thorough evaluations identify vision issues that could create motion blur during immersive experiences, ensuring you receive the correct prescription for ideal clarity.
Regular eye exams provide essential benefits for VR users:
- Detect vision changes that could worsen motion blur and vergence-accommodation conflicts in VR environments
- Measure precise pupillary distance within the 58-70mm range for proper lens alignment and reduced visual strain
- Update prescriptions to prevent outdated lenses from exacerbating motion blur issues
You’ll maintain better eye health while ensuring your visual aids effectively combat VR technology’s inherent limitations. Fresh prescriptions enhance overall immersion and greatly reduce the discomfort associated with blurred virtual environments.
Calibrate Display Settings for Optimal Frame Rates and Resolution
Although VR headsets deliver immersive experiences, improper display calibration can turn your virtual adventures into blurry nightmares. You’ll need to adjust your display settings to achieve stable frame rates and crystal-clear visuals.
Start by adjusting your refresh rate to match your headset’s capabilities—aim for 90Hz or higher to minimize motion blur during fast movements. Set your resolution to at least 25 pixels per degree for maximum clarity.
| Setting | Recommended Value | Impact |
|---|---|---|
| Refresh Rate | 90Hz+ | Reduces motion blur |
| Resolution | 25+ pixels/degree | Improves clarity |
| Graphics Quality | Medium-High | Maintains performance |
| Frame Rate Target | Consistent 90+ FPS | Prevents stuttering |
Monitor your frame rates using VR performance tools, lowering graphical settings when necessary. Regular firmware updates guarantee you’re benefiting from the latest adjustments.
Minimize Chromatic Aberration Through Advanced Lens Technologies
When chromatic aberration distorts your VR visuals with color fringing and blurred edges, advanced lens technologies offer the most effective solution to restore crystal-clear imagery.
Modern VR headsets like the Quest 3 utilize pancake lenses that greatly reduce chromatic aberration compared to traditional Fresnel designs. These high-quality optics minimize uneven light refraction that causes unwanted color separation around objects.
- Choose headsets with pancake lens technology – These advanced optics deliver sharper peripheral vision and eliminate the fraying effects common in older lens designs.
- Keep your lenses spotlessly clean – Smudges amplify chromatic aberration issues, so regular cleaning with proper microfiber cloths maintains peak clarity.
- Invest in newer VR models – Latest-generation headsets feature improved optical engineering specifically designed to combat chromatic aberration.
Evaluate Hardware Upgrades for Enhanced Visual Clarity
Beyond optimizing your current headset’s optics, upgrading your hardware can deliver dramatic improvements in visual clarity that software tweaks simply can’t match.
The Quest 3’s pancake lenses eliminate god rays and pixelation issues that plague the Quest 2, creating a superior sweet spot and enhanced peripheral vision. With 25 pixels per degree, it’s substantially clearer than previous generations, though still below the eye’s 60-pixel capability.
Before committing to hardware upgrades, assess your tolerance for existing visual artifacts. Some users aren’t bothered by current limitations, while others find clarity issues distracting.
Remember that even premium headsets have inherent VR technology constraints. Maximize your investment by scheduling regular eye exams and using prescription lens inserts when needed—these complement hardware improvements effectively.
Frequently Asked Questions
How Do I Stop My VR From Being Blurry?
Adjust your Quest 3’s pupillary distance between 58-70mm to match your measurements. Clean the lenses regularly, take 20-30 minute breaks, experiment with lens distance positioning, and consider prescription inserts if you wear glasses.
How to Get Rid of VR Motion Sickness?
You’ll reduce VR motion sickness by adjusting your pupillary distance properly, taking breaks every 20-30 minutes, keeping lenses clean, wearing corrective glasses if needed, and practicing eye convergence exercises regularly.
How to Make VR Look Clearer?
Adjust your pupillary distance between 58-70mm for proper lens alignment. Clean lenses regularly to remove smudges. Experiment with lens distance settings and use artificial tears to combat dry eyes during sessions.
How to Fix Blurriness on Oculus Quest 2?
Adjust your pupillary distance between 58-70mm in settings, clean lenses with microfiber cloth, experiment with lens distance positioning, and guarantee proper headset fit for maximum clarity and focus.


Leave a Reply