You’ll achieve the most immersive architectural VR experiences by setting your field of view between 90-110 degrees, which enhances spatial awareness while minimizing motion sickness. Position critical UI elements within 30 degrees horizontally and between 40 degrees downward to 10 degrees upward from the horizon line. Maintain consistent frame rates above 72 FPS through dynamic resolution scaling and optimized rendering techniques. Test across different headsets since FOV capabilities vary considerably between devices, and the strategies below will help you master every technical aspect.
Understanding Field of View in Virtual Reality Architecture

When you’re designing architectural VR experiences, understanding Field of View becomes essential for creating immersive and comfortable virtual environments. FOV determines how much of your virtual space users can see without moving their heads, typically ranging from 90 to 110 degrees in architectural applications.
You’ll find that wider FOV settings enhance spatial awareness and create a more immersive experience, allowing users to perceive design elements naturally. However, you must balance this carefully—incorrect FOV settings can cause discomfort or motion sickness.
Your user interface design directly depends on FOV, as you’ll need to place critical information within the visible range. Individual differences and headset variations mean you should always test and adjust FOV settings for ideal user comfort.
Hardware Considerations for Architectural VR Headsets
Since your FOV optimization depends heavily on hardware capabilities, selecting the right VR headsets becomes essential for architectural visualization success. You’ll want to prioritize models offering wider FOV like Pimax headsets, which deliver up to 200 degrees diagonal viewing angles. The Varjo XR-4 series provides 120 degrees horizontal FOV with superior clarity for detailed architectural designs.
| Feature | Pimax Headsets | Varjo XR-4 Series | Minimum Requirements |
|---|---|---|---|
| FOV | Up to 200° diagonal | 120° horizontal | 90° minimum |
| Resolution | High | Superior clarity | 1080×1200 per eye |
| Refresh Rate | 90-120 Hz | 90 Hz | 72 FPS minimum |
| Optics | Advanced lens tech | Premium optics | Distortion correction |
| Software | Unreal Engine 5.3.2 | Compatible | OpenVR support |
Advanced optics minimize distortion while maintaining smooth refresh rate performance during architectural walkthroughs.
Performance Optimization Strategies for Wide FOV Experiences
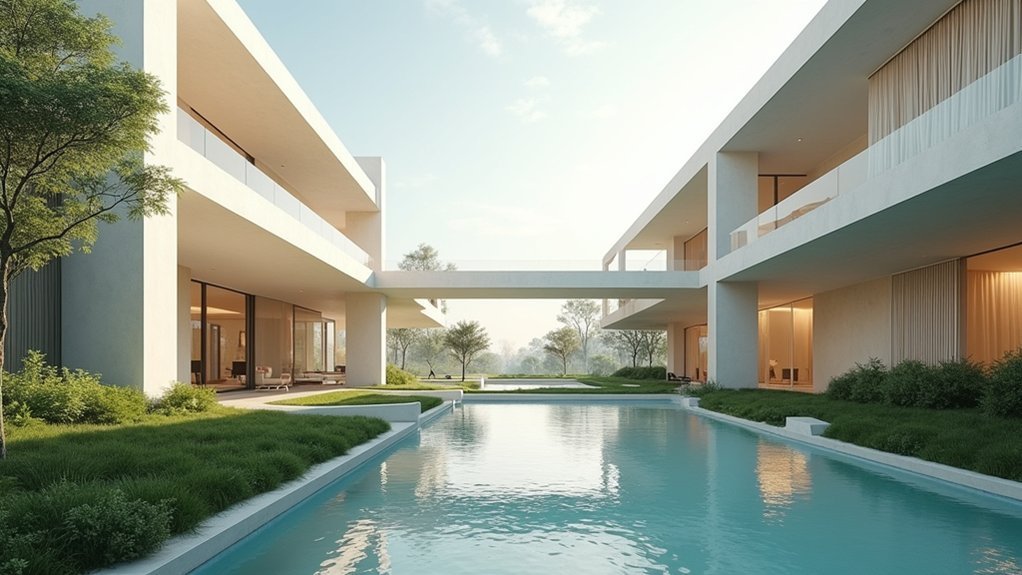
When you’re implementing wide FOV experiences in architectural VR, you’ll face significant rendering challenges that can impact both visual quality and frame rates.
You need to balance the computational demands of rendering expansive fields of view with your target hardware’s performance capabilities to maintain smooth, comfortable experiences.
Your optimization strategy must address three critical areas: efficient wide FOV rendering techniques, consistent frame rate maintenance, and finding the ideal performance balance for your specific hardware configuration.
Wide FOV Rendering
Five critical strategies form the foundation of effective wide FOV rendering in architectural VR applications.
You’ll need to implement dynamic resolution scaling that adjusts rendering quality based on scene complexity, ensuring smooth frame rates while maintaining your wide FoV experience.
Fixed foveated rendering techniques become essential—they’ll focus resources on your central vision while reducing peripheral quality, optimizing performance without sacrificing immersion.
Monitor your draw calls carefully, targeting 200-300 per frame with triangle counts between 750,000-1,000,000 to maintain fluidity.
Your FOV settings must align with camera properties in engines like Unreal to create truly immersive and realistic architectural visualizations.
These rendering techniques require extensive cross-device testing to identify artifacts and bottlenecks specific to wide FOV implementations.
Frame Rate Optimization
Although wide FOV rendering creates immersive architectural experiences, you’ll face considerable performance challenges that demand strategic frame rate enhancement.
Maintain at least 72 FPS to prevent motion sickness in wide FOV environments. Reduce your rendering workload by limiting draw calls to 200-300 per frame and keeping triangle counts between 750,000-1,000,000 for peak performance.
Implement dynamic resolution scaling and cull off-screen objects to manage performance without sacrificing visual quality.
Use fixed foveated rendering to lower resolution in peripheral vision areas, greatly reducing computational demands.
Optimize your shaders and geometry LOD systems to handle the broader visual landscape of headsets like the Pimax 8KX.
These frame rate optimization techniques guarantee smooth architectural visualizations while maximizing wide FOV benefits.
Hardware Performance Balance
Building on these frame rate optimization techniques, you’ll need to balance your hardware capabilities with wide FOV rendering demands to achieve peak performance.
When wider FOV allows for more immersive architectural experiences, it simultaneously increases computational load and potential rendering artifacts. You should implement dynamic resolution scaling to automatically adjust quality based on your system’s real-time capabilities, ensuring consistent frame rates without manual intervention.
For headsets with narrow FOVs, utilize fixed foveated rendering to reduce peripheral resolution and conserve processing power.
Monitor edge distortion carefully in wide-FOV setups and deploy custom shaders with lens correction profiles to maintain visual fidelity.
Always optimize environmental assets and reduce shader complexity to handle the increased demands of expanded field-of-view rendering effectively.
Designing Virtual Environments for Variable Field of View

When you’re crafting virtual environments for architectural visualization, understanding FOV variability across different VR headsets becomes your foundation for creating truly immersive experiences.
Since headsets typically range from 90 to 120 degrees, you’ll need adaptive layouts that automatically adjust based on each device’s capabilities.
- Position interactive elements within 40 degrees downward and 10 degrees upward from the horizon line to enhance the user’s view regardless of FOV limitations.
- Balance content density carefully when designing for wider FOVs, as excessive detail can compromise performance and distract from architectural features.
- Implement thorough user testing across various FOV settings to refine your interaction design and identify ideal furniture placement.
This strategic approach guarantees your architectural visualizations remain accessible and engaging across all VR platforms while maintaining visual clarity.
Rendering Techniques for Architectural VR Optimization
You’ll need to implement smart rendering strategies that adapt to your VR headset’s specific FOV requirements while maintaining visual fidelity.
Dynamic resolution scaling becomes your primary tool for preserving frame rates when complex architectural geometry threatens performance stability.
Static light implementation offers another essential optimization avenue, allowing you to prebake lighting calculations for architectural elements that won’t change during the VR experience.
Dynamic Resolution Scaling
How can you maintain smooth performance in architectural VR while preserving visual quality?
Dynamic resolution scaling adjusts rendering resolution in real-time based on your GPU’s performance, ensuring consistent frame rates during architectural walkthroughs. This technique intelligently manages resource allocation by reducing resolution in less critical scene areas while maintaining visual fidelity in focal points.
Key benefits of implementing dynamic resolution scaling include:
- Consistent frame rate maintenance – Achieves target 72 FPS on devices like Meta Quest 2
- Reduced motion sickness – Maintains smooth performance and minimizes latency for user comfort
- Optimized resource management – Lowers triangle count and draw calls in non-essential areas
You’ll need careful profiling to balance performance with visual quality, ensuring high-detail rendering where it matters most while optimizing less important sections.
Static Light Implementation
Since architectural VR demands consistent performance above all else, implementing static lighting becomes your most effective strategy for achieving smooth frame rates without sacrificing visual appeal.
You’ll dramatically reduce rendering costs by baking static lights into lightmaps, pre-calculating lighting interactions and shadows before runtime. This static light implementation minimizes draw calls and maintains peak performance in VR environments.
Place your static lights strategically to guarantee adequate illumination while preventing shadow overlapping that degrades performance.
Configure Unreal Engine’s lightmass settings with appropriate lightmap resolutions to balance visual fidelity with rendering efficiency.
You should regularly profile your scenes using stat RHI to monitor triangle counts and draw calls. This approach keeps your architectural VR visualizations running smoothly while preserving the stunning visuals clients expect.
User Interface Placement in Architectural Virtual Tours
When designing user interfaces for architectural virtual tours, strategic placement becomes vital for maintaining user engagement and reducing physical strain.
You’ll need to position essential UI elements centrally within your field of view to guarantee easy interaction without excessive head movement. This approach creates a more immersive experience while accommodating headsets with narrower FOVs.
Consider these key positioning strategies:
- Horizontal positioning: Keep interactive elements within 30 degrees of head rotation to minimize user fatigue during navigation.
- Vertical alignment: Place components between 40 degrees downward and 10 degrees upward from the horizon line for ideal clarity.
- Responsive design: Implement adaptive layouts that adjust automatically to different FOV specifications and user preferences.
User testing remains fundamental for validating your interface placement decisions and gathering critical feedback for iterative improvements.
Motion Sickness Prevention in Wide FOV Architectural Spaces
While thoughtful UI placement reduces user strain, expanding your FOV to create more immersive architectural experiences introduces a new challenge: motion sickness.
You’ll find that FOVs between 90-110 degrees offer the sweet spot for maintaining immersion while minimizing discomfort. Beyond this range, users often experience disorientation in complex virtual spaces.
To combat motion sickness, incorporate static visual anchors like fixed frames or architectural elements that remain constant during navigation.
Static visual anchors like fixed UI frames or consistent architectural elements help users maintain spatial orientation during virtual navigation.
You should also implement gradual shifts and controlled movement speeds, allowing users to adapt comfortably to wider viewing angles.
Since individual susceptibility varies greatly, user testing becomes essential for finding your ideal balance.
Test different FOV settings with diverse users to identify what works best for your specific architectural visualization while maintaining both comfort and immersive quality.
Testing and Calibration Methods for FOV Settings
Although establishing ideal FOV ranges provides a foundation, you’ll need systematic testing and calibration methods to validate your settings across different users and hardware configurations.
Adjust camera properties in your game engine to align with your headset’s FOV angles, ensuring maximal immersion and spatial awareness.
Your testing approach should include:
- User feedback sessions – Run comfort and engagement assessments with participants at various FOV settings to identify the most effective range for your target audience
- Performance monitoring – Use profiling tools to track frame rates and rendering performance, ensuring FOV choices don’t compromise visual fidelity
- Hardware-specific testing – Conduct tests on actual target devices like Meta Quest 2 to gather accurate performance data
Implement adjustable FOV sliders within your application, allowing each user to customize their experience based on personal preferences while reducing motion sickness risks.
Future Technologies and FOV Advancements in ArchViz
As VR technology rapidly evolves, you’ll witness groundbreaking advancements in FOV capabilities that will transform architectural visualization beyond current limitations.
High-end headsets are targeting FOVs exceeding 120 degrees, closely mimicking natural human vision for unprecedented immersive experiences. You’ll benefit from emerging pancake optics that enhance FOV while maintaining compact designs, eliminating bulky headsets without compromising visual scope.
AI-driven rendering will dynamically optimize your FOV based on gaze patterns and interactions, maximizing both performance and comfort.
Advanced foveated rendering techniques will deliver sharp detail in central vision while efficiently managing peripheral areas during complex architectural walkthroughs.
Future hybrid AR devices will combine broad FOV with environmental interaction, letting you seamlessly integrate designs into real-world settings using cutting-edge display technology.
Frequently Asked Questions
What Is the Ideal FOV for VR?
You’ll find the ideal VR FOV ranges from 90-110 degrees, with high-end models exceeding 120 degrees. This closely matches your natural 135-degree horizontal vision, creating immersive experiences while preventing discomfort.
How to Increase FOV in VR?
You can increase FOV in VR by choosing headsets with wider specifications, adjusting software FOV settings, enhancing lens distance, using foveated rendering techniques, and positioning key visual elements within ideal viewing ranges.
What Is the FOV of the Pimax Crystal?
You’ll get an impressive 126-degree diagonal FOV with the Pimax Crystal, plus approximately 140 degrees horizontal and 100 degrees vertical. You can adjust these settings to match your preferences and hardware capabilities.
What Is the Field of View of Varjo?
You’ll find Varjo headsets offer different FOV specifications depending on the model. The XR-4 Series provides 120 degrees horizontal FOV, while the Aero delivers 115 degrees, both creating immersive experiences.
Leave a Reply