
You’ll want to adjust your FOV based on your unique face shape for ideal camera appearance. Round and square faces benefit from narrow telephoto FOV (30°-60°) to minimize width and soften angular features, while oval faces need 3-5 feet distance with moderate FOV to avoid distortion. Heart-shaped faces should use wider FOV for harmony, diamond faces start with 60°-90° FOV, and triangle faces need 90°-120° to minimize jawline prominence. These strategic adjustments will transform your on-camera presence completely.
Round Face FOV Optimization Techniques
Why do round faces often appear unflattering in photos despite looking great in person?
Wide-angle FOVs can make it difficult to capture flattering portraits by emphasizing roundness and creating unwanted distortion. You’ll achieve better results using a narrow telephoto FOV between 30°-60°, which focuses on your face’s center while minimizing width perception.
Wide-angle lenses distort facial proportions, while telephoto FOVs between 30°-60° create more flattering portraits by compressing features naturally.
Position your camera slightly above eye level to enhance your chin line and reduce roundness. This angle creates a slimming effect that’s naturally flattering.
Avoid wide-angle FOVs for close-ups, though they work fine for group shots where facial features aren’t the primary focus.
Experiment with lighting angles alongside FOV adjustments to create defining shadows that enhance your face’s contours.
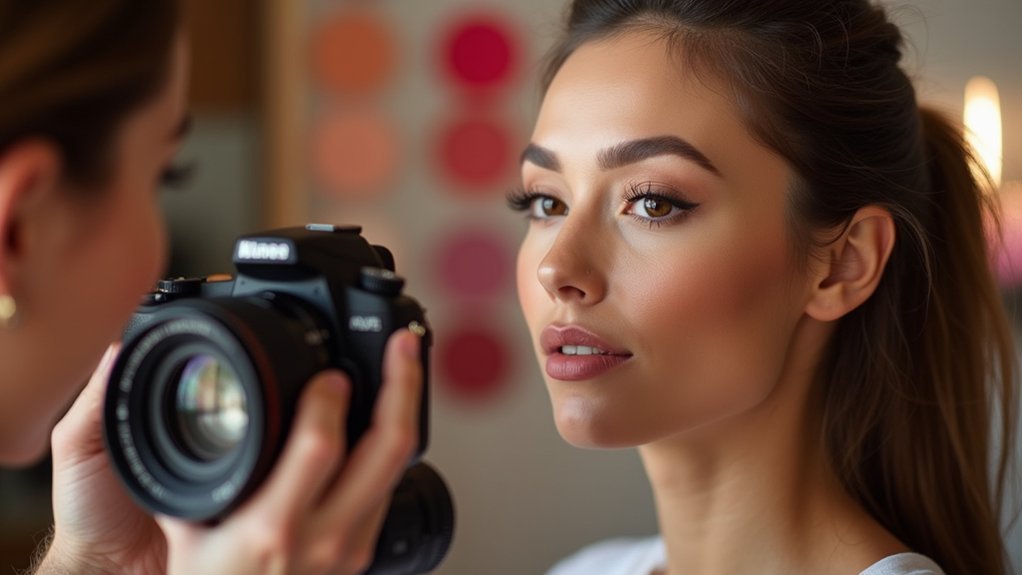
A varifocal lens gives you flexibility to customize settings until you find your most flattering angle and distance combination.
Square Face Angular Adjustment Methods
Square faces benefit from strategic FOV adjustments that soften angular features rather than emphasize them.
You’ll want to use a narrow FOV between 30°-60° to emphasize your face’s softer angles while reducing strong jawline appearance. Wide-angle settings can introduce distortion that makes your face appear wider, so avoid them.
Here’s your ideal approach:
- Use adjustable lenses – Fine-tune FOV settings for varying angles and distances to enhance overall aesthetics
- Position camera slightly elevated – This angle complements square faces by softening angular features naturally
- Choose high-resolution cameras – Narrow FOV requires quality equipment to maintain clear, well-defined facial details
- Test different settings beforehand – Identify your best angle and distance before final shoots for most flattering results
Oval Face Proportional Calibration Settings
You’ll find that oval faces require specific calibration adjustments to maintain their naturally balanced proportions on camera.
Your positioning strategy should focus on ideal angle placement, precise distance measurements, and careful frame composition to enhance facial symmetry.
These three core techniques work together to guarantee you’re capturing the most flattering representation of oval facial features.
Optimal Angle Positioning
How can you position your camera to perfectly complement an oval face’s naturally balanced proportions? You’ll achieve the most flattering results by placing your camera slightly above eye level at a 15° to 20° angle. This positioning enhances your facial features while minimizing any potential double chin appearance.
Here’s your ideal positioning strategy:
- Elevate your camera 15-20 degrees above eye level for enhanced facial definition.
- Maintain proper distance to avoid wide-angle distortion that elongates your face.
- Center yourself in the frame to showcase your face’s natural symmetry.
- Fine-tune gradually by making small adjustments until you find your sweet spot.
Distance Calibration Methods
Getting your camera angle right is only half the equation—the distance between you and your lens determines whether your oval face’s proportions remain naturally balanced or become distorted.
You’ll want to position yourself 3 to 5 feet from the camera to maintain flattering perspective without compression or stretching effects. Start at 4 feet as your baseline, then make micro-adjustments based on your specific features.
Move closer if you want more intimate framing, but don’t go under 3 feet or you’ll create unflattering wide-angle distortion. Step back to 5 feet for a more formal portrait look.
Test different positions during your setup phase. Take several shots at varying distances, then compare how your facial proportions appear in each frame to find your ideal sweet spot.
Frame Balance Techniques
Three key frame balance adjustments will transform how your oval face appears on camera, starting with FOV calibration that maintains your natural proportions.
Position your camera at eye level to prevent feature distortion while using a 30°-60° FOV range for ideal framing. This narrow to medium field captures your entire head without unwanted stretching effects.
Your frame balance strategy should include:
- Eye-level positioning – Keeps facial proportions naturally balanced and prevents unflattering angles
- Adjustable lens systems – Allows real-time FOV modifications for different poses and expressions
- Strategic lighting placement – Enhances depth and prevents flattening effects from camera angles
- Slightly wider FOV for movement – Softens angles during dynamic expressions or gestures
These techniques guarantee your oval face’s inherent symmetry remains the focal point.
Heart-Shaped Face Contour Enhancement
Heart-shaped faces present unique opportunities for strategic FOV adjustments that can dramatically enhance your natural contours.
You’ll want to balance your wider forehead with your narrower chin by using a soft-focus lens with wider FOV to create overall facial harmony while softening angular features.
To highlight your cheekbones and minimize forehead prominence, switch to a narrow FOV that focuses on your face’s central features. This creates a flattering frame that draws attention to your best assets.
Position your camera at a slight upward angle while adjusting FOV to capture your cheeks’ fullness without emphasizing your forehead.
Consider varifocal lenses for flexibility in highlighting specific features.
Combine wider FOV with diffused lighting to soften harsh forehead shadows, creating a more harmonious appearance that enhances your heart-shaped face’s natural beauty.
Diamond Face Structure Balance Approaches
You’ll need strategic FOV adjustments to balance diamond face shapes, which feature narrow foreheads and jawlines with prominent cheekbones.
Start by using wider FOV settings around 60°-90° to minimize forehead width while softening angular jawlines through careful camera positioning.
Then experiment with narrower FOV ranges of 30°-45° to enhance your cheekbones and create better facial proportion balance.
Forehead Width Minimization Techniques
When working with a diamond face structure, strategic styling choices can effectively minimize forehead width while creating visual balance throughout your features.
You’ll want to focus on techniques that draw attention downward and create harmony between your upper and lower facial proportions.
Here are four effective forehead minimization techniques:
- Add volume around your chin and jawline with layered cuts or waves to create a balancing effect that counters forehead width.
- Wear bangs that fall just above your eyebrows to conceal the forehead and provide a softer overall appearance.
- Choose glasses with frames wider at the bottom to visually balance your forehead by emphasizing your face’s lower portion.
- Use contouring on forehead sides while highlighting the center to create an illusion of narrower width.
Statement earrings also help redirect focus to your face’s lower half.
Jawline Softening Camera Angles
Three strategic camera positioning techniques can dramatically soften your diamond face structure’s angular jawline while creating more balanced proportions in photos.
Position your camera at a slightly elevated angle, capturing from above to diminish sharp jawline prominence while emphasizing your eyes and forehead. This downward angle minimizes angularity and promotes a softer overall appearance.
| Camera Angle | Distance | Effect |
|---|---|---|
| Elevated 15-20° | 3-4 feet | Softens jawline |
| Slightly downward | 2-3 feet | Reduces angularity |
| Side-angled | 3-5 feet | Enhances cheekbones |
| Straight-on high | 4-6 feet | Balances proportions |
| Diagonal above | 2-4 feet | Creates symmetry |
Use wide-angle FOV (90°-120°) cautiously to capture your full face while maintaining ideal distance to prevent distortion. Combine these angles with soft-focus filters and diffused lighting from above or sides to further enhance jawline softening effects.
Cheekbone Enhancement Positioning Strategies
Since diamond face shapes naturally possess prominent cheekbones, strategic camera positioning can amplify this advantage while creating better facial balance.
You’ll want to position your camera at eye level or slightly above, then angle it with a slight downward tilt to create shadows that emphasize your cheekbone structure.
Here’s your positioning strategy:
- Set camera at eye level – This minimizes forehead width while highlighting your natural cheekbone prominence.
- Apply slight downward tilt – Creates strategic shadows that enhance bone structure definition.
- Use narrow FOV (30°-60°) – Focuses attention on your cheeks and eyes without facial distraction.
- Turn face 45 degrees – Captures natural cheekbone contours for an aesthetically pleasing profile.
Combine these techniques with soft, diffused lighting to minimize harsh shadows while maximizing cheekbone definition.
Oblong Face Width Compensation Strategies
Five key adjustments can transform how your oblong face appears in photographs by strategically manipulating field of view to enhance width perception.
Start with a wider FOV to emphasize facial width rather than length. You’ll achieve best results using 35-50mm focal lengths, which minimize distortion while maintaining natural proportions. Position your camera at eye level or slightly above to reduce perceived face length.
| Adjustment Type | Recommended Setting |
|---|---|
| Field of View | 60°-70° (slightly tight) |
| Focal Length | 35-50mm |
| Camera Angle | Eye level or slightly above |
| Lighting Style | Soft, even illumination |
| Focus Strategy | Emphasize eyes and mouth |
A tighter 60-70° FOV draws attention to your eyes and mouth, effectively diverting focus from face length. Complement these technical adjustments with soft lighting to minimize harsh shadows and create a more flattering overall appearance.
Triangle Face Base Broadening Adjustments
When your triangle-shaped face features a wider jawline than forehead, strategic FOV adjustments can create visual balance by redistributing emphasis across your facial features.
You’ll want to implement a wider FOV between 90°-120° to capture your entire face while minimizing jawline prominence. This broader perspective helps create proportion by giving equal visual weight to all facial areas.
Here’s how to optimize your camera setup:
- Position your camera slightly above eye level and tilt downward to soften your jawline’s appearance.
- Use varifocal lenses to adjust focal length, emphasizing your upper facial features over the jaw area.
- Apply soft lighting from multiple angles to eliminate harsh shadows that accentuate your jawline.
- Experiment with side positioning to achieve a more symmetrical, balanced look.
These adjustments work together to create flattering visual harmony.
Pear-Shaped Face Upper Region Focus
How can you best showcase your pear-shaped face’s natural beauty while balancing its proportions? You’ll want to use a narrow to medium FOV (30°-60°) that focuses on your upper facial region, highlighting features above your jawline while minimizing emphasis on the wider lower section.
Position your camera slightly above eye level and tilt it downward to create flattering angles that accentuate your cheekbones and forehead.
For complete shots, try a wider 90° FOV that captures your head and shoulders, creating more visual harmony.
Direct soft lighting toward your upper face to enhance your eyes and cheekbones.
Consider using adjustable lenses for maximum flexibility—they’ll let you fine-tune your framing to focus on your upper region while de-emphasizing areas that might detract from your desired aesthetic.
Rectangular Face Dimensional Softening
Since rectangular faces often appear elongated with pronounced angular features, you’ll need strategic FOV adjustments to create visual softness and better proportions.
A wider FOV works best for your rectangular face shape, as it balances your features and reduces sharp angles. You’ll want to use a moderate to wide-angle lens around 50°-70° to gently distort harsh lines without creating unwanted exaggeration.
Here’s your ideal setup approach:
- Position your camera slightly above eye level to minimize jawline prominence
- Angle the camera rather than shooting straight-on to reduce face elongation
- Use wider FOV settings to emphasize overall facial harmony
- Avoid extremely short focal lengths that might exaggerate your face’s length
This combination softens your angular features while creating more appealing proportions.
Mixed Features Adaptive FOV Configuration
Many people don’t fit neatly into a single face shape category, combining elements from oval, round, square, or heart-shaped features that require a more flexible approach to FOV settings.
You’ll need adaptive FOV configuration that tailors camera settings to accommodate your diverse facial characteristics. This system enhances recognition accuracy by adjusting camera angle and zoom level based on your unique features.
You can utilize variable focal length lenses for precise FOV adjustments, enabling distinct focus on facial details while capturing peripheral context.
AI algorithms dynamically adjust FOV in real-time, ensuring your features remain consistently framed without distortion. This adaptive approach improves identification rates by up to 30% in surveillance applications while mitigating blind spots for thorough coverage.
Frequently Asked Questions
What FOV Setting Should I Use?
You’ll need to identify your face shape first. Round faces work best with 30°-60° FOV, square faces need 90°-180°, oval faces can use any setting, and heart-shaped faces should stick with 60°-90°.
How to Calculate the Best FOV?
You’ll measure your face’s widest point and determine your distance from the camera. Start with 30°-60° FOV, then adjust narrower for round faces or wider for angular shapes while testing different settings.
How to Choose a Field of View?
You’ll choose field of view by considering your subject distance, desired framing, and lens focal length. Start with your intended composition, then select wide FOV for expansive scenes or narrow FOV for focused details.
Is 90 FOV Vertical or Horizontal?
When you see 90° FOV specified, it’s typically referring to horizontal field of view. You’ll capture a wider area side-to-side, while your vertical coverage remains narrower at approximately 50-60 degrees.


Leave a Reply