To adjust your VR FOV perfectly, start by setting your IPD correctly through manual measurement, then access FOV settings via Oculus’s tangent multiplier or SteamVR’s slider. Reduce horizontal and vertical FOV to 0.8/0.8 for a 36% performance boost while maintaining visual quality. Adjust your seating distance—closer creates zoom-in effects, farther expands peripheral vision. Re-center your view after repositioning and make gradual changes to avoid motion sickness. These foundational steps reveal advanced optimization techniques.
Understanding FOV Fundamentals in Virtual Reality
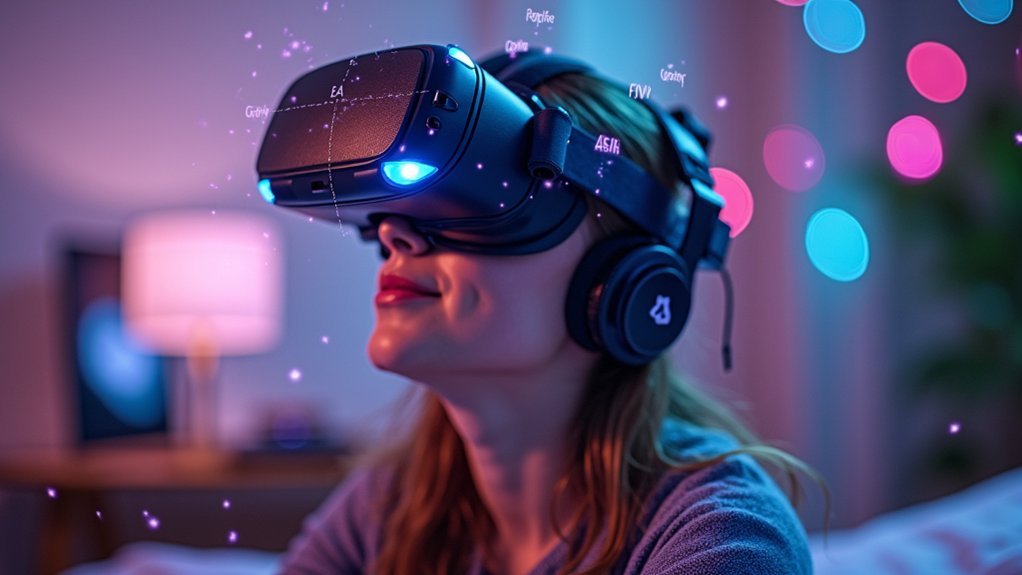
When you put on a VR headset, your field of view determines how much of the virtual world you can see without moving your head, directly affecting your sense of presence and comfort within that digital environment.
FOV acts as your visual window into virtual spaces, measured in degrees both horizontally and vertically. A wider FOV creates more immersive experiences but can introduce distortion at the edges, while narrower settings reduce immersion but provide clearer central vision.
FOV serves as your digital viewport – wider angles boost immersion but create edge distortion, while narrower views sacrifice presence for visual clarity.
Understanding scale becomes vital when changing FOV settings. Improper adjustments can make objects appear unnaturally large or small, disrupting your perception of distance and size relationships.
Your IPD settings also influence how FOV affects scale accuracy, making proper calibration essential for realistic depth perception and comfortable extended gameplay sessions.
Accessing FOV Settings in Oculus and SteamVR
Now that you understand how FOV impacts your VR experience, you’ll need to locate the actual settings within your VR platform.
In Oculus, you can easily adjust FOV through the software’s FOV tangent multiplier, which consistently works across all applications. This method removes pixels from screen edges to enhance performance while maintaining visual quality.
SteamVR provides a FOV slider in its settings, though it’s notoriously unreliable. Instead of true FOV adjustment, you’ll often experience unwanted zooming effects that compromise your experience.
Most VR titles lack real time FOV modification capabilities. Games like Half-Life: Alyx offer partial support, but many applications require restarts to apply changes.
Oculus’s approach remains the most dependable solution for consistent FOV control across your entire VR library.
Optimizing Horizontal and Vertical FOV Parameters
While general FOV adjustments provide a foundation for your VR setup, fine-tuning horizontal and vertical FOV parameters separately opens up precise control over your visual experience.
Separate horizontal and vertical FOV controls unlock precise visual customization beyond basic VR settings adjustments.
You’ll discover that reducing both settings to 0.8/0.8 can dramatically boost performance by displaying 36% fewer pixels, resulting in equivalent FPS gains during GPU-bound scenarios.
This separate control lets you tailor immersion while reducing visual discomfort. You can enhance horizontal FOV for wider peripheral vision or adjust vertical FOV to minimize motion sickness during extended sessions.
Flight simulation enthusiasts particularly benefit from these customizable FOV settings, as they enhance situational awareness.
Remember that most VR applications require restarts to apply changes, so you’ll need to test different configurations systematically to find your ideal balance between visual quality and performance.
Performance Gains Through Strategic FOV Reduction
Strategic FOV reduction delivers immediate performance dividends by fundamentally altering how much visual data your system processes.
When you set your FOV to 0.8/0.8, you’ll achieve a 36% decrease in pixel count, translating directly to a 36% increase in frame rates. This performance gain becomes essential during GPU-bound scenarios that plague most VR applications.
Flight simulator enthusiasts using X-Plane, MSFS, and DCS consistently report substantial improvements when they access customizable options for FOV adjustment.
You’ll notice smoother gameplay and reduced stuttering when strategically lowering your FOV in VR settings.
Unfortunately, many applications lack effective real-time FOV adjustments, creating performance inconsistencies.
That’s why you should prioritize software that offers user-friendly FOV handling, as favorable settings enhance both performance and immersion simultaneously.
IPD Configuration and Scale Perception Impact
Your VR headset’s IPD configuration directly affects how you perceive scale and depth in virtual environments, yet many games don’t automatically detect your physical IPD settings.
When there’s a mismatch between your actual IPD and the game’s assumed settings, you’ll experience distorted perspectives that make objects appear unnaturally large or small.
You can address these scale perception issues by manually adjusting your headset’s IPD settings or looking for games that offer world scale adjustment options.
IPD Detection Issues
When your VR headset can’t properly detect your interpupillary distance, you’ll notice that virtual environments appear unnaturally scaled. This happens because your field of view becomes misaligned with your actual IPD, creating distorted depth perception.
Objects might seem gigantic or miniature, completely breaking immersion and affecting your scale perception accuracy. Most VR games don’t automatically detect your physical IPD, forcing you to rely on manual configuration.
If you’re experiencing these issues, you’re not alone – many users struggle with improper IPD settings that their headsets fail to recognize correctly.
The solution involves manually adjusting your Oculus runtime settings to override automatic detection. You’ll need to input your measured IPD directly into the system, ensuring consistent scaling across all applications.
This manual approach eliminates the guesswork and provides reliable scale accuracy.
World Scale Adjustment
Proper IPD configuration goes beyond fixing detection errors – it’s the foundation for achieving accurate world scale in VR environments.
When your IPD settings don’t match your physical measurements, virtual objects appear incorrectly sized, breaking immersion and causing discomfort.
Players with 64mm IPD typically experience accurate scale perception, but you’ll need to manually adjust your Oculus runtime settings to match your specific measurements.
Most VR games don’t automatically detect your physical IPD, making manual configuration essential.
Look for games that offer adjustable world scale settings within their options menu.
These allow you to fine-tune your experience beyond basic IPD adjustments.
Community feedback consistently shows that proper IPD configuration greatly enhances immersion while reducing motion sickness, transforming your overall VR experience.
Positioning Techniques for Enhanced Field of View
You can considerably impact your VR field of view by adjusting where you sit relative to your headset and play area.
Moving closer to your setup creates a zoomed-in effect that enhances immersion, while sitting further back expands your peripheral vision for a wider view.
After repositioning yourself, you’ll need to recenter your view to properly calibrate the visual alignment with your new seating arrangement.
Seating Distance Adjustments
You’ll want to experiment with different positions to find what works best for each game type.
Racing games particularly benefit from wider views achieved through increased distance.
Remember to reflect on your seat’s adjustments capabilities and physical constraints when repositioning.
After changing your seating distance, always re-center your view to recalibrate properly.
This simple technique greatly impacts your perceived FOV without requiring any hardware modifications.
View Recentering Methods
Beyond physical positioning adjustments, mastering view recentering techniques reveals additional FOV optimization potential. Re-centering your view in the VR headset resets your perspective and dramatically improves FOV perception, making UI elements and surroundings more visible.
You’ll want to properly reset your HMD position before each session to maintain consistent, comfortable FOV throughout your experience.
Don’t overlook dynamic adjustments during gameplay. Leaning forward or backward while driving creates real-time FOV modifications that enhance immersion in your VR environment. These techniques work because they reset the tracking reference point, effectively expanding your visual boundaries.
Remember that recentering isn’t just a one-time setup—use it strategically whenever your view feels cramped or distorted. This simple technique can transform your entire VR racing experience.
Troubleshooting Common FOV Adjustment Issues
Why doesn’t your FOV adjustment seem to work as expected? Several common issues can interfere with proper FOV modifications in VR. Understanding these problems helps you achieve the ideal viewing experience.
- Motion sickness from rapid changes: FOV adjustments can trigger nausea if made too quickly. Always implement gradual modifications and monitor your comfort levels throughout the process.
- Monitor-only adjustments: Some games apply FOV changes exclusively to mirrored monitor outputs, not your actual HMD display, creating confusion about whether settings are working.
- Incorrect IPD settings: Your Interpupillary Distance directly affects scale perception. Double-check that your IPD settings match your physical measurements for best results.
Reset your HMD position after making changes to recalibrate your view.
If games lack proper FOV options, provide developer feedback requesting customizable settings.
Frequently Asked Questions
What Is the Best FOV for VR?
You’ll find the best VR FOV ranges between 90-110 degrees. This sweet spot balances immersion with comfort, preventing motion sickness while maintaining natural scale perception. You can adjust narrower for better performance if needed.
How Do I See Clearly in VR?
First, adjust your headset’s IPD settings to match your physical interpupillary distance. Position the headset snugly on your face, reset the HMD position, and experiment with different seating distances from virtual elements for ideal clarity.
How Can I Make My VR Fit Better?
Adjust your headset’s IPD settings to match your actual measurement, typically around 64mm for ideal comfort. Experiment with your seating position relative to the display, and regularly reset your HMD position for better alignment.
What Is the FOV of the Quest 2?
Your Quest 2’s FOV measures approximately 89 degrees horizontally and 93 degrees vertically. You’ll experience a wide immersive view, though it might feel narrower compared to traditional multi-monitor setups you’re used to.
Leave a Reply