You can expand your VR headset’s field of view through pancake lens installations, custom lens adapters, and strategic spacer adjustments that reduce the tunnel vision effect of standard 54-degree FOV. These hardware modifications enhance peripheral vision and immersion, though they’ll increase GPU workload by approximately 30% on high-resolution displays. Proper lens positioning and spacer implementation are essential for maintaining visual clarity while accommodating glasses wearers and reducing eye strain during extended sessions.
Understanding FOV Limitations in Current VR Headsets

When you first put on a VR headset, you’ll likely notice that the default 54-degree field of view feels narrower than what you experience in real life. This limitation stems from lens design constraints in popular VR models, creating a restrictive visual tunnel that can break immersion.
Your FOV settings often get overridden by headset configurations, particularly affecting performance on Oculus devices where you can’t achieve desired adjustments in games like Assetto Corsa.
The complexity deepens when you realize different games calculate FOV differently. Racing simulators demonstrate this perfectly – iRacing uses horizontal FOV measurements while Assetto Corsa relies on vertical FOV calculations.
This inconsistency makes achieving realistic visual experiences challenging, as you’re constantly fighting between game preferences and hardware limitations that prevent ideal FOV customization.
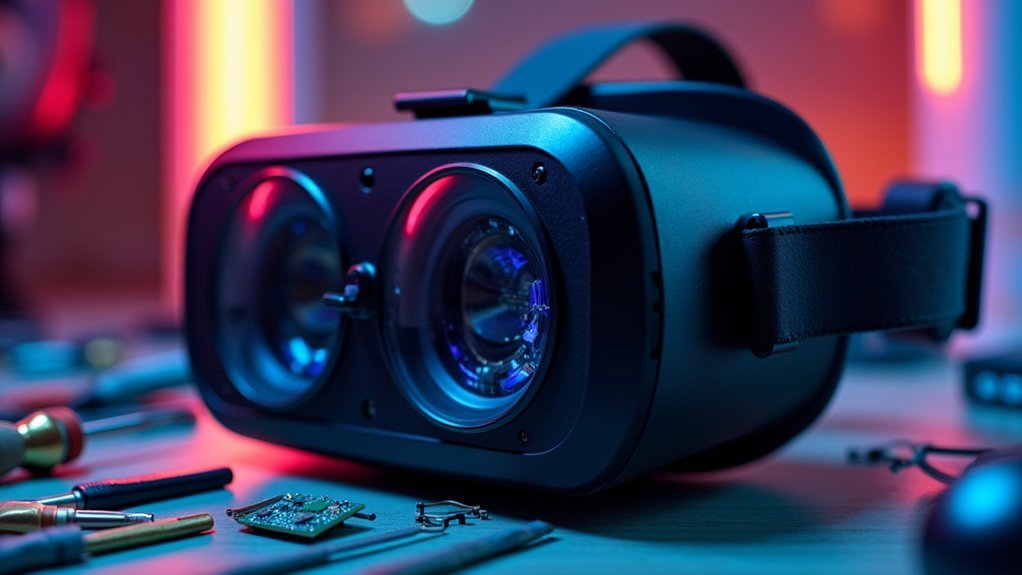
Lens Modification Techniques for Expanded Visual Range
Although hardware manufacturers set strict FOV boundaries, you can push beyond these limits through strategic lens modifications that considerably expand your visual range.
These lens modification techniques transform your VR headset into a more immersive portal.
Strategic lens modifications unlock your headset’s hidden potential, breaking manufacturer limitations to deliver dramatically enhanced visual immersion and expanded field of view.
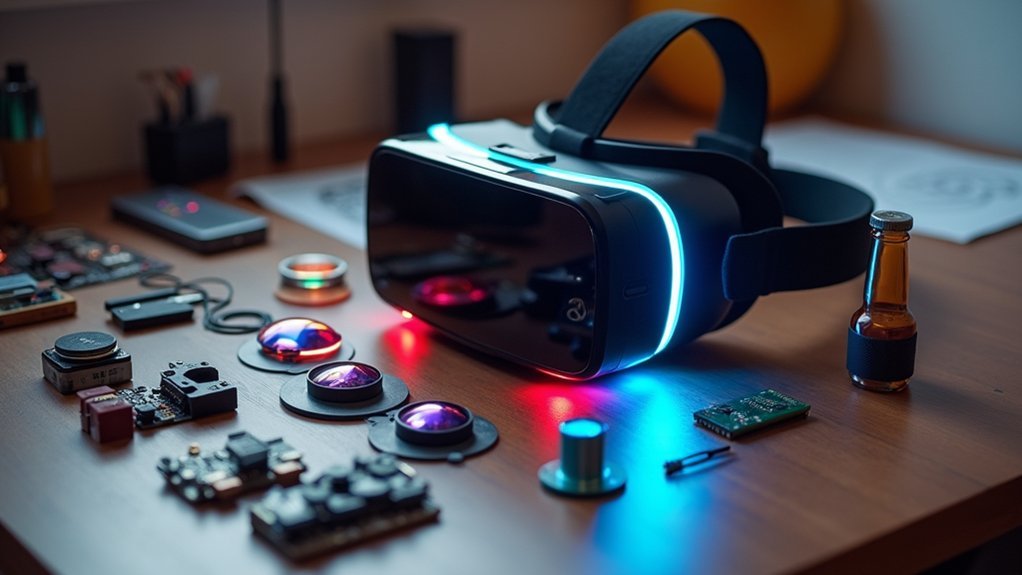
Consider these proven methods for adjusting FOV:
- Pancake lens installation – These compact lenses reduce bulk while considerably expanding your field of view.
- Custom lens adapter integration – Higher-quality lenses provide broader visual range without image distortion.
- Lens spacing adjustment – Fine-tuning spacing enhances peripheral vision and overall immersion.
- Lens spacer implementation – Improves comfort for glasses wearers while maintaining expanded FOV.
Experimenting with various lens configurations lets you create personalized visual setups that optimize both comfort and visual range, transforming your standard VR headset into a custom immersion machine.
Hardware Spacer Solutions and Comfort Adjustments
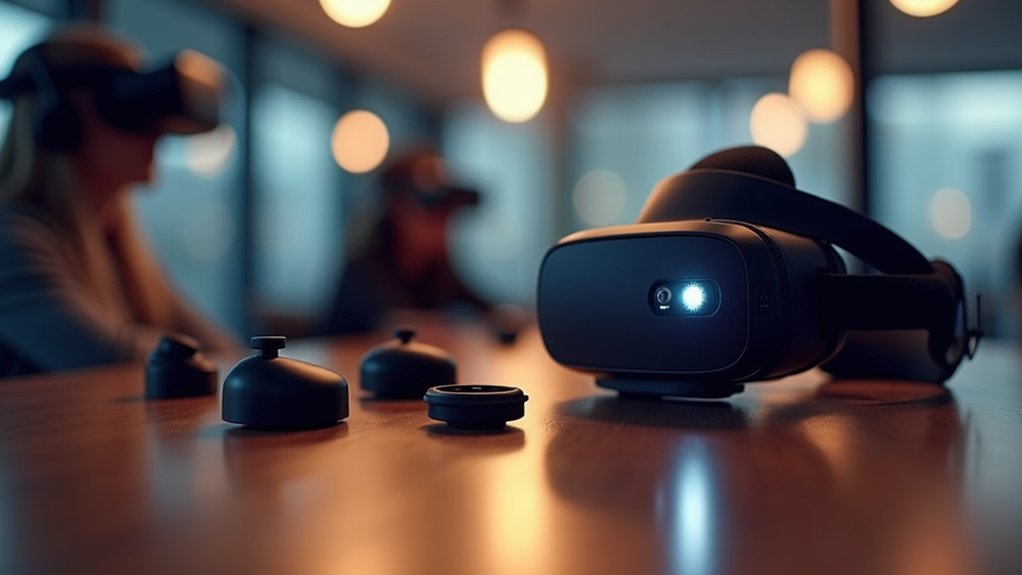
Since ideal lens positioning directly impacts your VR experience, hardware spacer solutions offer a practical pathway to achieving perfect eye-to-lens distance while maximizing comfort during extended sessions.
You’ll find that adding spacers creates additional distance between lenses and your eyes, reducing strain and improving overall comfort. If you wear glasses, specialized spacers accommodate your spectacles without compromising the VR experience.
Proper spacer implementation enhances your FOV by enabling a wider visual range without distortion.
These adjustments help align the headset with your eye position, which is essential for optimal visual clarity and reducing motion sickness risk.
When you achieve proper comfort through hardware spacer modifications, you’ll maintain better focus on the VR environment without physical distractions, creating a truly immersive experience.
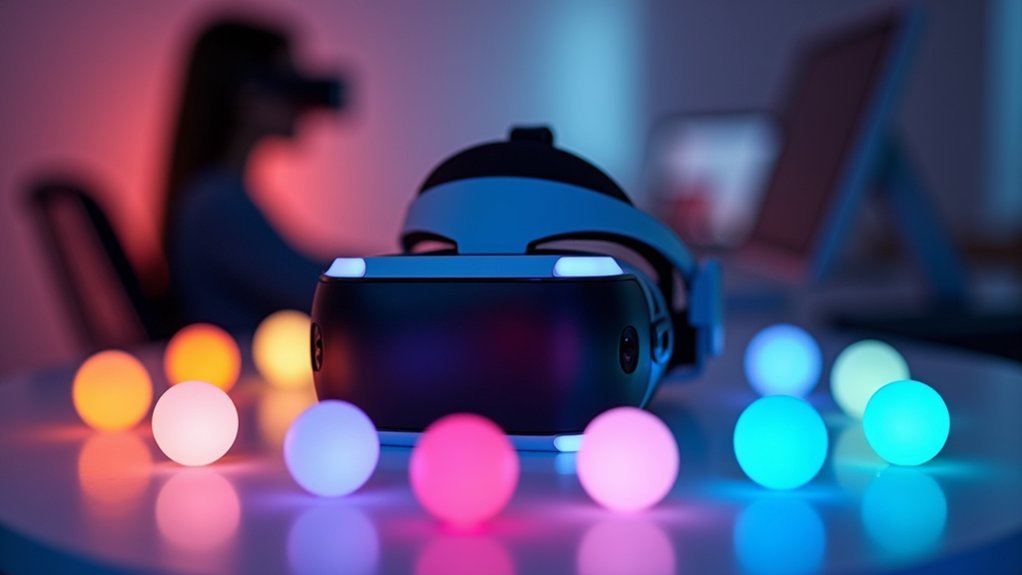
Performance Impact Analysis of FOV Hardware Changes
Expanding your field of view through hardware modifications creates a direct trade-off between visual immersion and system performance that you’ll need to carefully evaluate.
Widening your FOV increases GPU workload considerably, potentially causing performance degradation on less powerful systems. You’ll likely experience frame rate drops, with some users reporting approximately 30% reductions on high-resolution headsets.
However, you can enhance your VR experiences through careful adjustments:
- Use OpenXR Toolkit Mod for customizable FOV settings
- Test different FOV levels to find your performance sweet spot
- Consider image cropping to reduce rendering demands
- Monitor frame rate changes during gameplay sessions
Your headset’s capabilities and personal preferences will determine the ideal balance. While wider FOV enhances immersion, maintaining smooth performance remains essential for satisfying VR experiences.
Installation Guide for Popular VR Headset FOV Mods
While installing FOV mods might seem complex initially, most popular modifications follow straightforward procedures that you can complete within minutes. These VR installation guide steps will dramatically enhance your view in VR experiences.
| Mod Name | Installation Method | Result |
|---|---|---|
| Luke Ross’s Real VR Mods | Subscribe on Patreon, download, copy to game folder | Expanded FOV |
| Praydog’s RE Framework | Download from GitHub, extract, launch via VR launcher | Full VR support |
| Vivecraft | Download from official site, use Vivecraft profile | Motion controls |
Most FOV mods require simple file placement in your game directory. You’ll download the modification files, extract them if compressed, and copy them into the appropriate game folder. Some mods like RE Framework need specific launchers, while others integrate directly into existing game menus for FOV adjustments.
Frequently Asked Questions
How to Increase VR Fov?
You can increase VR FOV by adjusting in-game display settings, installing FOV mods, or making hardware modifications like lens adjustments. Monitor performance since wider FOV demands more processing power and may reduce frame rates.
What Is the Best FOV for VR?
You’ll find the best VR FOV depends on your application. For racing sims like iRacing, 45 degrees often works better than the default 54 degrees, enhancing realism and perception while maintaining comfortable immersion.

Leave a Reply