
You’ll replace your VR headset batteries quickly by first powering down completely and gathering your new battery and safety gloves. Tilt the right earcup inward to access the battery compartment, press the tab to open the door, and let the old battery slide out. Insert the new battery positive-end first, ensuring secure contact with terminals, then close the compartment until it clicks. Power on to test functionality and dispose of the old battery responsibly at local recycling centers. Continue below for detailed step-by-step guidance.
Preparing Your VR Headset for Battery Replacement
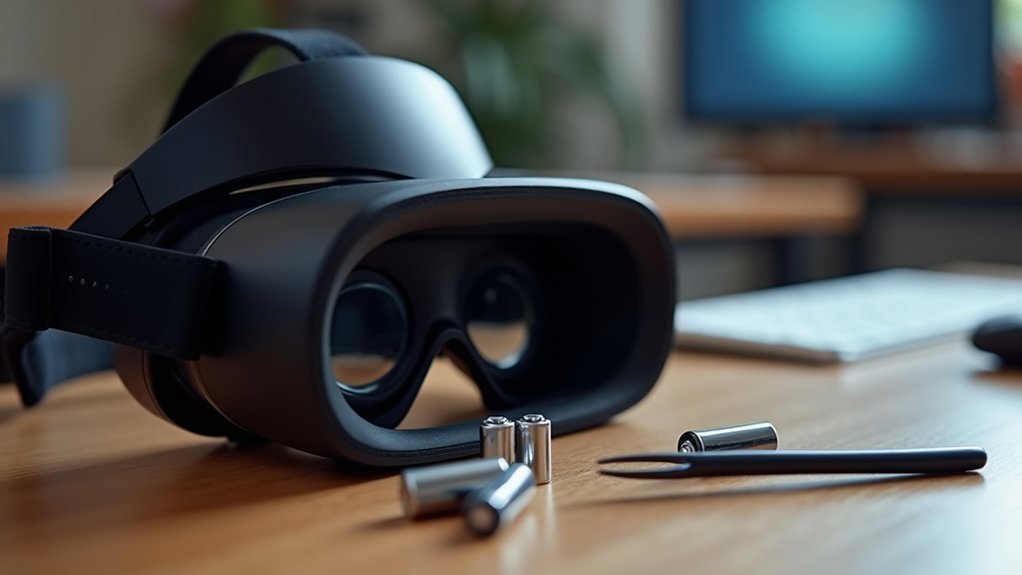
Before diving into the battery replacement process, you’ll need to power off your VR headset completely to prevent electrical hazards.
Once shut down, gather your tools including a compatible new battery and create a clean workspace to avoid losing small components.
Next, consult your headset’s user manual to verify the exact battery specifications and locate the battery compartment. Different models place this compartment in various earcup positions, so double-check your specific device.
Put on safety gloves to protect your hands from sharp edges during disassembly.
Confirm your workspace has adequate lighting and organize your tools within easy reach. This preparation step prevents interruptions and guarantees you’ll have everything needed for a smooth, efficient battery replacement process.
Locating and Accessing the Battery Compartment
Once your headset is properly prepared, you’ll need to tilt the right earcup inward carefully to begin accessing the battery compartment.
Don’t apply excessive force that could damage your device. Look for the battery compartment door on this earcup – it’s typically secured with a small tab for easy opening.
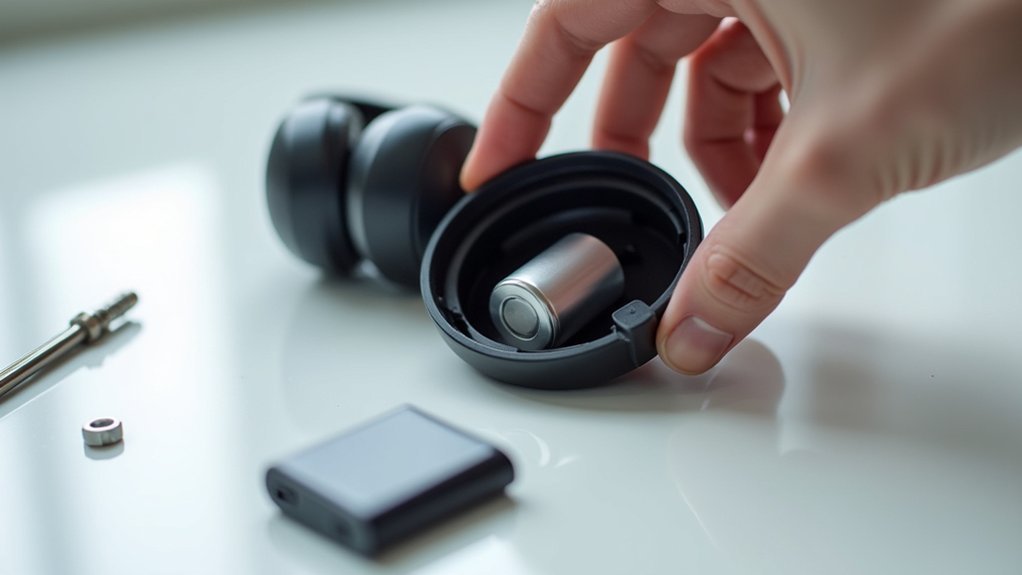
Gently press and lift the tab on the battery door to open it, revealing the battery inside.
Keep your workspace clean to avoid losing any small parts during this process. After opening the compartment, tilt the headphones slightly to allow the battery to slide out smoothly without applying force.
This gentle approach prevents damage to both the battery and compartment, ensuring a successful replacement.
Safely Removing the Old Battery
Now that you’ve found the battery compartment, you’ll need to power down your headset completely before removing the old battery.
Once it’s safely turned off, gently disconnect any clips or connectors holding the battery in place.
Handle the battery carefully to avoid damaging the surrounding components as you lift it out of the compartment.
Locate Battery Compartment
Most headsets house their battery compartment behind the right earcup, requiring careful manipulation to access safely.
You’ll need to tilt the right earcup inward carefully to reveal the battery door. Look for a tab that typically secures this door – it’s your key to accessing the compartment.
Once you’ve spotted the tab, gently press and lift it to open the battery door. Don’t apply excessive force, as this could damage the compartment mechanism.
After opening the door successfully, tilt your headphones to allow the old battery to slide out smoothly from its housing.
Handle the old battery with care during removal to prevent damage, and remember to dispose of it according to your local regulations for proper environmental safety.
Disconnect Power Safely
Before touching the old battery, you’ll want to power down your headset completely and wait at least 30 seconds for any residual charge to dissipate. This prevents electrical mishaps and guarantees your safety during the replacement process.
Once you’ve waited, locate the battery cover on the designated earcup and carefully remove it without applying excessive force. You’ll now see the old battery inside the compartment. Gently lift the battery out, taking care not to damage surrounding components or wiring.
Handle the old battery with caution since it may contain hazardous materials. After removal, wait another moment to guarantee any remaining capacitors are fully discharged before installing the new battery.
Remember to dispose of the old battery according to your local regulations.
Installing the New Battery Correctly
Now that you’ve removed the old battery, you’ll need to install the new one with proper orientation to avoid damaging your headset.
You must guarantee the battery sits securely and makes solid contact with the device’s terminals.
Finally, you’ll replace the battery cover using the correct technique to complete the installation process.
Battery Orientation Matters
While removing the old battery might seem straightforward, installing the new one requires careful attention to proper orientation.
Before removing your old battery, check its configuration so you’ll match it correctly with the new one. Always insert the positive end first to guarantee proper electrical contact and prevent potential damage.
Make sure you properly seat the new battery in its compartment to avoid loose connections that could cause functionality issues.
Once positioned correctly, securely close the battery compartment door and press the tab until it clicks, preventing accidental opening during use.
Don’t forget to consult your user manual for any specific battery orientation markings or instructions unique to your particular headset model.
Secure Connection Steps
Four essential steps guarantee your new battery connects properly and powers your headset reliably.
First, insert the new battery positive end first, matching the orientation markings inside the compartment. Don’t force it—the battery should slide in smoothly when aligned correctly.
Second, confirm the battery sits securely in place. A loose battery will cause intermittent power issues and potential damage during use. Push gently until you feel it settle completely.
Third, close the battery compartment door carefully, ensuring it aligns with the headset housing. Misaligned doors won’t close properly and can break the locking mechanism.
Finally, press the door tab until you hear a distinct click. This confirms the door’s securely fastened.
Power on your headset immediately to verify the battery functions correctly and connections remain stable.
Cover Replacement Process
After establishing secure battery connections, proper cover replacement protects your headset’s internal components and maintains peak performance.
Replace the battery cover by aligning it correctly with the compartment opening. Press the cover firmly until you hear a distinct click sound, confirming it’s securely fastened. Don’t force the cover if it doesn’t align properly—check that the battery sits flush within the compartment first.
Once you’ve closed the battery compartment, immediately conduct a functionality test. Power on your headset to verify it operates correctly.
If the device doesn’t function as expected, don’t panic. Double-check your battery installation, ensuring the positive end was inserted first and the configuration matches the original setup.
Consult your user manual for additional troubleshooting guidance if problems persist.
Testing Your VR Headset After Battery Replacement
Once you’ve installed the new battery, power on your VR headset and check for indicator lights that confirm proper operation.
Navigate through the VR interface to test all controls and sensors, ensuring they respond correctly to your movements and inputs. Play audio content to verify sound clarity and volume levels are functioning as expected.
Test all VR controls, sensors, and audio functionality to ensure proper responsiveness and sound quality after battery replacement.
Monitor the battery’s performance during use to confirm it maintains charge for the duration specified in your user manual. This helps identify any potential issues with the replacement battery or installation process.
If your headset doesn’t operate correctly after replacement, consult the troubleshooting section in your user manual. These guides provide specific solutions for common post-replacement problems, helping you resolve issues quickly and get back to enjoying your VR experience.
Proper Disposal of Used VR Headset Batteries
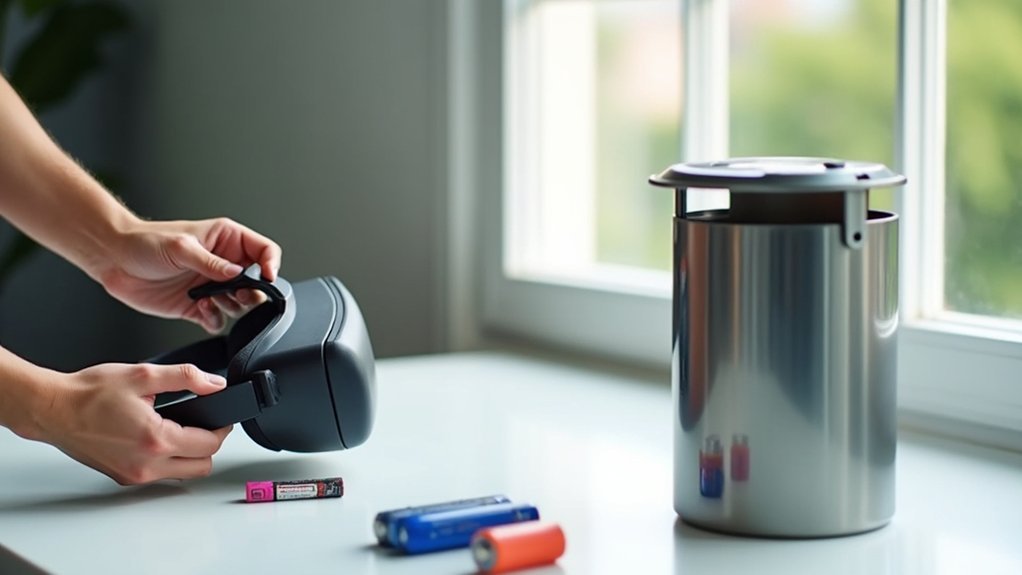
When you remove the old battery from your VR headset, you can’t simply toss it in your regular trash bin.
VR headset batteries contain hazardous materials that’ll harm the environment if improperly disposed of, causing toxic leaks and contaminating soil and water sources.
You’ll need to follow your local disposal regulations, which vary by area.
Check your community’s battery recycling programs that offer designated drop-off locations for safe disposal.
Many electronics stores and retailers also provide collection bins specifically for battery recycling, making responsible disposal convenient.
Always research your area’s specific guidelines before disposing of used batteries.
Local and state laws regarding battery waste management differ greatly, so you’ll want to verify you’re following the correct procedures for your location.
Frequently Asked Questions
How to Fix Headphone Battery Draining Fast?
You should turn off your headset completely when not using it, update firmware regularly, avoid extreme temperatures, limit active noise cancellation and Bluetooth range, and remove batteries during long-term storage.
Can Headphone Batteries Be Replaced?
Yes, you can replace headphone batteries in most wireless models. You’ll need to locate the battery compartment, remove the old battery, and install a compatible replacement. Check your manufacturer’s instructions for specific steps.
How Long Do Headset Batteries Last?
Your headset battery typically lasts 8-30 hours depending on your usage. You’ll get less time with higher volumes or noise cancellation enabled. Most batteries maintain good performance for 2-3 years before you’ll notice degradation.
How Can I Make My Headset Battery Last Longer?
You can extend your headset’s battery life by powering it off when not using it, lowering volume levels, disabling unnecessary features like noise cancellation, and keeping it updated with firmware.


Leave a Reply