Configure your VR headset’s IPD settings using apps like “Eye Measure” for visual clarity. Enable comfort mode teleportation and adjustable speed controls to reduce motion sensations. Narrow your field of view to limit peripheral motion that triggers nausea. Maintain at least 90 FPS through frame rate stabilization settings. Optimize display brightness and contrast at medium levels for comfortable viewing. Set guardian boundaries three feet from obstacles for safe movement. These seven adjustments will reveal even more immersive possibilities.
Interpupillary Distance (IPD) Calibration
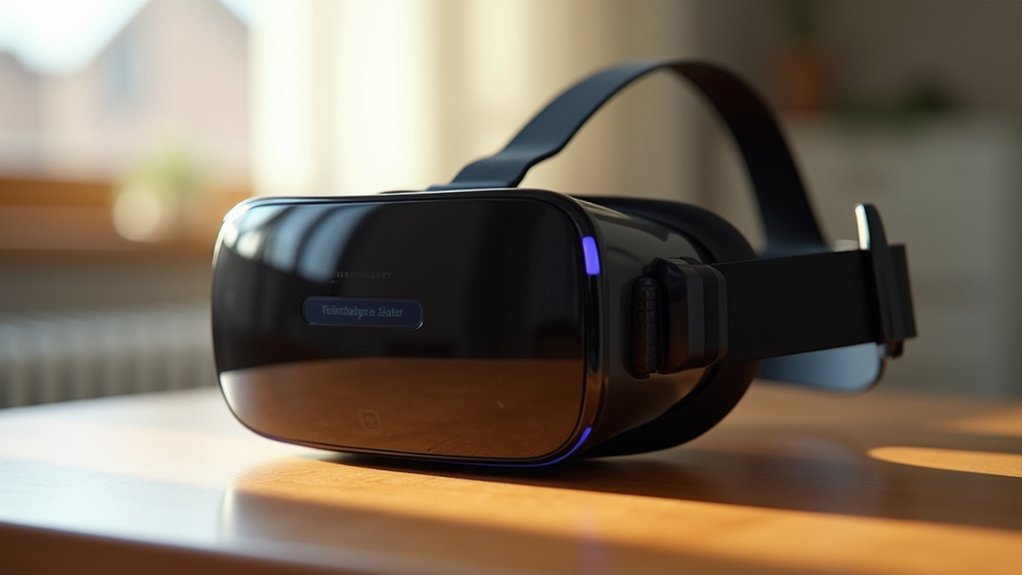
When you first put on a VR headset, one of the most critical adjustments you’ll make is setting your interpupillary distance (IPD) – the measurement between your pupils’ centers.
Incorrect IPD settings create blurry, distorted visuals that’ll strain your eyes and greatly increase motion sickness.
Misaligned IPD causes eye strain, visual distortion, and significantly worsens VR motion sickness for users.
Most headsets like the Oculus Quest 2 offer three IPD settings: narrow (61mm or smaller), medium (61-66mm), and wide (66mm or larger).
You can measure your personal interpupillary distance using apps like “Eye Measure” to determine which setting works best.
Proper IPD calibration is essential for new users because it directly impacts visual clarity and comfort.
When your headset matches your natural eye spacing, you’ll experience sharper images and reduced motion sickness, making your VR sessions more enjoyable.
Comfort Mode Movement Options
Beyond adjusting your IPD, you’ll find that selecting the right movement options can considerably reduce motion sickness during VR sessions.
Your headset’s comfort settings offer several movement alternatives that’ll help minimize disorientation and nausea.
These key comfort settings can greatly reduce nausea:
- Teleportation movement – Jump between locations instantly without walking sensations
- Adjustable speed controls – Slow down in-game actions to prevent overwhelming your senses
- Blink teleportation – Creates seamless changes with minimal visual movement
- Field of view adjustments – Customize your visual perspective to reduce discomfort triggers
Stationary reference points within your VR environment also help stabilize perception during movement.
Field of View Adjustment Controls
You’ll find that narrowing your field of view is one of the most effective ways to combat VR nausea.
Most headsets let you adjust these settings to reduce how much peripheral motion enters your visual field, which directly cuts down on the sensory conflicts that trigger motion sickness.
Start by experimenting with a more restricted FOV setting and gradually widen it as your comfort level improves.
Narrow FOV Reduces Nausea
Although your natural instinct might be to crank up the field of view for maximum immersion, reducing your FOV actually serves as one of the most effective anti-nausea tools available in VR settings.
A narrow FOV limits visual input that can overwhelm your brain, greatly helping to reduce nausea and motion sickness during gameplay.
When you narrow your field of view, you’ll experience:
- Decreased sensory conflict between visual and vestibular systems
- Reduced overwhelming visual stimuli that trigger nausea
- Easier adaptation to virtual environments
- Lower instances of motion sickness compared to wider settings
Studies consistently show users report fewer nausea symptoms with narrower FOV configurations.
Most VR applications now include adjustable FOV options, allowing you to experiment and find your ideal comfort zone while maintaining enjoyable immersion.
Adjusting Peripheral Vision Settings
Since most VR headsets include built-in FOV adjustment controls, you can fine-tune your peripheral vision settings directly through your device’s main menu or individual game settings.
Start by reducing your FOV gradually until you find a comfortable balance between immersion and motion sickness prevention. A narrower field of view limits peripheral movement that often triggers nausea in your VR headset experience.
Navigate to your display or comfort settings and look for FOV sliders or numerical input options. Test different configurations during short gaming sessions to identify your ideal range.
Remember that each game may offer unique FOV customization options, so experiment with both system-wide and game-specific settings to minimize discomfort while maintaining an engaging virtual reality experience.
Frame Rate Stabilization Settings
When your VR headset maintains a steady frame rate, it creates the smooth visual experience that’s essential for preventing motion sickness.
Frame rate stabilization in VR headsets minimizes latency between your movements and visual feedback, helping your brain process the virtual environment naturally.
Your headset needs consistent performance to avoid nausea-inducing disruptions:
- Maintain at least 90 FPS for ideal comfort and smooth motion
- Enable adaptive frame rate technology to automatically adjust based on scene complexity
- Monitor for drops below 60 FPS, which trigger significant motion sickness symptoms
- Optimize your headset’s frame rate settings for extended use without discomfort
Many modern VR headsets include built-in stabilization features that dynamically balance performance with visual quality, ensuring your virtual experiences remain comfortable and immersive throughout longer sessions.
Motion Smoothing and Snap Turn Features
Beyond maintaining consistent frame rates, your VR headset offers specialized features that directly combat motion-induced nausea through intelligent movement handling. Motion smoothing interpolates frames during rapid movements, creating seamless visual shifts that prevent jarring effects. This technology greatly reduces discomfort by eliminating stuttering motion that often triggers nausea.
Snap turn functionality replaces continuous rotation with fixed increments, allowing you to orient yourself without the disorienting effects of fluid turning. These features work together to create a more comfortable experience.
| Without These Features | With Motion Smoothing & Snap Turn |
|---|---|
| Jarring, stuttering movements | Smooth, fluid visual shifts |
| Disorienting continuous rotation | Comfortable, controlled turning |
| Frequent nausea episodes | Dramatically reduced motion sickness |
| Short, uncomfortable sessions | Extended, enjoyable VR experiences |
| Avoided VR activities | Confident exploration of virtual worlds |
Display Brightness and Contrast Optimization
You can considerably reduce motion sickness by lowering your headset’s display brightness to minimize sensory overload during VR sessions.
Proper contrast adjustment enhances visual clarity, making it easier for your eyes to process images without strain.
Experiment with these settings to find your ideal comfort level, especially for longer gaming sessions.
Reduce Display Brightness Levels
One of the most effective ways to combat VR-induced nausea is reducing your headset’s display brightness to around 50% or lower. High brightness levels create sensory overload, overwhelming your visual system and triggering motion sickness.
When you reduce display brightness, you’ll minimize eye strain and help your brain better adapt to the virtual environment.
Key benefits of lowering brightness include:
- Reduced sensory overload – Less intense light prevents overwhelming your visual processing
- Decreased eye strain – Lower brightness reduces fatigue during extended sessions
- Better adaptation – Your eyes adjust more easily to virtual environments
- Enhanced comfort – Dimmer displays feel more natural and less jarring
Many headsets offer automatic brightness adjustments based on ambient lighting.
You can also experiment with contrast settings alongside brightness modifications to optimize visual clarity while maintaining comfort.
Adjust Contrast Settings Properly
While brightness controls light intensity, contrast settings determine the difference between light and dark elements on your headset’s display. Properly adjusted contrast enhances visual clarity by making elements more distinct, which reduces eye strain and discomfort during your VR experience.
Start with medium contrast levels and gradually adjust until you find what works best for you. Too high contrast creates harsh changes that can trigger nausea, while too low contrast makes images appear washed out, forcing your eyes to work harder. This extra strain can contribute to motion sickness symptoms.
Your ideal contrast setting works hand-in-hand with brightness adjustments to create a comfortable viewing environment. Take time to experiment with different combinations, as individual preferences vary greatly.
Well-tuned contrast settings lead to clearer visuals and a more immersive experience.
Guardian Boundary and Play Area Configuration
Several key settings within your headset’s Guardian Boundary system can greatly reduce motion sickness by creating a properly configured play area.
When you set up your guardian boundary, you’re establishing essential safety parameters that directly impact your comfort. Poor play area configuration leads to frequent interruptions and disorientation, which amplifies motion sickness symptoms.
Follow these vital guidelines:
- Set boundaries at least three feet from physical obstacles to prevent unexpected collisions.
- Guarantee adequate space for natural movement without feeling confined or restricted.
- Consider your height and expected range of motion for the VR experience.
- Recalibrate regularly after furniture changes or relocating your setup.
Proper guardian boundary setup prevents the anxiety and jarring movements that trigger nausea, allowing you to move confidently within your virtual environment.
Frequently Asked Questions
How to Stop Nausea When Using VR?
Start with short 5-15 minute VR sessions, use comfort settings, take regular breaks every 30 minutes, focus on fixed points, limit head movement, and consider ginger supplements to reduce nausea.
What Game Settings Help With Motion Sickness?
You’ll reduce motion sickness by adjusting FOV settings, enabling teleportation movement, using slower in-game speeds, activating comfort options like blink teleportation, and choosing games with less intense action.
Why Does My VR Headset Make Me Feel Nauseous?
Your VR headset creates nausea because your eyes see movement while your body feels still. This sensory mismatch confuses your brain, triggering motion sickness symptoms like dizziness and nausea.
How to Reduce Motion Sickness in VR Chat?
You’ll reduce motion sickness by enabling slow movement settings, using teleportation instead of walking, focusing on fixed points, taking regular breaks, and starting with shorter 10-15 minute sessions before gradually increasing duration.
Leave a Reply