You can set up room-scale VR without external sensors using inside-out tracking technology found in headsets like the Oculus Rift S. Connect your headset’s USB 3 and DisplayPort cables to a PC with a GTX 1060 or better graphics card, then download the Oculus software for setup. The headset’s five built-in cameras will scan your environment and create accurate positional tracking in a minimum 1m x 1m space. Proper configuration guarantees peak performance and safety.
Understanding Inside-Out Tracking Technology
While traditional VR systems require external sensors mounted around your room, inside-out tracking technology revolutionizes the setup process by embedding multiple sensors directly into your headset.
This innovative approach eliminates the need for external sensors, dramatically simplifying your virtual reality experience.
Your headset’s built-in cameras continuously scan your environment, identifying physical landmarks and features to create precise positional tracking.
Built-in cameras continuously map your surroundings, detecting landmarks and environmental features to deliver accurate real-time positional tracking.
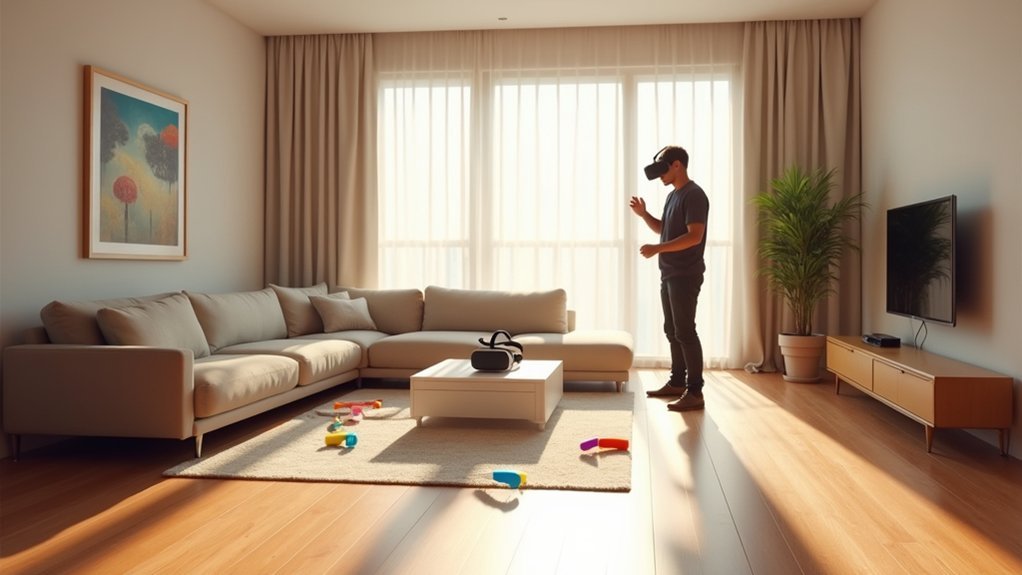
The Oculus Rift S, for example, uses five integrated sensors to deliver full room-scale tracking, letting you move freely within your designated play area.
This technology maintains consistent performance across different room configurations, requiring only a minimum 1m x 1m space.
You’ll enjoy quick deployment anywhere without additional hardware, making virtual reality more accessible and portable than ever before.
Minimum Space Requirements for Room-Scale VR
Three key factors determine your room-scale VR setup success: available floor space, ceiling height, and obstacle clearance.
For the Oculus Rift S, you’ll need minimum space requirements of at least 1m x 1m to achieve ideal tracking and movement. The headset’s inside-out tracking system uses five sensors to deliver full room-scale VR without the need for external sensors, making setup simpler than previous generations.
Clear your play area of any obstacles and hazards before starting. You’ll want adequate lighting since the tracking performance depends on well-lit conditions for best results.
Once you’ve secured your space, adjust the headset’s fit and position within your designated area. This guarantees maximum immersion and comfort during gameplay while maintaining safe movement boundaries throughout your VR experiences.
Essential Hardware Components and Cables
Once you’ve confirmed your space meets the minimum requirements, you’ll need to gather the essential hardware components for your Rift S setup.
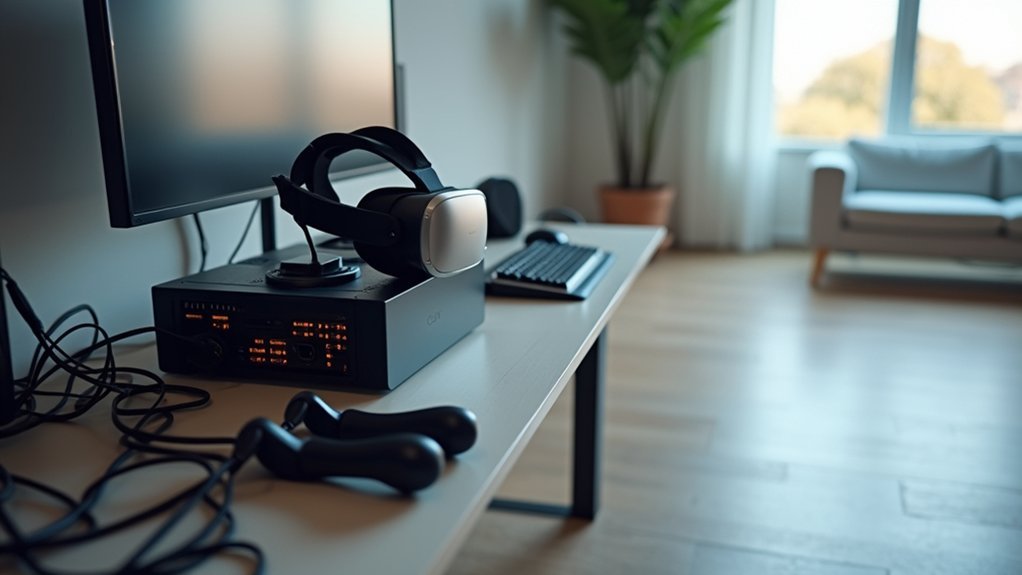
The Oculus Rift S requires two vital cables to connect to your PC or laptop: a USB 3 cable for data transfer and a full-size DisplayPort cable for video output. If your system only has a mini DisplayPort, don’t worry—an adapter comes included with your headset.
Your PC or laptop must have a compatible graphics card, preferably a GTX 1060 or better, to handle room-scale VR experiences smoothly.
You’ll also need to download the Oculus software, which is essential for hardware initialization and configuring your VR space.
These essential hardware components work together to enable the Rift S’s inside-out tracking system.
Downloading and Installing Oculus Software
Before you download the Oculus software, you’ll need to verify your PC meets the minimum requirements, including at least a GTX 1060 graphics card.
Head to the official Oculus website to download the latest software package and create an account if you don’t already have one.
Once you’ve completed the download, run the installer to begin the initial configuration process, which will automatically update your headset and controller firmware.
System Requirements Check
To successfully run your Oculus Rift S in room scale mode, you’ll need to download and install the Oculus software on your PC first. Before diving into setup, make sure your system meets the minimum requirements for ideal performance. Unlike the Oculus Quest, the Rift S requires a powerful PC to handle high resolution VR experiences.
| Component | Minimum Requirement | Recommended |
|---|---|---|
| Graphics Card | GTX 1050Ti | GTX 1060+ |
| Processor | Intel i3-6100 | Intel i5-4590+ |
| RAM | 8GB | 16GB |
| USB Ports | USB 3.0 | USB 3.0+ |
Your graphics card is particularly essential since it renders the high resolution visuals. Check your PC specifications through Device Manager or system settings to verify compatibility before proceeding with the Oculus software installation.
Download Process Steps
Getting your Oculus Rift S up and running starts with downloading the official Oculus software from Meta’s website.
Navigate to the official site and locate the download section for PC users. The process is straightforward and won’t be a big deal if you follow each step carefully.
Once downloaded, launch the installer and follow the on-screen prompts. You’ll need to agree to terms and conditions, then create or sign into your Oculus account.
The software will guide you through each phase, making it easier to set up without confusion.
After installation completes, you’re ready for the next phase: connecting your headset using the provided USB 3 and DisplayPort cables for peak performance.
Initial Software Configuration
Once you’ve successfully downloaded the Oculus software, the initial configuration process will set the foundation for your room-scale VR experience.
Launch the installer and follow the prompts to complete the installation on your PC. You’ll need to create or log into your Oculus account during this process, which grants access to the VR library and future updates.
After installation, the software automatically checks your system specifications, ensuring your graphics card meets the GTX 1060 minimum requirement for peak performance.
The setup wizard will then guide you through essential firmware updates for both your headset and controllers. These updates are vital for compatibility and performance.
Once you’ve completed these steps, you’ll be ready to configure your play area, requiring at least 1m x 1m of space.
Connecting USB 3 and DisplayPort Cables
For proper Oculus Rift S functionality, you’ll need to connect two essential cables to your PC.
The USB 3 cable handles data transfer and device recognition through your PC’s USB 3.0 port, while the DisplayPort cable links directly to your graphics card for video output.
If your graphics card only has mini DisplayPort, you can use the included adapter to guarantee compatibility.
Cable Requirements Overview
Two essential cables power your Oculus Rift S connection: a USB 3 cable that handles data transfer between your headset and PC, and a full-size DisplayPort cable that delivers the video feed to your display.
The USB 3 cable enables communication between your headset and Oculus software, while the DisplayPort cable transmits video output from your graphics card.
Before connecting, verify your PC’s graphics card has a full-size DisplayPort output. While Oculus includes a mini DisplayPort adapter, using it may limit compatibility.
Secure both connections properly to prevent connectivity issues that could disrupt your roomscale experience.
These cables work together to support the Rift S’s inside-out tracking system, eliminating external sensor requirements while delivering smooth room-scale VR performance.
DisplayPort Adapter Setup
Begin the DisplayPort adapter setup by connecting your USB 3 cable to an available USB 3.0 port on your PC, ensuring you hear the connection click into place.
Next, locate your graphics card’s DisplayPort connection. If your graphics card features a standard DisplayPort, plug the full-size DisplayPort cable directly into it.
However, if your graphics card only has a mini DisplayPort, you’ll need to use the included adapter. Attach the adapter to your graphics card’s mini DisplayPort first, then connect the full-size DisplayPort cable to the adapter.
Verify both connections are secure by gently tugging each cable. These connections establish the essential link between your Oculus Rift S and PC, enabling proper video and data transmission for roomscale VR.
USB Connection Process
With your DisplayPort connection secured, you can now focus on completing the USB connection process that brings your Oculus Rift S fully online.
Locate the USB 3 cable attached to your headset and connect it to an available USB 3.0 port on your PC. Make sure you’re using a USB 3.0 port rather than USB 2.0 for peak data transfer speeds.
Once both cables are securely connected, your PC should recognize the headset automatically.
You’ll need to download the Oculus software from the official website if you haven’t already. The software will guide you through initial configuration and check for any necessary firmware updates for your headset and controllers to guarantee everything runs smoothly.
Firmware Updates for Headset and Controllers
Keeping your Oculus Rift S headset and controllers up-to-date with the latest firmware guarantees you’ll experience ideal performance and compatibility during roomscale setup.
The Oculus software on your PC automatically handles the firmware update process, making it straightforward and hassle-free.
The automated firmware management through Oculus PC software eliminates manual intervention, ensuring seamless updates for optimal VR performance.
Here’s what you need to know about firmware updates:
- Access through Oculus software – Your PC will guide you through downloading and installing updates automatically when available.
- Regular maintenance schedule – Check periodically for updates since they include tracking enhancements and critical bug fixes.
- Troubleshooting tool – Update firmware first if you’re experiencing connectivity or tracking problems before trying other solutions.
You’ll need a stable internet connection for the process, which typically takes just a few minutes depending on update size.
Calibrating Your Virtual Play Area
Once you’ve updated your firmware, calibrating your virtual play area becomes the foundation for safe and immersive roomscale VR experiences.
Your Rift S’s five built-in sensors automatically map your surroundings through inside-out tracking, eliminating external sensor requirements. Start by ensuring you’ve got a clear play area of at least 1m x 1m for ideal tracking performance.
During the Oculus software setup process, you’ll configure your play area boundaries by following the on-screen prompts. The system will guide you through defining your space limits.
After initial setup, physically walk around your defined play area to help the headset recalibrate and establish precise boundaries.
Proper headset positioning is essential for accurate tracking. Adjust the fit wheel, velcro strap, and depth settings until you achieve a comfortable, secure fit with clear visual clarity.
Adjusting Headset Fit and Focus Settings
Achieving proper headset positioning extends beyond boundary calibration to include fine-tuning the physical fit and visual clarity of your Rift S.
Without external sensors, the headset’s inside-out tracking relies heavily on consistent positioning, making proper adjustment essential for peak performance.
Consistent headset positioning is crucial for optimal inside-out tracking performance without external sensors.
Here’s how to achieve the perfect fit:
- Secure the base fit – Use the fit wheel at the back of the headband to create a snug, comfortable seal that prevents light leakage around the edges.
- Customize with velcro – Adjust the velcro strap to accommodate your specific head size and shape for enhanced stability.
- Enhance visual clarity – Utilize the depth adjustment feature to align the lenses perfectly with your eyes, ensuring crisp visuals throughout your VR experience.
Always verify secure positioning before starting your session.
Configuring Pass-Through Plus Safety Features
Three key safety features make Pass-Through Plus your most valuable tool for maintaining awareness during room-scale VR sessions.
First, you’ll see your real-world surroundings in black and white without removing your headset, maintaining immersion while checking for obstacles.
Second, you can instantly activate this feature by pressing the designated button on your Rift S headset whenever you need spatial awareness.
Third, the external view helps you navigate tight spaces safely during movement-intensive games.
You should guarantee your play area measures at least 1m x 1m to fully utilize room-scale VR capabilities.
Make it a habit to regularly use Pass-Through Plus during gaming sessions. This consistent practice familiarizes you with your surroundings and greatly reduces accident risks while you’re immersed in virtual worlds.
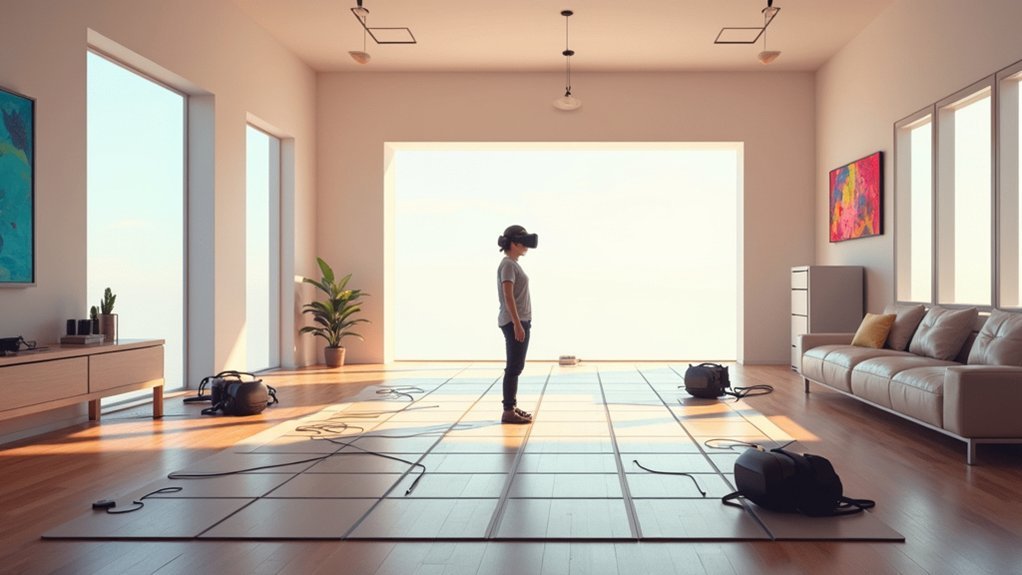
Testing Room-Scale Movement and Boundaries
How effectively will your room-scale boundaries protect you during intense VR sessions? Testing your setup guarantees you’ll stay safe while enjoying unrestricted movement. The Rift S’s five sensors create virtual walls that’ll appear when you approach your defined limits, giving you clear visual warnings.
Here’s how to properly test your room-scale boundaries:
- Walk to each corner of your play area and verify the boundary walls activate consistently.
- Move at different speeds – from slow walking to quick movements – to guarantee tracking remains accurate.
- Test controller reach by extending your arms in all directions to confirm you won’t hit real walls.
Remember to check for firmware updates regularly, as these improve tracking performance. Your initial 1m x 1m minimum space should provide reliable protection once properly tested.
Optimizing Performance With Graphics Card Requirements
Your room-scale setup won’t reach its full capacity without adequate graphics processing power. For ideal Oculus Rift S performance, you’ll need a GTX 1060 or better graphics card to guarantee smooth gameplay and high-resolution graphics.
This requirement becomes critical when experiencing immersive VR environments that demand consistent frame rates.
The Rift S’s inside-out tracking system with five sensors works seamlessly when paired with proper hardware, eliminating the complexity of external sensor placement.
However, your graphics card directly impacts how well these tracking capabilities translate into visual performance.
Regular firmware updates for your headset and controllers maintain compatibility with demanding new games, making sufficient GPU power even more essential.
Without meeting these graphics requirements, you’ll experience stuttering, reduced visual quality, and compromised tracking accuracy that undermines your room-scale VR experience.
Frequently Asked Questions
How Do I Set up an Oculus Room-Scale?
Download Oculus software on your PC, connect your Rift S with USB 3 and DisplayPort cables, clear a 1m x 1m play area, adjust headset fit, and follow the software’s setup guidance.
Does the Quest 2 Need Sensors?
No, you don’t need external sensors for the Quest 2. It uses inside-out tracking with four built-in cameras that monitor your movements, eliminating the need for any additional tracking hardware.
Do VR Headsets Need Sensors?
You don’t necessarily need external sensors for VR headsets anymore. Modern headsets like the Quest 2 and Rift S use inside-out tracking with built-in sensors, eliminating the need for external equipment.
How to Run Room Setup Steamvr?
Open SteamVR and select “Set up room-scale play area.” Follow the prompts to trace your boundaries using your controllers while walking around your space. Clear obstacles first, then calibrate your floor height to complete setup.
In Summary
You’ve successfully set up your room-scale VR system without external sensors using inside-out tracking technology. You’ve installed the software, connected all cables, adjusted your headset properly, and configured safety features. You’ve tested your boundaries and enhanced performance settings. Now you’re ready to enjoy full room-scale VR experiences with complete freedom of movement. Remember to keep your play area clear and maintain good lighting for ideal tracking performance.


Leave a Reply