You can dramatically extend your DualShock controller’s battery life by making three simple adjustments in your settings. First, dim the light bar to reduce power consumption considerably. Second, disable controller vibration to conserve energy and improve your gaming experience. Third, lower the speaker volume on your controller to minimize battery drain. These changes require no technical expertise or hardware modifications, yet they’ll transform your gaming sessions from lasting mere hours to potentially days of uninterrupted play with strategic optimization techniques.
Simple Settings Adjustments to Conserve Power
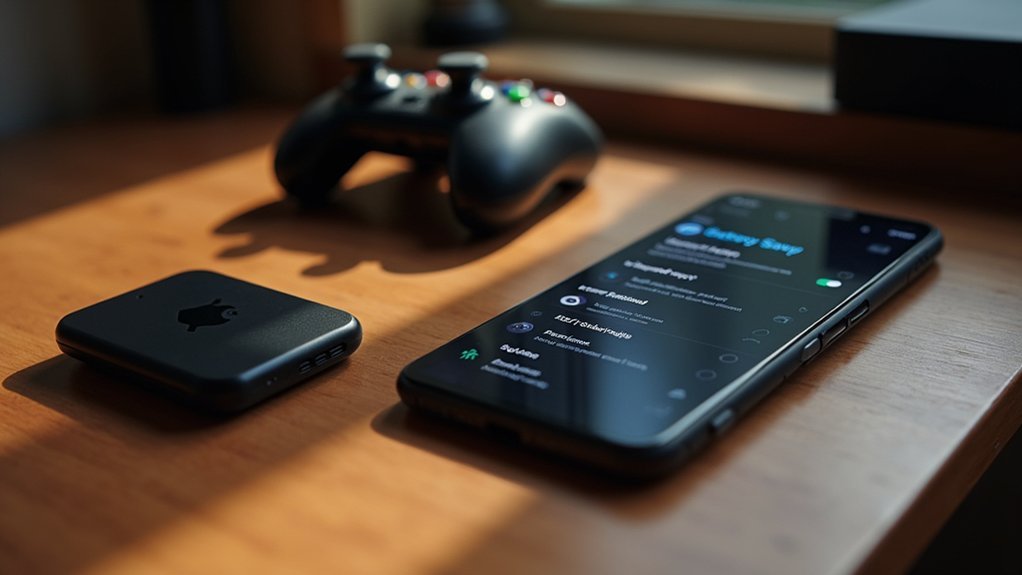
While gaming marathons can drain your controller’s battery faster than expected, you can greatly extend playtime through a few strategic settings tweaks.
Start by dimming your DualShock 4’s light bar, which notably reduces power consumption without affecting gameplay. Next, disable controller vibration – this feature consumes considerable energy and turning it off enhances your gaming experience while conserving battery power.
Make sure to lower the speaker volume on your controller, as audio output drains battery quickly during extended sessions.
Keep in mind that regularly checking and optimizing these three settings will contribute to your controller’s longer battery lifespan.
These simple adjustments eliminate the need for hardware upgrades while maximizing your gaming sessions.
Upgrading to a High-Capacity Battery Pack
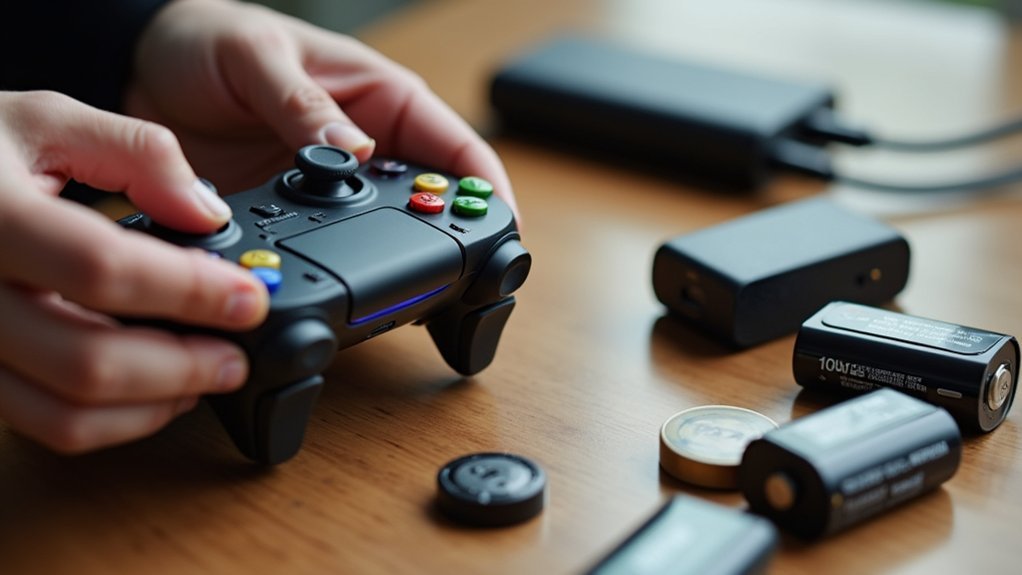
Why settle for standard battery life when you can double your gaming time with a high-capacity battery pack upgrade? These upgraded packs deliver 2200 milliamps versus the standard 1000 milliamps, greatly extending your gameplay sessions.
Installation’s surprisingly simple—you’ll need just 10 minutes and a small Phillips head screwdriver. However, before purchasing, verify the battery pack’s compatibility with your DualShock controller’s specific model number.
Don’t skip this step, as incompatible packs won’t work properly. When shopping, thoroughly read product descriptions and check user reviews to make sure you’re selecting a high-quality option that meets your performance expectations.
After installation, test your controller completely to confirm the new battery pack functions correctly. This upgrade transforms your gaming experience by eliminating frequent charging interruptions.
Compatibility Requirements for Battery Replacements
Getting the right battery replacement depends entirely on matching it to your controller’s exact specifications. You’ll need to identify your DualShock controller’s model number before purchasing any battery pack. Not all replacements work with every controller, so always verify compatibility in the product description.
| Controller Model | Standard Battery | Upgraded Capacity |
|---|---|---|
| DualShock 4 | 1000mAh | 2200mAh |
| DualShock 3 | 570mAh | 1200mAh |
Reading customer reviews helps you understand real-world performance and reliability for your specific model. You’ll also want to gather the proper tools beforehand—typically a small Phillips head screwdriver. Keep your workspace organized during installation to prevent losing small components and guarantee a smooth replacement process.
Step-by-Step Installation Process
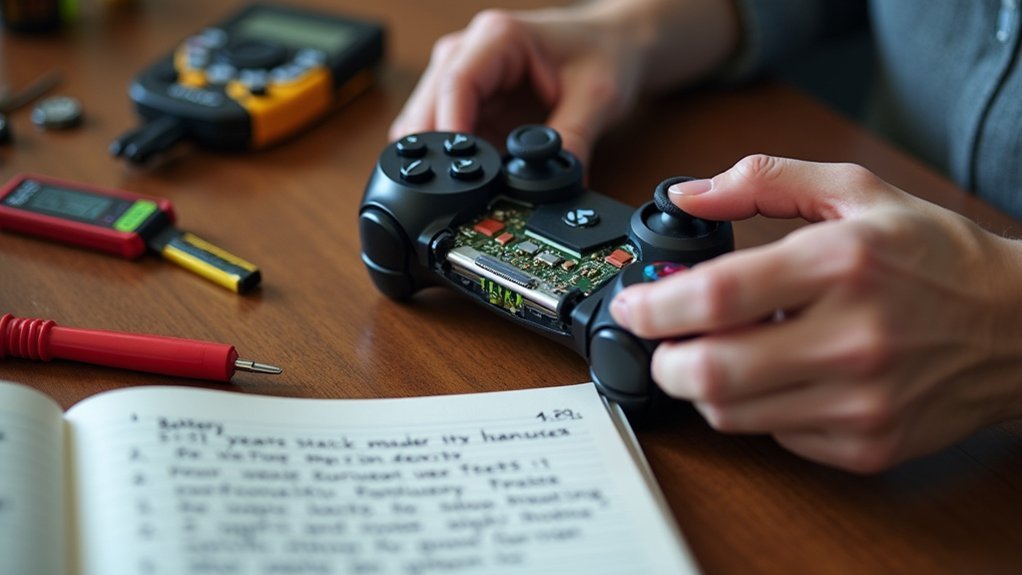
Once you’ve gathered your Phillips head screwdriver and set up a clean workspace, you’re ready to begin the battery replacement process.
Carefully remove the screws from your DualShock controller’s back panel to access the battery compartment. Once open, you’ll see the standard 1000 milliamp battery connected inside.
After removing the back panel screws, you’ll find the original 1000 milliamp battery waiting to be replaced.
Gently disconnect this battery and remove it from the compartment. Now, take your upgraded 2200 milliamp battery and connect it in the same location, ensuring it fits securely.
Replace the back cover and tighten all screws carefully to avoid overtightening. The entire process takes approximately 10 minutes.
Finally, test your controller to confirm it’s functioning properly with the new battery installed.
Testing and Performance Optimization
After completing your battery installation, you’ll want to verify that your controller performs efficiently and maximize the benefits of your upgrade.
First, check that your controller’s model number matches the battery specifications to guarantee ideal compatibility and performance. Test the controller through extended gameplay sessions to confirm the upgraded 2200 milliamp battery delivers the expected doubled playtime compared to the standard 1000 milliamp version.
To enhance performance further, dim your light bar to reduce power consumption during gameplay.
Turn off vibration features when they’re not essential, as this conserves significant battery power. Lower the speaker volume to minimize battery usage.
These adjustments work together with your battery upgrade to extend gaming sessions substantially, guaranteeing you’re getting maximum value from your controller modifications.
Frequently Asked Questions
How to Make Xbox Controller Battery Last Longer?
You can make your Xbox controller battery last longer by reducing the light bar brightness, turning off vibration feedback, disconnecting when not gaming, using rechargeable packs, and updating software regularly.
How to Extend Battery Lifespan?
You’ll extend battery lifespan by avoiding complete drains, storing devices at room temperature, using original chargers, and keeping batteries between 20-80% charge. Don’t expose them to extreme heat or cold temperatures.
How to Make PS4 Controller Battery Last Longer?
You can make your PS4 controller battery last longer by dimming the light bar, disabling vibration when unnecessary, lowering speaker volume, and upgrading to a higher-capacity 2200mAh battery pack.
How Can I Use My Controller Without a Battery?
You can use your DualShock controller without a battery by connecting it directly to your console or PC with a USB cable. It’ll draw power from the device, enabling uninterrupted gameplay.
In Summary
You’ve now got multiple strategies to extend your controller’s battery life considerably. Start with the simple settings adjustments since they’re free and immediate. If you’re still not satisfied with performance, consider upgrading to a high-capacity battery pack. Remember to verify compatibility before purchasing and follow the installation steps carefully. Test your results and fine-tune settings as needed. Your gaming sessions won’t be interrupted by dead batteries anymore.


Leave a Reply