You’ll prevent simulator sickness by adjusting five key VR settings before playing. Set your field of view between 90-100 degrees, enable teleportation or smooth turning instead of continuous movement, calibrate your interpupillary distance properly, disable motion blur and camera bobbing features, and lock your frame rate at 90Hz or higher. Start with comfort movement options like 30-50% turn speed and take regular breaks every 20-30 minutes. These essential adjustments will transform your VR experience from nauseating to enjoyable.
Adjust Your Field of View Settings
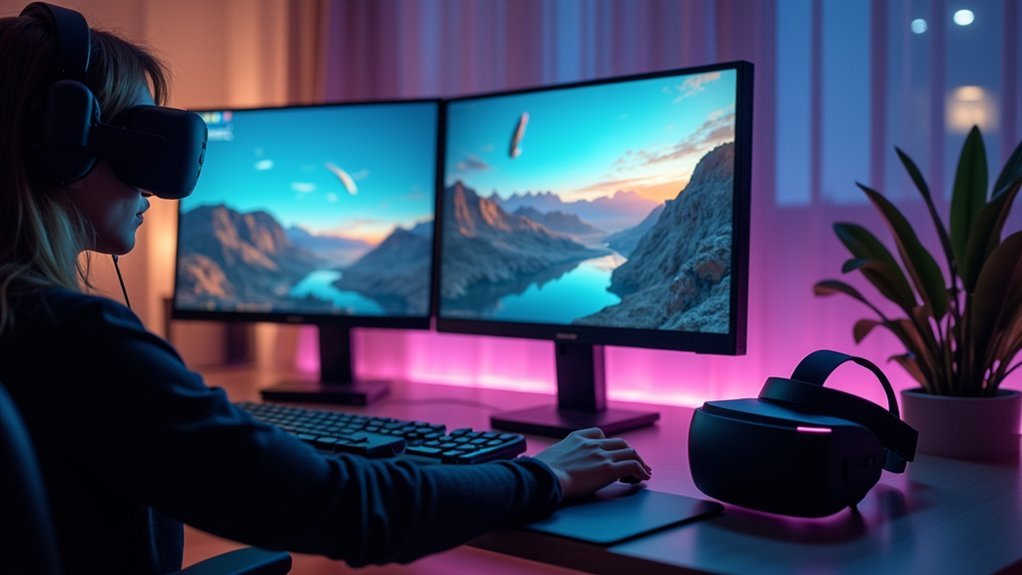
When you’re experiencing simulator sickness, adjusting your field of view (FOV) settings can provide immediate relief by expanding your visual perspective to match your natural peripheral vision.
Most first-person games offer FOV sliders in their settings menu, allowing you to customize your comfort level. A setting between 90-110 degrees typically works best, as it reduces the sensory conflict between what your brain expects and what you’re seeing on screen.
Start by increasing your FOV gradually to see more of your surroundings, which decreases disorientation. However, don’t assume higher is always better—some players find lower settings more stable.
Experiment with different values until you discover what eliminates your simulator sickness symptoms while maintaining an enjoyable gaming experience.
Configure Comfort Movement Options
You’ll find that switching from continuous movement to comfort-based alternatives can dramatically reduce nausea and disorientation.
Most VR applications offer smooth turning options that rotate your view gradually instead of instantly, teleportation systems that let you point-and-click to move without walking simulation, and comfort vignetting that darkens your peripheral vision during motion.
These settings work by minimizing the sensory conflicts between what your eyes see and what your inner ear feels, making your VR experience much more pleasant.
Smooth Turning Options
Since abrupt rotational movements rank among the primary triggers of simulator sickness, configuring smooth turning options becomes essential for maintaining comfort during VR sessions. You’ll want to adjust these settings to create gradual shifts when changing directions, which minimizes disorientation and promotes visual stability.
Most games offer adjustable sensitivity settings that let you customize your comfort level based on personal preferences. Start with slower rotation speeds, as they’re more likely to alleviate symptoms for those sensitive to motion sickness.
| Setting Type | Recommended Value |
|---|---|
| Turn Speed | 30-50% |
| Angle Increment | 15-30 degrees |
| Acceleration | Disabled |
| Snap Turning | Alternative option |
| Sensitivity | Low-Medium |
Experiment with different configurations until you find what works best for you.
Teleportation Movement Settings
Teleportation movement offers the most effective solution for players who experience discomfort even with smooth turning adjustments.
These teleportation movement settings eliminate conflicting sensory signals by letting you select destination points rather than creating continuous motion that triggers simulator sickness.
You’ll find comfort movement options in most VR environments that allow customization of teleportation distance and speed according to your preferences.
Configure gradual environmental fading during changes to soften the experience and minimize disorientation. This creates stable visual references that your brain can process without confusion.
Teleportation greatly reduces motion sickness risk by removing the disconnect between what your eyes see and what your inner ear feels, making it ideal for beginners who want to enjoy VR without nausea or discomfort.
Comfort Vignetting Controls
While teleportation eliminates many motion-related triggers, comfort vignetting controls provide an additional layer of protection by darkening the peripheral edges of your visual field during any remaining movement sequences.
This setting reduces sensory overload by limiting your field of view during camera movements, which greatly helps prevent motion sickness symptoms.
You’ll want to configure these comfort vignetting options for best results:
- Intensity adjustment – Start with medium settings and increase if you still experience discomfort during gameplay.
- Movement-specific activation – Enable vignetting only during smooth locomotion while keeping it off during stationary moments.
- Combined settings approach – Use comfort vignetting alongside reduced motion blur and lower field of view for maximum effectiveness.
Experiment with different combinations to enhance your overall gaming experience.
Set Up Proper IPD Calibration
Before you plunge into your first VR experience, you’ll need to calibrate your interpupillary distance (IPD) to match the spacing between your eyes. Proper IPD calibration is essential for preventing visual strain and simulator sickness while maximizing comfort during VR sessions.
Most headsets offer IPD adjustment ranging from 58mm to 72mm. You can measure your IPD using a ruler or online tools designed for this purpose. Position the ruler below your eyes and measure the distance between your pupils’ centers.
Measure your IPD with a ruler positioned below your eyes, finding the distance between your pupils’ centers for proper headset calibration.
Once measured, locate your headset’s IPD adjustment feature and set it to your measured distance. Incorrect settings cause eye fatigue, blurred vision, and increased simulator sickness risk.
Always readjust when sharing your headset with others to maintain ideal visual alignment.
Enable Motion Sickness Reduction Features
You’ll find that most modern games include built-in motion sickness reduction features that can dramatically improve your comfort during gameplay.
Start by disabling motion blur effects and turning off camera bobbing, as these visual elements often trigger simulator sickness in sensitive players.
Next, adjust your field of view to a wider setting, which creates a more stable visual environment and reduces the disorienting sensations that cause nausea.
Disable Motion Blur Effects
Motion blur effects create visual confusion that can trigger simulator sickness by making it harder for your brain to process rapid movements on screen.
When you disable motion blur in your gaming settings, you’ll reduce sensory conflict and minimize the nausea that comes from your brain struggling to interpret blurred visuals during fast-paced action.
Here’s how to enhance your motion blur settings:
- Access your graphics menu and locate the motion blur toggle option.
- Turn off or minimize motion blur intensity to improve visual clarity during gameplay.
- Test different settings while playing to find your best comfort level.
Disabling motion blur greatly improves focus and reduces motion sickness risk.
Most modern games include this customization option, allowing you to create a more comfortable gaming experience tailored to your sensitivity levels.
Turn Off Camera Bobbing
Camera bobbing simulates realistic head movement during gameplay, but this visual effect often creates the very sensory conflicts that trigger simulator sickness.
When you move through virtual environments, camera bobbing mimics the natural bounce of walking or running. However, this creates conflicting signals between what your eyes see and what your inner ear feels, leading to nausea and dizziness.
You should turn off camera bobbing in your game’s settings to alleviate symptoms of motion sickness during gaming sessions.
Most modern games include accessibility options that let you disable this feature completely. By removing camera bobbing, you’ll eliminate a major trigger for simulator sickness while maintaining full gameplay functionality.
This simple adjustment can dramatically improve your comfort and enjoyment during extended gaming periods.
Adjust Field of View
A wider field of view creates a more stable visual experience that reduces the disorienting effects of simulator sickness.
When you increase your FOV, you’ll see more of your surroundings, which helps align visual input with your body’s perception of motion. This wider FOV minimizes the sensory conflict that triggers nausea during gameplay.
Most first-person games offer adjustable FOV sliders ranging from 70 to 110 degrees.
Here’s how to optimize your settings:
- Start with 90-100 degrees and adjust based on comfort
- Test different values during movement-heavy gameplay sections
- Combine with motion sickness options like disabling motion blur
Your visual perception will stabilize as you find the right balance.
Look for games that include extensive motion sickness options in their settings menu for the best experience.
Optimize Frame Rate and Refresh Settings
When you’re experiencing simulator sickness, enhancing your frame rate and refresh rate settings becomes one of the most effective solutions.
You’ll want to lock your frame rate at stable levels to prevent fluctuations that trigger discomfort and create smoother gameplay. Consider lowering your display’s refresh rate, as high refresh rates can induce motion sickness in sensitive players. You’ll find that utilizing displays with 60Hz or lower refresh rates reduces sensory conflict between visual input and bodily sensations.
Additionally, adjust your sensitivity settings in-game to gain better control over movements, reducing disorientation.
Don’t forget to regularly check your screen brightness and modify it to ideal levels, as this minimizes eye strain—a significant contributing factor to simulator sickness.
Customize Teleportation Movement Controls
Multiple teleportation settings directly impact your comfort level during VR experiences, making proper customization essential for preventing simulator sickness.
Customizing your VR teleportation settings is the most effective way to eliminate motion sickness and maximize immersion during gameplay.
When you customize teleportation movement controls, you’ll reduce sensory conflicts that often trigger nausea and disorientation.
Here are three key settings to adjust:
- Sensitivity and Distance: Set teleportation arc distance to match your comfort zone, preventing overly long jumps that can feel disorienting.
- Speed Control: Slow down teleportation speed to create smoother shifts between locations, minimizing jarring movement effects.
- Visual Feedback: Enable clear teleportation indicators that provide visual grounding, helping your brain process the movement change more naturally.
You can also toggle between smooth teleportation and snap movement modes to find what works best for your system.
Fine-Tune Audio Spatial Settings
Since audio spatial settings directly influence how your brain processes virtual environments, proper fine-tuning becomes crucial for reducing simulator sickness.
Enable stereo sound instead of surround sound if you’re experiencing discomfort, as stereo reduces auditory complexity that contributes to disorientation. Lower your environmental sounds volume to minimize sensory overload, allowing you to focus on gameplay without overwhelming stimuli.
Experiment with audio balance settings to guarantee essential game sounds remain clearly audible without disruption. Use headphones with excellent noise isolation to reduce external distractions and create a controlled audio environment.
This setup helps align auditory cues with visual elements, reducing the disconnect that often triggers simulator sickness. Proper audio spatial settings create realistic sound environments that support your brain’s processing.
Establish Safe Play Area Boundaries
Three key elements form the foundation of a safe play area that minimizes simulator sickness: clear boundaries, proper positioning, and adequate lighting. Establishing a clear boundary prevents disorientation and helps you maintain awareness of your physical surroundings.
- Mark your boundaries – Use tape or markers to outline your play area edges, keeping comfortable distance from screens and obstacles to reduce collision risks.
- Adjust your gaming setup height – Position equipment at eye level to minimize neck strain and promote natural sight lines that prevent nausea.
- Ensure adequate lighting – Keep your play area well-lit to enhance visibility and reduce eye strain, which maintains focus during gaming sessions.
Regular breaks help reset spatial awareness and alleviate discomfort symptoms.
Frequently Asked Questions
How Do You Prevent Simulation Sickness?
You’ll prevent simulation sickness by adjusting your FOV to 90-110 degrees, maintaining proper screen distance, playing in well-lit rooms, lowering mouse sensitivity, disabling motion blur, and taking breaks every twenty-thirty minutes.
How Do You Fix Simulation Sickness?
You can’t instantly fix simulation sickness once symptoms start, but you can reduce them by immediately stopping gameplay, focusing on distant objects, getting fresh air, and staying hydrated until you feel better.
What Settings Help With Motion Sickness in Games?
You’ll want to increase your field of view, disable motion blur, lower mouse sensitivity, position your screen further away, guarantee proper lighting, and take regular breaks while staying hydrated during gameplay.
Why Do I Get Simulation Sickness?
Your brain receives conflicting signals when your inner ear senses stillness while your eyes see rapid movement on screen. This sensory mismatch confuses your nervous system, triggering nausea and dizziness symptoms.
Leave a Reply