You’ll achieve stunning 360-degree videos when you master proper lighting techniques that illuminate every surface within your spherical capture zone. Strategic placement of multiple LED lights with high CRI ratings eliminates harsh shadows and distracting reflections that break viewer immersion. Natural light optimization during golden hour, combined with HDR techniques and manual camera settings, guarantees consistent exposure across the entire scene. Professional lighting setups minimize post-production work while maximizing visual appeal and storytelling impact throughout your immersive content.
Understanding Light Behavior in 360-Degree Environments

While traditional photography allows you to control light within a limited frame, 360-degree environments demand a completely different approach since light interacts with every surface, angle, and object within your spherical capture zone.
You’ll notice shadows and highlights become dramatically more pronounced, potentially creating distracting artifacts that break viewer immersion. This is where High Dynamic Range techniques become essential for maintaining video quality across bright and dark areas simultaneously.
Natural Light offers your best foundation, particularly during golden hour when soft, diffused illumination minimizes harsh contrasts.
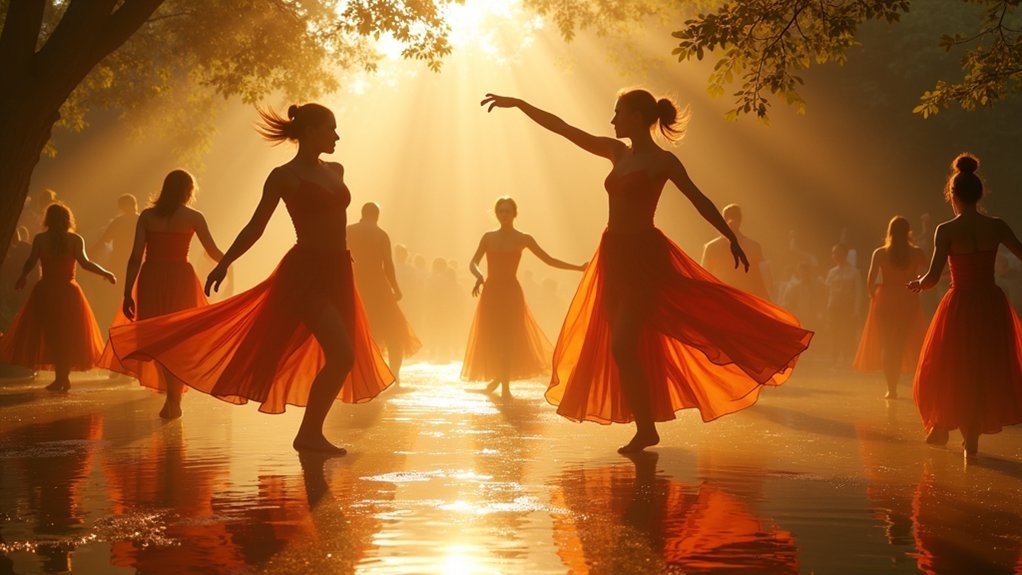
Golden hour’s soft, diffused light provides the ideal foundation for 360-degree captures by naturally minimizing harsh contrasts throughout your spherical environment.
You must understand that lighting direction directly impacts depth perception throughout your entire scene. Poor planning creates uneven exposure zones that viewers can’t escape by simply looking away, making thorough lighting control absolutely critical for professional results.
Essential Equipment for 360 Video Lighting Setups
Professional 360 video production requires specialized lighting equipment that addresses the unique challenges of spherical environments.
You’ll need high-quality LED lights with a CRI of 95 or higher to guarantee accurate color representation throughout your footage. Proper lighting can make your 360 videos truly enchanting when you incorporate multiple light sources like key, fill, and backlights for dynamic lighting setups.
Softboxes are essential for diffusing harsh illumination and creating even coverage across your spherical scene.
You can’t overlook stabilization equipment—tripods keep your lights and cameras steady, preventing movement that disrupts seamless stitching. Light meters become vital tools for measuring intensity and color temperature, helping you achieve balanced lighting conditions.
This combination of effective lighting equipment guarantees your 360 videos deliver the immersive experience viewers expect.
Natural Light Optimization for Immersive Capture

Although artificial lighting provides precise control, natural light offers unparalleled authenticity and warmth that can transform your 360 videos into truly enchanting experiences.
You’ll achieve the best results during golden hour—that magical first hour after sunrise or before sunset—when light becomes evenly distributed and minimizes unwanted shadows across your spherical footage.
When harsh daylight threatens overexposure, position your camera in shaded areas to maintain consistency throughout the scene.
You can’t adjust the lighting itself, but you can optimize your camera settings to match available conditions, reducing post-processing needs considerably.
Natural light’s inherent warmth enhances color vibrancy, making your content immersive and visually compelling while eliminating the need for complex artificial setups.
HDR Techniques for Balanced 360 Video Exposure
When shooting 360 videos in challenging lighting conditions, HDR techniques become your most powerful tool for achieving balanced exposure across the entire spherical field of view. You’ll capture multiple exposures of the same scene, combining them to retain detail in both highlights and shadows. This approach greatly improves video quality by eliminating common stitching line problems caused by uneven lighting, particularly during sunset shoots with bright hotspots.
| Lighting Scenario | Camera Settings | HDR Benefit |
|---|---|---|
| Indoor/Outdoor Mix | Manual ISO 100-400 | Eliminates harsh shifts |
| Sunset Scenes | Lower exposure compensation | Reduces bright hotspots |
| High Contrast | Multiple bracketed shots | Maintains shadow detail |
| Variable Conditions | Fixed white balance | Consistent color temperature |
Remember to adjust your camera settings manually, avoiding high ISO levels that introduce graininess and compromise your final product’s polish.
Managing Shadows and Reflections in Spherical Footage

You’ll face unique challenges when managing shadows and reflections in 360-degree footage, as these imperfections become magnified across the entire spherical view.
Harsh shadow lines can create jarring visual breaks that disrupt immersion, while unwanted surface reflections from windows, mirrors, and glossy objects can expose your equipment or create distracting hotspots.
Mastering diffusion techniques becomes essential for achieving balanced lighting that maintains consistent illumination throughout your spherical scene.
Eliminating Harsh Shadow Lines
Since harsh shadow lines can instantly break the immersive spell of 360-degree footage, you’ll need to master the art of shadow management from the very start of your production. Your lighting setup should prioritize multiple light sources positioned strategically around the spherical scene. This approach creates even lighting that eliminates distracting shadows and reflections while maintaining natural depth and contrast.
| Shadow Problem | Solution |
|---|---|
| Hard shadow lines | Use multiple diffused light sources |
| Uneven illumination | Position lights at varying heights |
| Harsh shifts | Employ soft boxes or diffusers |
| Reflective glare | Angle lights away from surfaces |
| Dark spots | Test lighting from all angles |
Focus on creating smooth lighting effects that wrap naturally around your 360-degree environment for professional results.
Controlling Unwanted Surface Reflections
Why do surface reflections pose such a significant challenge in 360-degree video production? They disrupt immersion and distract viewers from your content’s seamless experience.
You’ll need strategic light placement to prevent unwanted glare and hotspots from appearing throughout your spherical footage. Position your lighting equipment away from reflective surfaces to maintain image clarity across the entire scene.
Use diffusers or softboxes to create controlled, even lighting that minimizes harsh reflections. Adjust your camera angles and height to avoid capturing glare from shiny objects that could break the 360-degree illusion.
Review your footage continuously while filming. This allows you to make immediate adjustments to both lighting setup and camera positioning.
Diffusion Techniques for Balance
Building on strategic light placement, diffusion techniques provide the next layer of control for achieving balanced illumination in your 360-degree productions.
These methods help you manage harsh shadows and reflections that can dramatically impact your camera’s spherical footage quality.
- Position diffusers between light sources and subjects to reduce direct intensity and minimize unwanted reflections.
- Combine softboxes with diffusers for enhanced indoor lighting control that creates immersive environments.
- Use bounce cards alongside diffusers to achieve natural, flattering illumination throughout your scene.
- Adjust diffuser distance from existing light sources to customize shadow management and overall aesthetic.
- Employ multiple diffusers strategically to soften harsh shadows and create even light distribution across all angles.
Proper diffusion transforms your lighting setup, ensuring viewers enjoy a superior visual experience in your 360-degree content.
Strategic Camera Placement for Even Light Distribution
When you’re setting up a 360-degree camera, your placement strategy directly impacts how light distributes throughout the entire scene.
Strategic camera placement begins with positioning your camera centrally in the room, which enhances light distribution and guarantees even illumination across all angles. You’ll achieve better results by placing the camera at eye level, where it captures natural light reflections more effectively while reducing harsh shadows.
Avoid corners and tight spaces that create unwanted dark spots and uneven lighting. Instead, tilt your camera slightly to balance bright and dark areas for more consistent exposure.
Throughout filming, review your footage regularly to make immediate adjustments. This approach secures ideal light distribution and greatly improves your overall image quality in the final 360-degree video.
Post-Production Lighting Enhancement Methods
Even with strategic camera placement, your 360-degree footage will likely need post-production adjustments to achieve professional-quality lighting.
Software tools give you precise control over exposure settings and can transform mediocre footage into stunning virtual tours.
Professional software transforms ordinary 360-degree footage into immersive virtual experiences through precise exposure control and advanced editing capabilities.
Essential post-production lighting techniques include:
- Brightness and contrast enhancement – Use Lightroom or Photoshop to enhance brightness and correct exposure issues from your shoot.
- Gradient filter application – Balance overexposed and underexposed areas for consistent lighting throughout your footage.
- Virtual lighting addition – Implement software like Pano2VR to highlight specific scene elements and create dynamic viewing experiences.
- Artifact removal – Utilize healing brushes or clone stamps to eliminate lens flares and unwanted reflections.
- Detail-focused lighting adjustments – Fine-tune illumination to greatly improve your 360-degree content’s immersive quality and professional presentation.
Frequently Asked Questions
Why Is Good Lighting Important in Video Recording?
You’ll achieve clearer, more detailed footage with good lighting. It reduces harsh shadows, creates balanced exposure, enhances colors, and sets the proper mood, making your videos more professional and engaging for viewers.
What Is the 3 Lighting Rule?
You’ll use three distinct light sources: the key light as your primary illumination, fill light to soften harsh shadows, and backlight behind your subject to create depth and separation from the background.
How to Get Perfect Lighting for Videos?
You’ll achieve perfect lighting by using multiple sources for uniform illumination, maintaining 5000K-6000K color temperature, positioning lights strategically with diffusers, testing from viewer’s perspective, and applying HDR techniques for high-contrast scenes.
How to Get Good Lighting for Videos Without a Ring Light?
You can achieve excellent lighting by positioning multiple lamps around your subject, using window light during golden hour, or bouncing light off white walls and reflective surfaces for even illumination.

Leave a Reply